


A telescope can open up a whole new view of the night sky. But for someone using one for the first time, it can also feel confusing.
There are parts to adjust, things to line up, and it’s not always clear where to begin. This blog helps make that first step easier. It shares easy steps and helpful advice anyone can follow.
Getting started might feel tricky at first, but you’re not the only one. Others have felt the same way.
With a little help, anyone can learn how to use a telescope. It doesn’t take fancy skills, just patience, a little time, and a clear guide like this one.
What You Can See with a Telescope?
A telescope helps you see faraway things in the sky that are hard to see with just your eyes.
When you use a telescope for the first time, you can look at the moon and see its craters and shadows. You may also spot planets like Jupiter and Saturn.
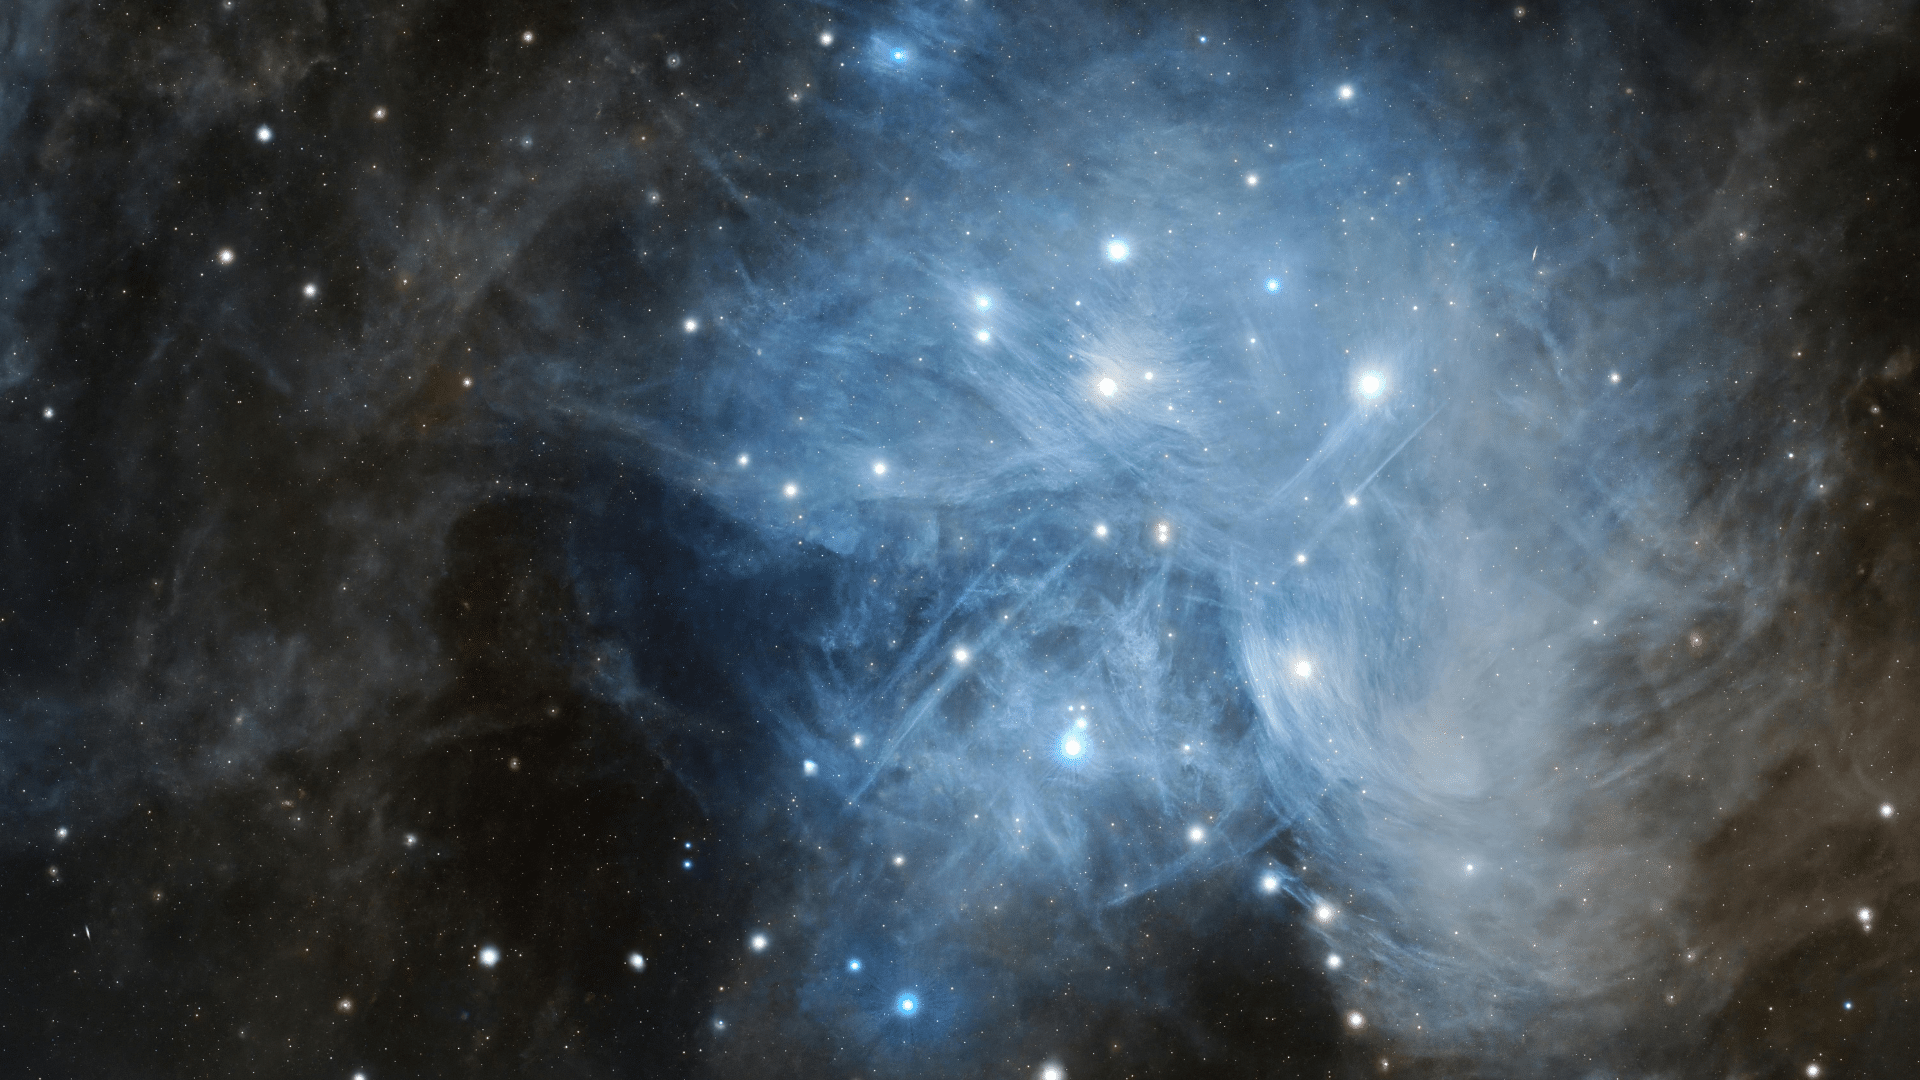
With a steady view, you might see Jupiter’s moons or Saturn’s rings. Some bright stars and star groups, like the Pleiades, are also easy to find.
As you get better at using your telescope, you can try to spot galaxies or nebulae. Start simple and enjoy what each clear night shows you.
Before You Begin: Know Your Telescope Type
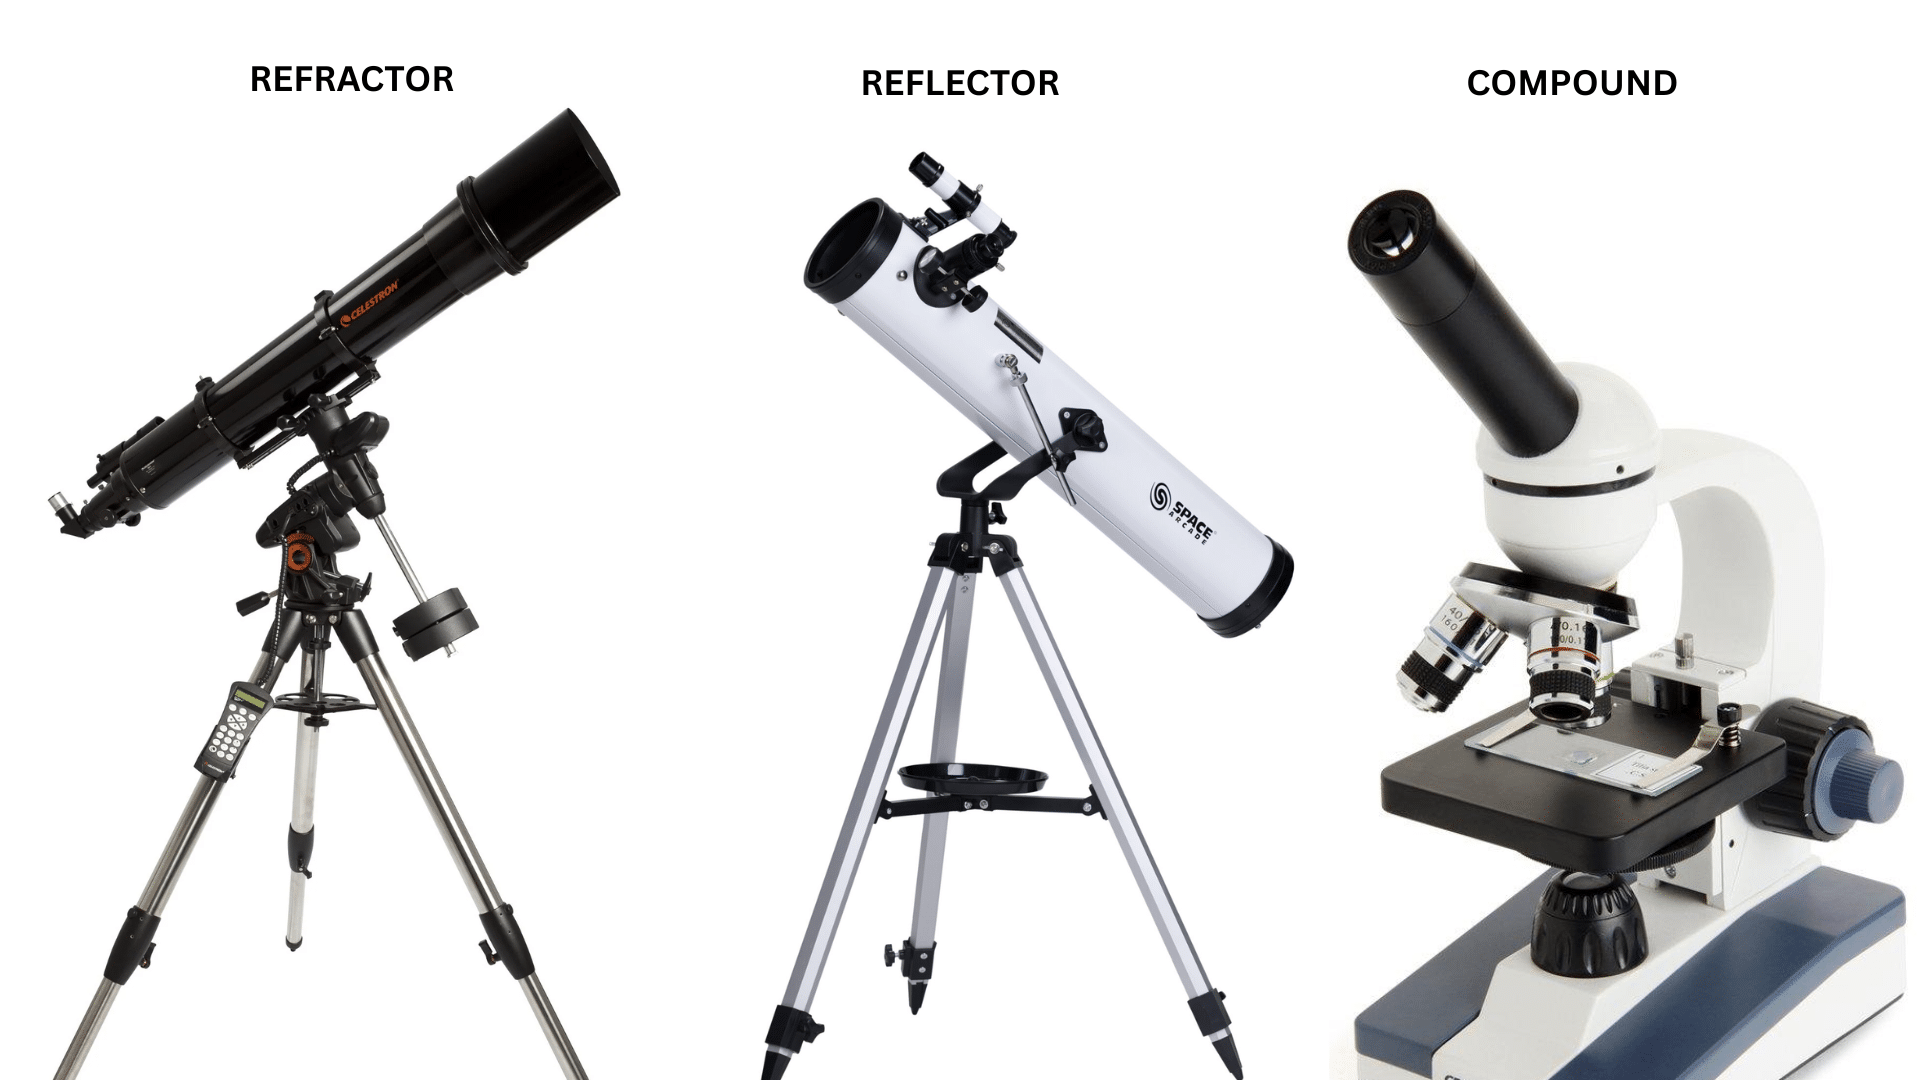
If you’re using a telescope for the first time, it helps to know what kind you have. Below is a simple table that explains the three main types of telescopes and what each one is best for:
| Telescope Type | How It Works | Best For | Good to Know |
|---|---|---|---|
| Refractor Telescope | Uses lenses to bend light | Moon, planets | Long, easy to set up, great for beginners |
| Reflector Telescope | Uses mirrors to reflect light | Star clusters, galaxies | Needs alignment, gives bright, clear images |
| Compound Telescope | Combines lenses and mirrors | A mix of planets and deep-sky objects | Compact, more costly, and can take longer to set up |
A basic refractor telescope is often the best choice for beginners. It’s simple, reliable, and works well for common sky objects like the moon and planets.
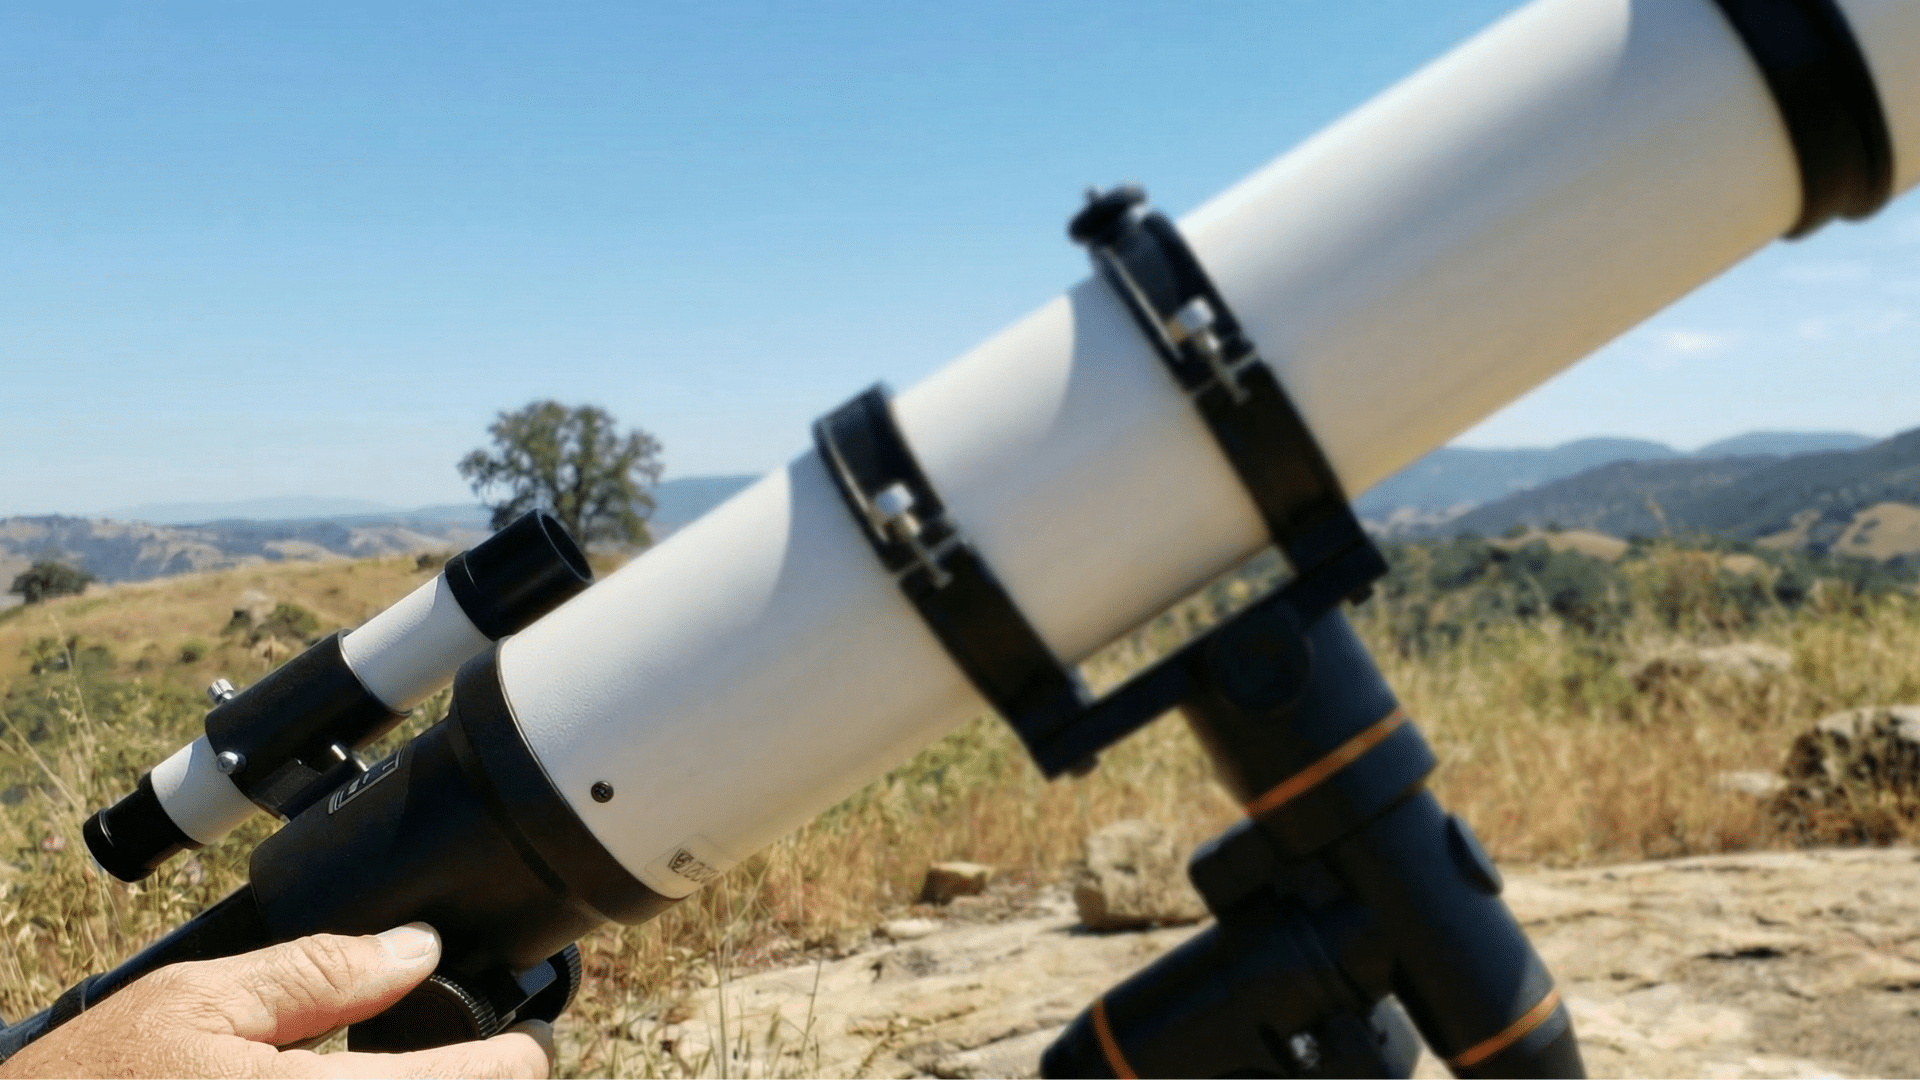
Main Parts of a Telescope

A telescope is easier to use when you understand what each part does. These are the main pieces you’ll use when setting up and looking through your telescope:
- Tube: The long part that collects light
- Eyepiece: The small lens you look through
- Finder scope: A smaller scope on top to help aim
- Focuser: A knob to make the view clear
- Mount: What holds the telescope steady
- Tripod: The legs that support the whole thing
Knowing these parts makes it easier to follow the steps and fix minor issues later.
Step-by-Step Guide to Using a Telescope
Using a telescope for the first time is easier when you follow simple steps. Each one builds on the last and helps you feel more confident. Below is a clear guide to help beginners get started the right way.
Step 1: Read the Manual
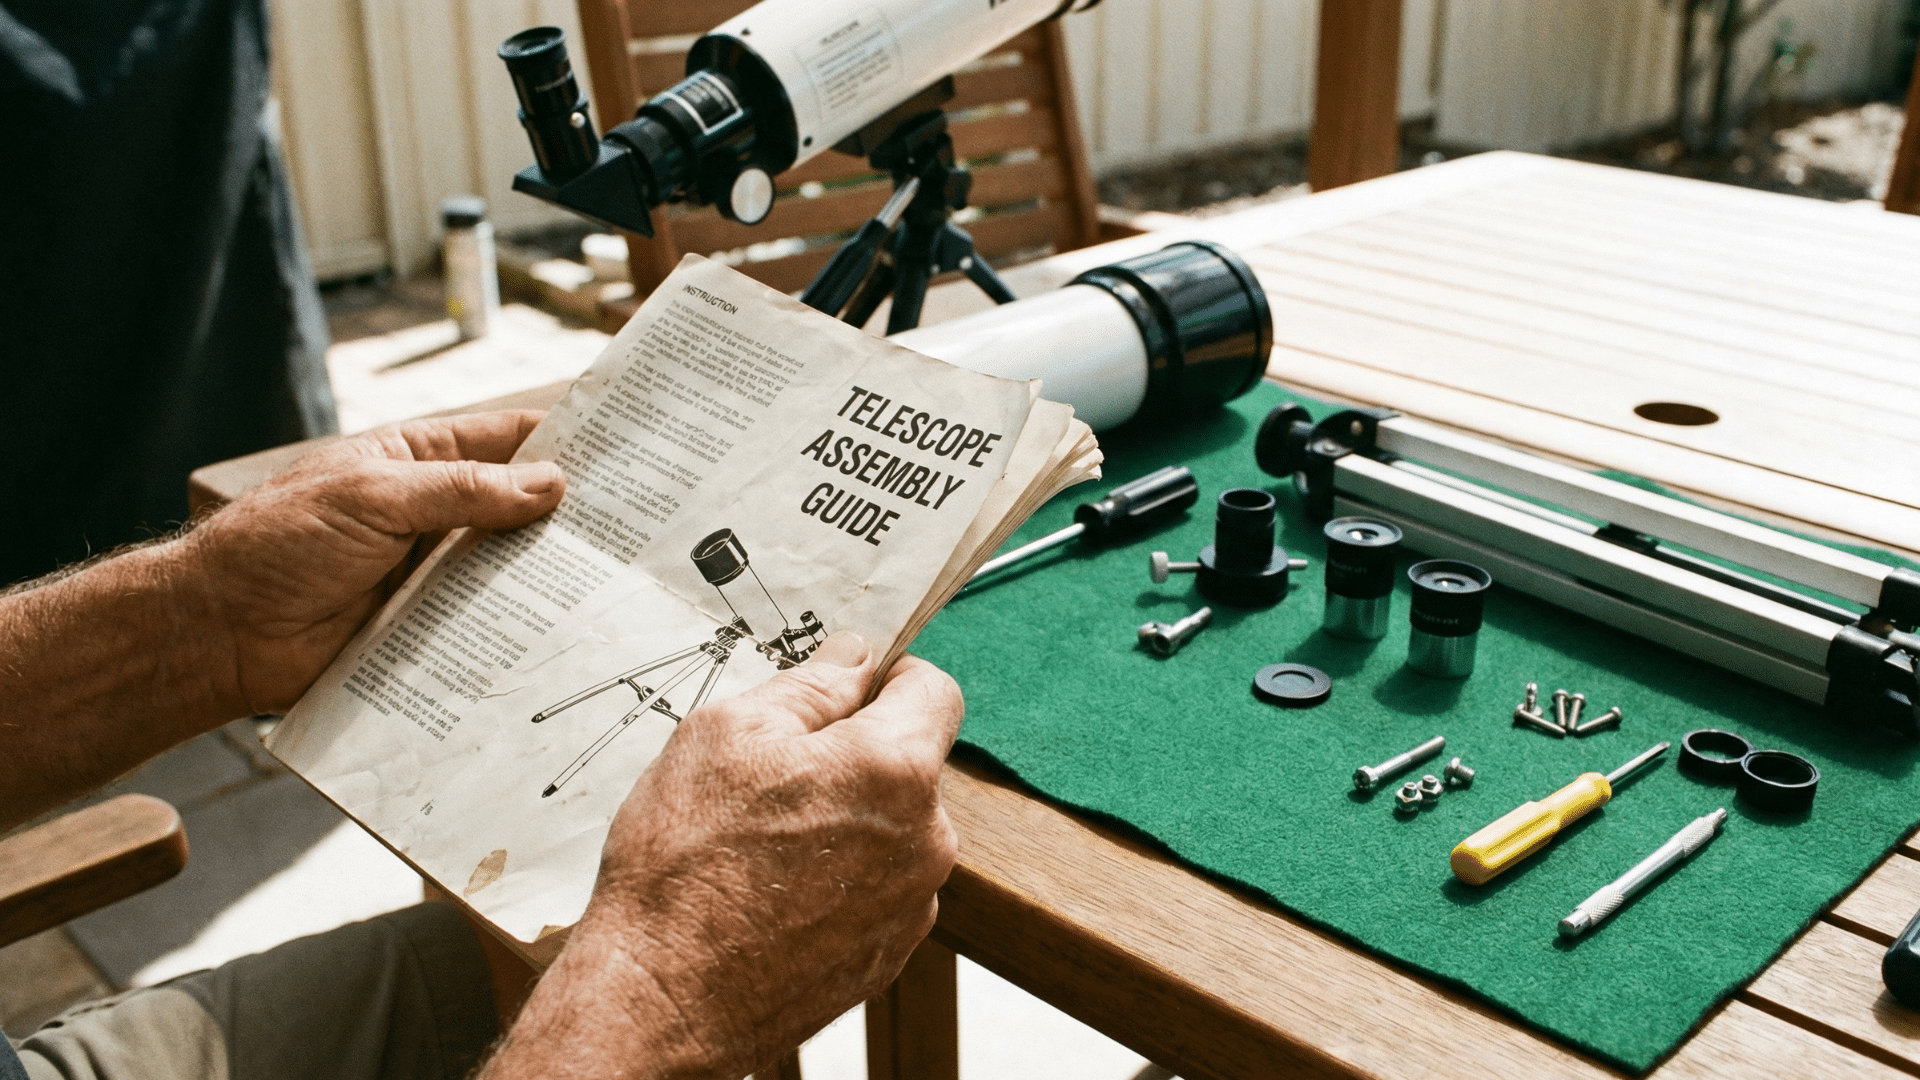
Before doing anything else, read the manual that came with your telescope. Even if it’s short, it helps you learn how your telescope works. It will show you how to set up, clean, and store your scope safely. Each model can be a little different.
Step 2: Set it Up in Daylight First
It’s easier to learn how to use your telescope in daylight. You can see everything clearly and check that all the parts work. Pick a clear, open spot like your backyard. Make sure the ground is flat so your telescope stays steady.
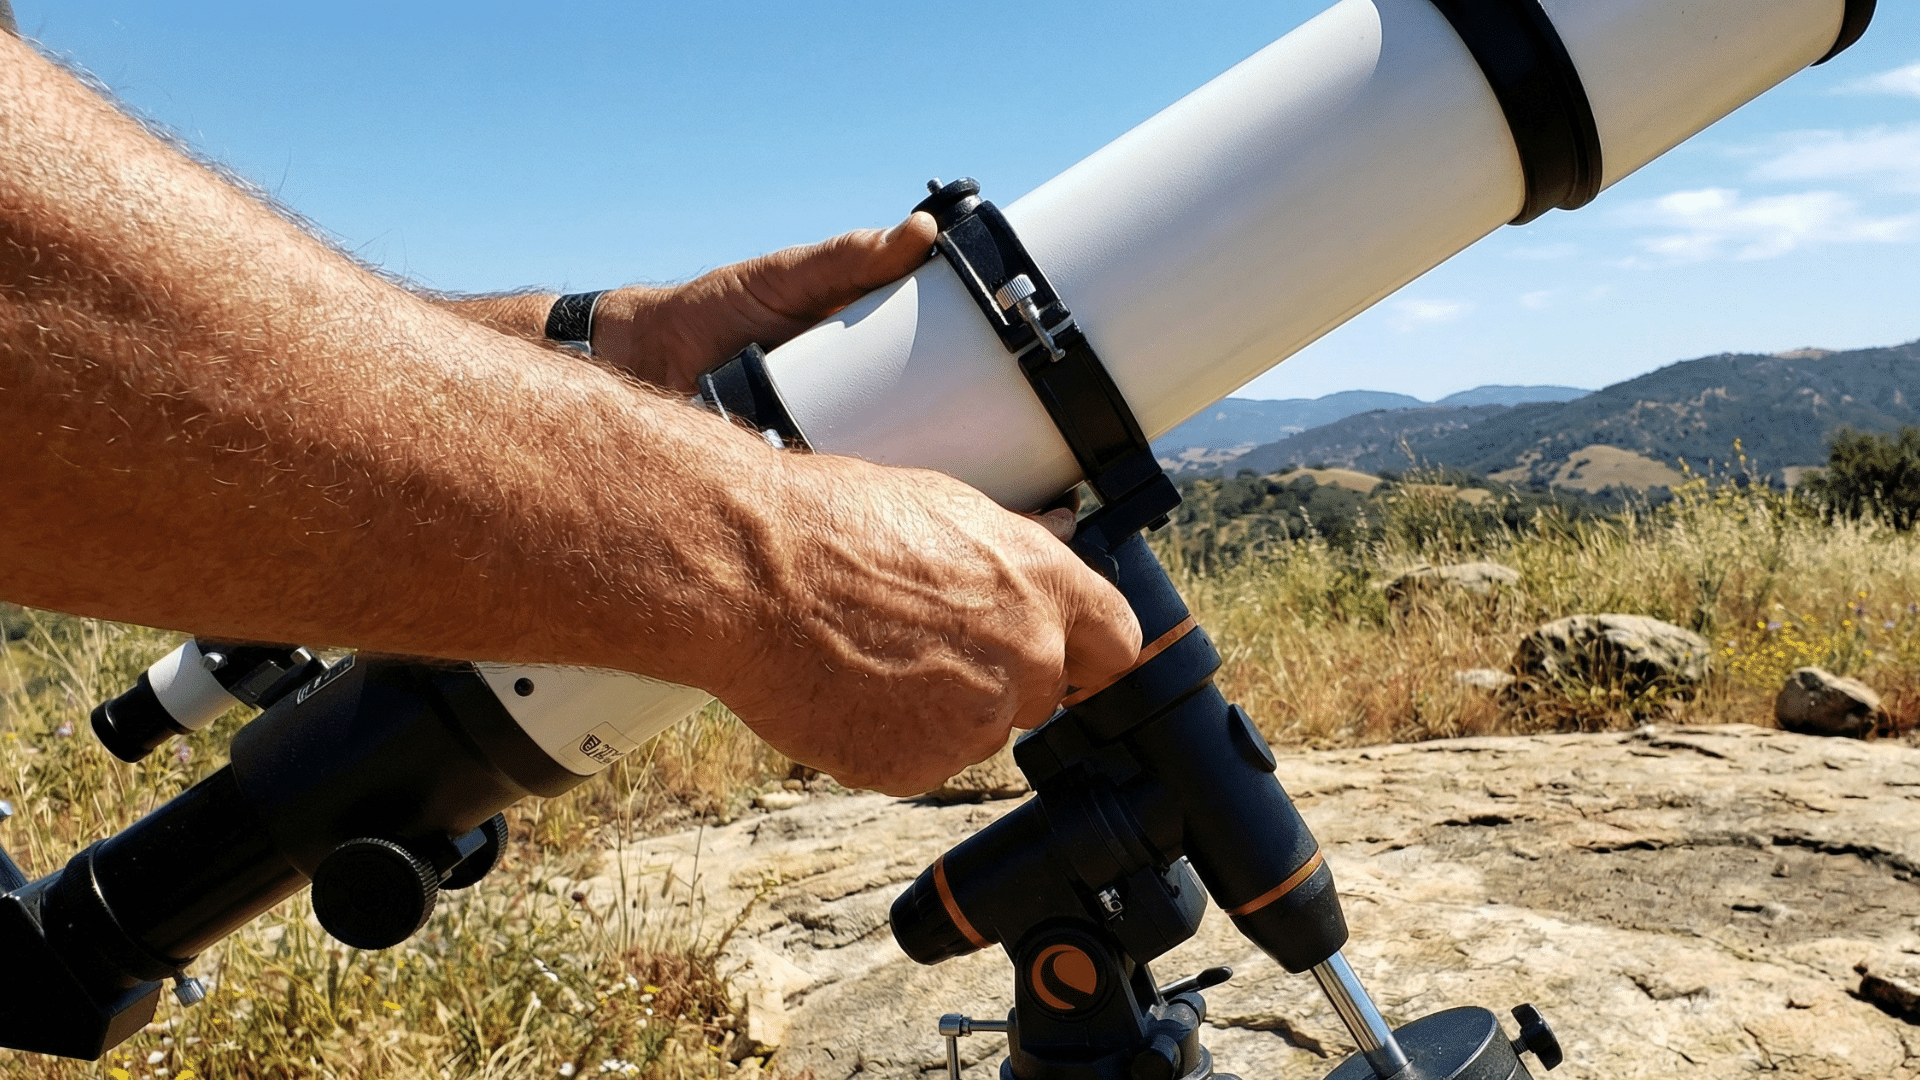
Step 3: Balance and Align the Scope
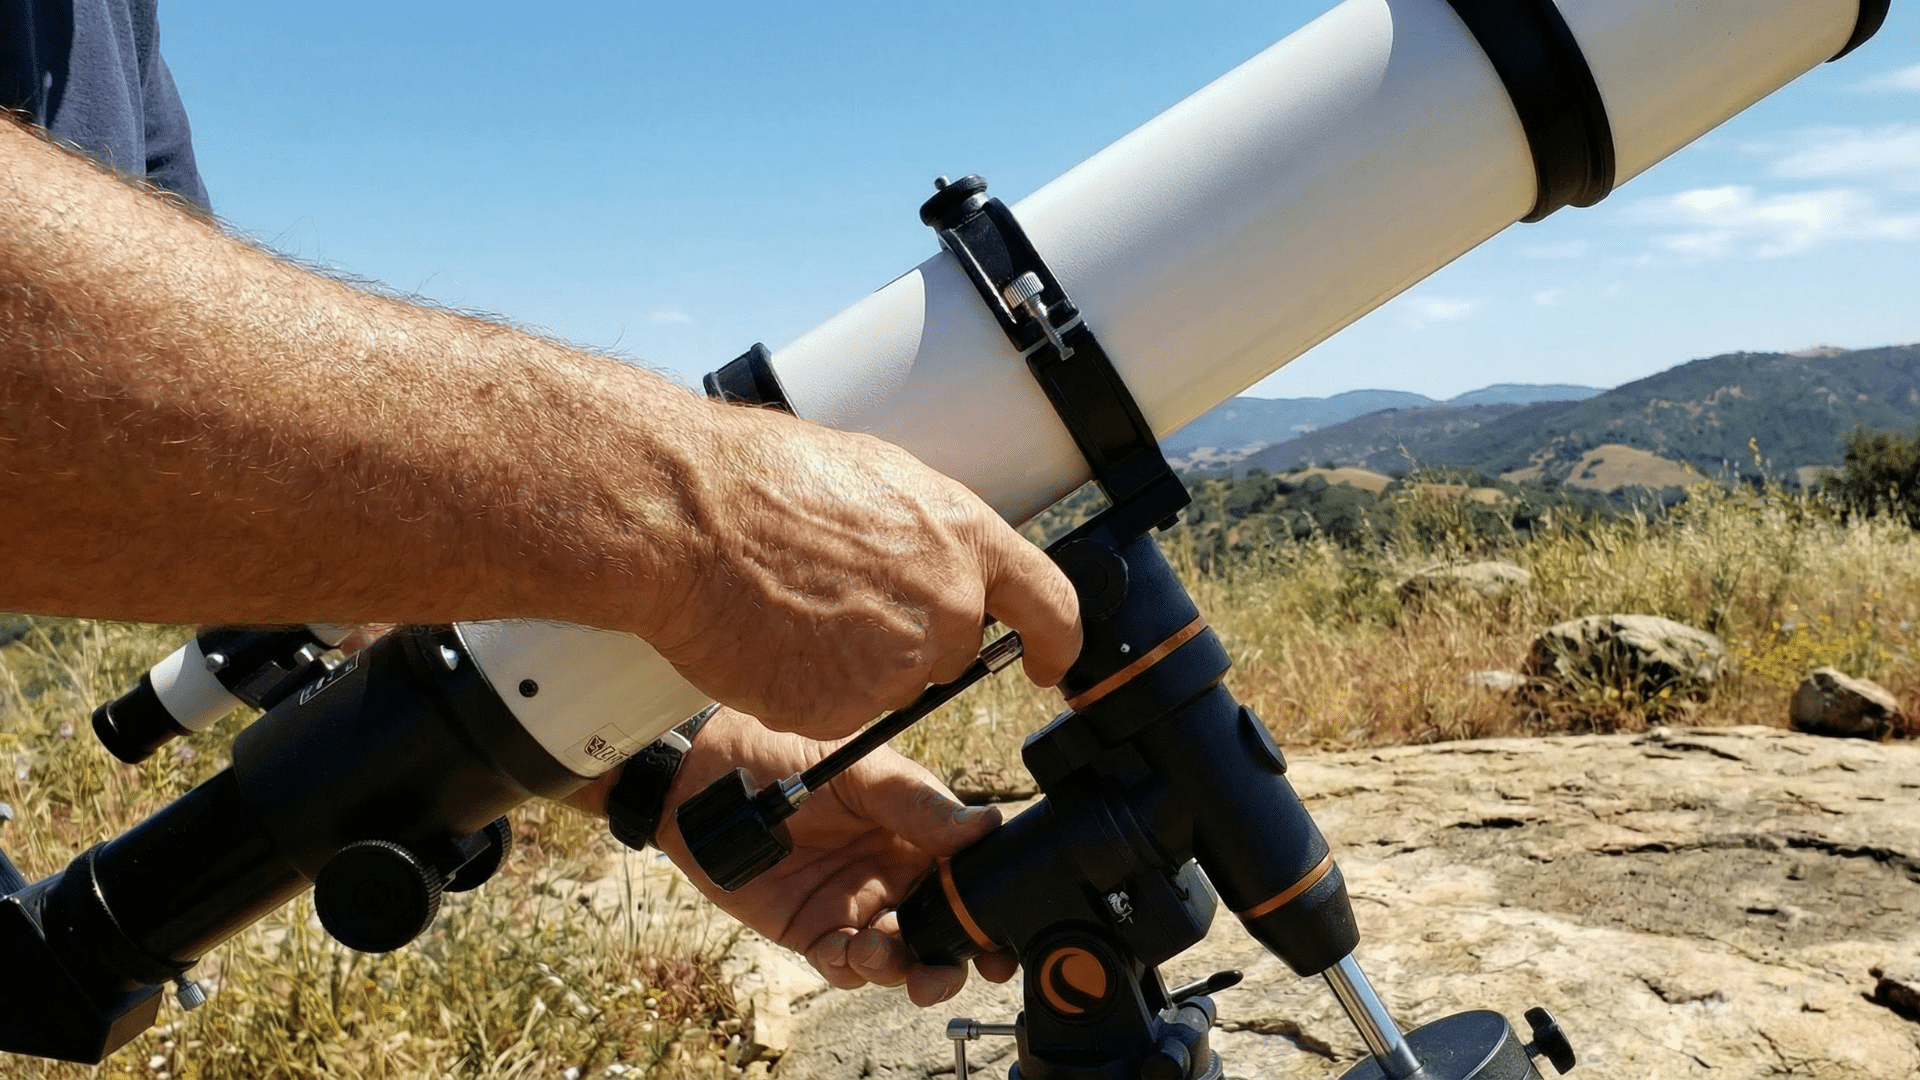
Your telescope needs to be balanced to stay still when you point it at the sky. Follow these steps:
- Tighten all knobs gently.
- Make sure the mount is firm but not too tight.
- If it has counterweights, use them as shown in the manual.
- Look through the finder scope and make sure it lines up with the main telescope.
Point your telescope at a faraway object, like a tree or building, to check alignment.
Step 4: Practice Using the Finder Scope
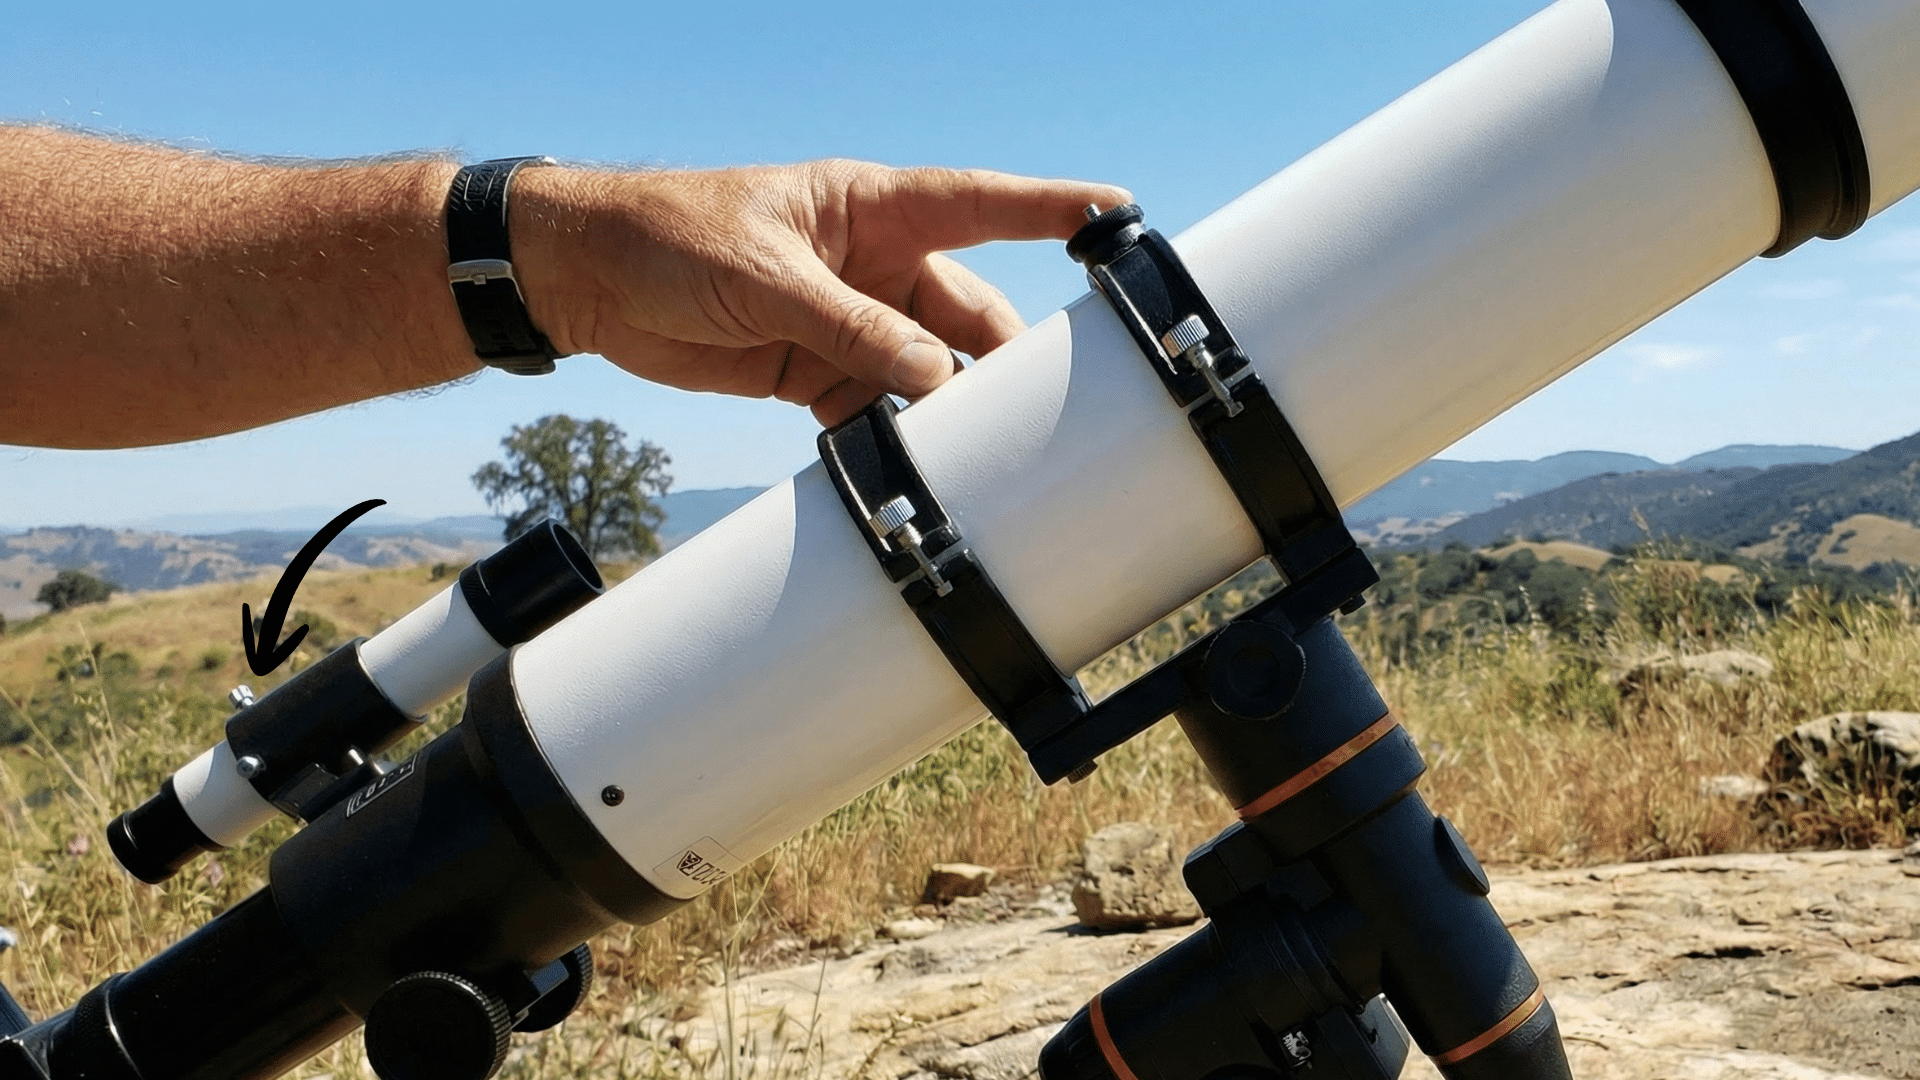
The finder scope is like a mini telescope on top. You use it to aim. The object you see in the finder should also appear in the main eyepiece. If not, adjust it.
Here’s how:
- Look through the finder at a still object.
- Then check the main view.
- Use the small screws on the finder to center the same object in both views.
This saves time later when you try to aim at stars or planets.
Step 5: Learn to Focus
Use the focuser knob to sharpen the image. Start by looking at an object like a tree during the day. Turn the focuser slowly until the view becomes clear.
At night, focusing may take longer. Stars can look like blobs at first. Be patient and adjust gently.
Step 6: Start with Low Power Eyepieces
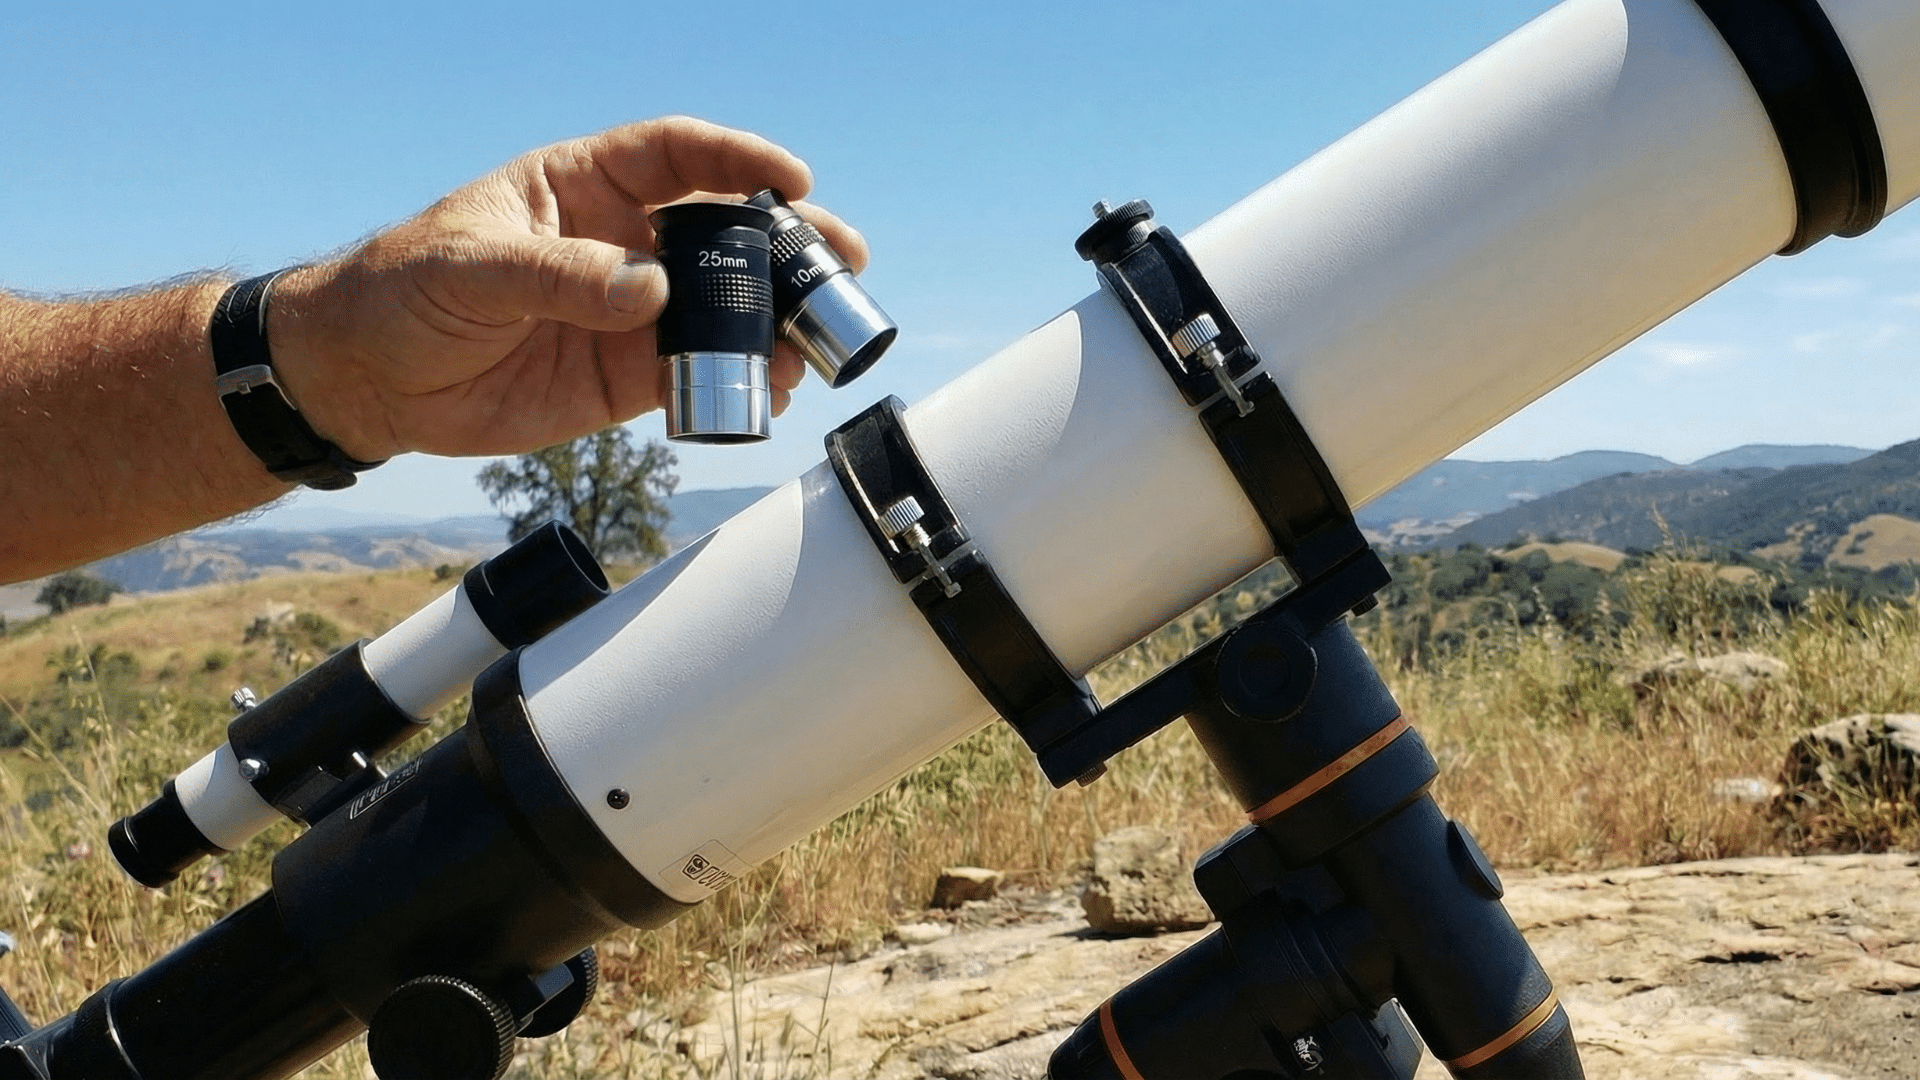
Most telescopes come with more than one eyepiece. Each has a number on it, like 25mm or 10mm. The higher the number, the lower the magnification.
Start with the eyepiece with the biggest number. It gives a wider view, which makes it easier to find things. Once the object is in view, you can switch to a smaller number for a closer look.
Beginner-Friendly Objects to See in Space
When using a telescope for the first time, it’s best to start with simple and bright objects. These targets are easier to find and can be seen even with a basic telescope.
| Object | Why It’s Good for Beginners | What You Might See |
|---|---|---|
| The Moon | Bright, easy to find, always changing | Craters, shadows, mountain edges |
| Jupiter | One of the brightest planets | The planet itself and 4 small moons |
| Saturn | Stunning when visible, even in small scopes | Planet shape and rings (in good conditions) |
| Bright Stars | Great for practice, aiming, and focusing | Clear, steady light from stars like Sirius |
| Star Clusters | It can be seen with basic telescopes, and it’s fun to explore | Groups like the Pleiades (Seven Sisters) |
Helpful Apps for Finding Stars and Planets
To find things in the sky, use a printed star map or a smartphone app. Many apps show a live sky view when you point your phone up. They can help you locate the moon, planets, and constellations.
Some popular apps for beginners:
- SkySafari
- Stellarium
- Star Walk 2
- SkyView
These tools make it much easier to know what you’re looking at.
How to Clean and Store Your Telescope
Taking care of your telescope helps it last longer and work well every time you use it. Never touch the glass with your fingers, as oils from your skin can leave smudges.
If dust builds up, gently remove it with a soft brush or an air blower. If the lens needs extra cleaning, use a lens cloth made for cameras or glasses; never use tissues or paper towels, as they can scratch the surface.
When you’re done using the telescope, keep it covered to protect it from dust. Store it in a dry place, away from moisture, to avoid damage over time.
Common Problems and Fixes
It’s normal to run into a few minor problems your first time using a telescope. Don’t worry, most issues are easy to fix once you know what to check. Below are some quick solutions to help you get back to stargazing.
The View is Blurry
- Turn the focuser slowly until the image becomes clear.
- Check that the lenses are clean and free from dust or smudges.
- Give the telescope time to adjust to the outdoor temperature.
Can’t Find the Object
- Use the finder scope to help aim more accurately.
- Start with a low-power eyepiece for a wider view.
- Double-check a star map or app to make sure you’re pointing in the right place.
Telescope Shakes Too Much
- Place the telescope on flat, solid ground.
- Try not to touch the telescope while looking through it.
- If it’s windy, wait for calmer conditions or find shelter from the breeze.
Tips for Your First Night
The first time you use a telescope at night can feel exciting but also a little tricky. A few simple tips can help make the experience easier and more fun:
- Dress warm. Nights can be colder than you think, even in warmer seasons.
- Give your eyes time to adjust. It takes 15–30 minutes for your eyes to adapt to the dark fully.
- Use a red flashlight. It helps you see your gear without losing your night vision.
- Stay patient. It might take time to find and focus on objects, and that’s okay.
- Avoid city lights. A darker area gives you a much better view of the sky.
Final Thoughts
Now that you know the basics, using a telescope can feel a lot less confusing. You’ve learned how to set it up, what to look for, and how to handle common problems.
The night sky is full of amazing things, and you don’t need fancy tools to enjoy them. A little practice goes a long way.
Each time you use your telescope, your skills will grow. Don’t rush. Just enjoy the process. Keep notes, try new tips, and stay curious.
Ready to begin your stargazing journey? Start small, look up tonight, and see what your telescope can show you. Have fun out there!