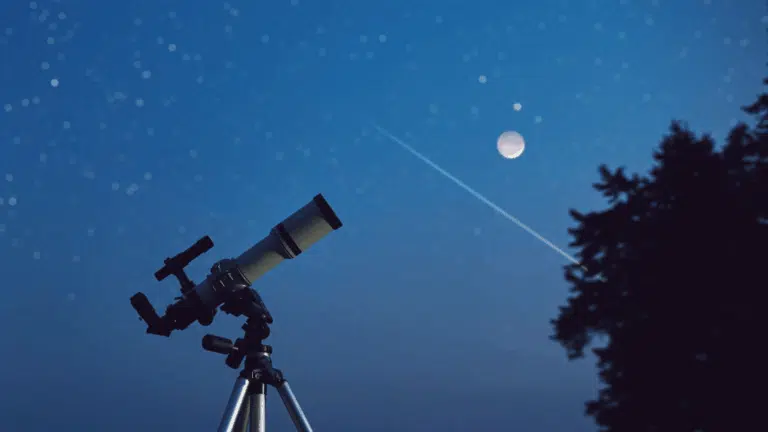

Ever looked up at a star-filled sky and wished you could capture that magic?
Most people think photographing the Milky Way requires years of experience. But the truth is, it doesn’t. With a few simple techniques and the right settings, anyone can take stunning night sky photos.
The secret isn’t in having pro equipment. It’s about knowing when, where, and how to shoot.
This blog will explain everything you need to photograph the Milky Way like a seasoned pro, from choosing the perfect location to nailing the camera settings that make stars pop.
Basics of Astrophotography You Should Know Before Starting
Astrophotography might sound technical, but the basics are pretty straightforward. First off, a camera with manual settings is essential.
Automatic mode won’t cut it when shooting in near darkness. A sturdy tripod is just as important because exposures can last 15 to 30 seconds, and any shake ruins the shot.
Understanding the exposure triangle, ISO, aperture, and shutter speed makes all the difference.
Higher ISO captures more light but adds grain. A wide aperture lets in maximum light. Shutter speed needs to be long enough to gather starlight but short enough to avoid star trails.
Location matters too. Light pollution from cities washes out faint stars, so finding dark skies is crucial. Clear nights with minimal moon interference offer the best conditions.
Minimal Essential Gear for Milky Way Photography
Getting started with Milky Way photography doesn’t mean breaking the bank. A few key pieces of equipment can make a world of difference. Here’s what really matters for capturing those stunning night sky shots.
| Gear | What to Look For |
|---|---|
| Camera | DSLR or mirrorless with manual mode and high ISO capability |
| Lens | Wide-angle lens (14-24mm) with f/2.8 or wider aperture |
| Tripod | Sturdy and stable, preferably with a ball head for easy positioning |
| Remote Shutter Release | Prevents camera shake during long exposures |
| Extra Batteries | Cold nights drain battery life quickly |
| Headlamp with Red Light | Preserves night vision while adjusting settings |
| Memory Cards | High-capacity cards for RAW files |
Step-By-Step Instructions on How to Photograph the Milky Way
Taking stunning Milky Way photos involves more than just pointing and shooting. Following these steps ensures everything from location to focus is dialed in perfectly for those breathtaking shots.
1. Find Dark Locations and Check Light Pollution

Light pollution is the biggest enemy of night sky photography.
Use tools like Dark Site Finder or LightPollutionMap to scout locations rated Bortle Class 1-3. These areas sit far from city lights and offer truly dark skies where the Milky Way shines brightest.
National parks, rural areas, and high-altitude spots work best. Check the map ahead of time and plan the route since many dark locations require driving on remote roads at night.
2. Time It Right: Best Seasons and Moon Phases
Timing makes or breaks a Milky Way shoot. Target new moon nights when the sky is darkest, and stars pop without competing with moonlight.
The PhotoPills app simplifies planning; just drop a Red Pin at the location, activate the Milky Way layer, and slide the Time Bar to see exactly when and where it appears.
The summer months from March to October offer the best visibility in the Northern Hemisphere when the galactic core rises.
3. Scout Foreground and Composition
A great Milky Way photo needs an interesting foreground. Visit the location during the day to scout compelling landscapes such as mountains, rock formations, or lone trees.
Use the AR view feature in PhotoPills to visualize how the Milky Way will align over chosen subjects. This preparation saves time and frustration when shooting in darkness.
Mark spots with GPS coordinates and takes test shots to nail composition before stars appear overhead.
4. Perfect Camera Settings for Sharp Milky Way Photos
| Setting | Recommended Value | Why It Matters |
|---|---|---|
| Mode | Manual | Full control over exposure in darkness |
| Aperture | f/2.8 or lower | Gathers maximum light from faint stars |
| ISO | 3200-6400 | Increases sensor sensitivity for dark skies |
| Shutter Speed | 15-25 seconds | Use 500 Rule: 500 ÷ focal length (e.g., 500 ÷ 20mm = 25s) |
| File Format | RAW | Preserves maximum detail for editing |
| White Balance | 3900K | Produces natural star colors |
| Focus | Manual | Autofocus doesn’t work in low light |
Check the histogram after test shots to ensure proper exposure without blown highlights or crushed shadows.
5. Mastering Night Sky Focusing Techniques
Getting a razor-sharp star requires manual focus since autofocus struggles in darkness. Follow these steps for perfect focus every time:
- Switch the lens to manual focus mode
- Activate Live View on the camera screen
- Find a bright star in the frame
- Zoom in 10x on that star using Live View
- Slowly turn the focus ring until the star becomes a tiny pinpoint
- Take a test shot and review at 100% magnification
- Adjust the focus ring if stars appear soft or bloated
- Lock focus or mark the ring position with tape
6. Fine-Tune Settings and Shoot Multiple Frames

After reviewing the test shot, make small tweaks to settings if needed.
Bump ISO up slightly for brighter stars or lower it to reduce noise. Adjust the shutter speed if star trails appear. Once the settings look good, capture multiple frames of the same composition.
Having several shots provides backup options and allows for stacking images later during editing to reduce noise and bring out fainter details in the Milky Way.
Post-Processing Milky Way Images to Inspire Your Next Shot
Raw night sky photos often look flat and underwhelming straight from the camera. Post-processing brings out hidden details, enhances colors, and transforms decent shots into stunning images worth sharing.
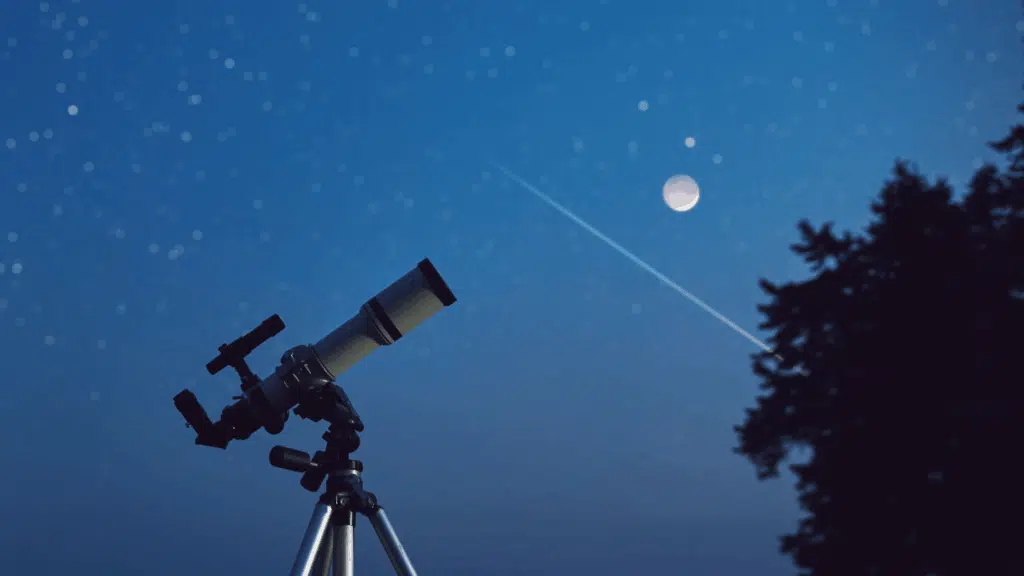
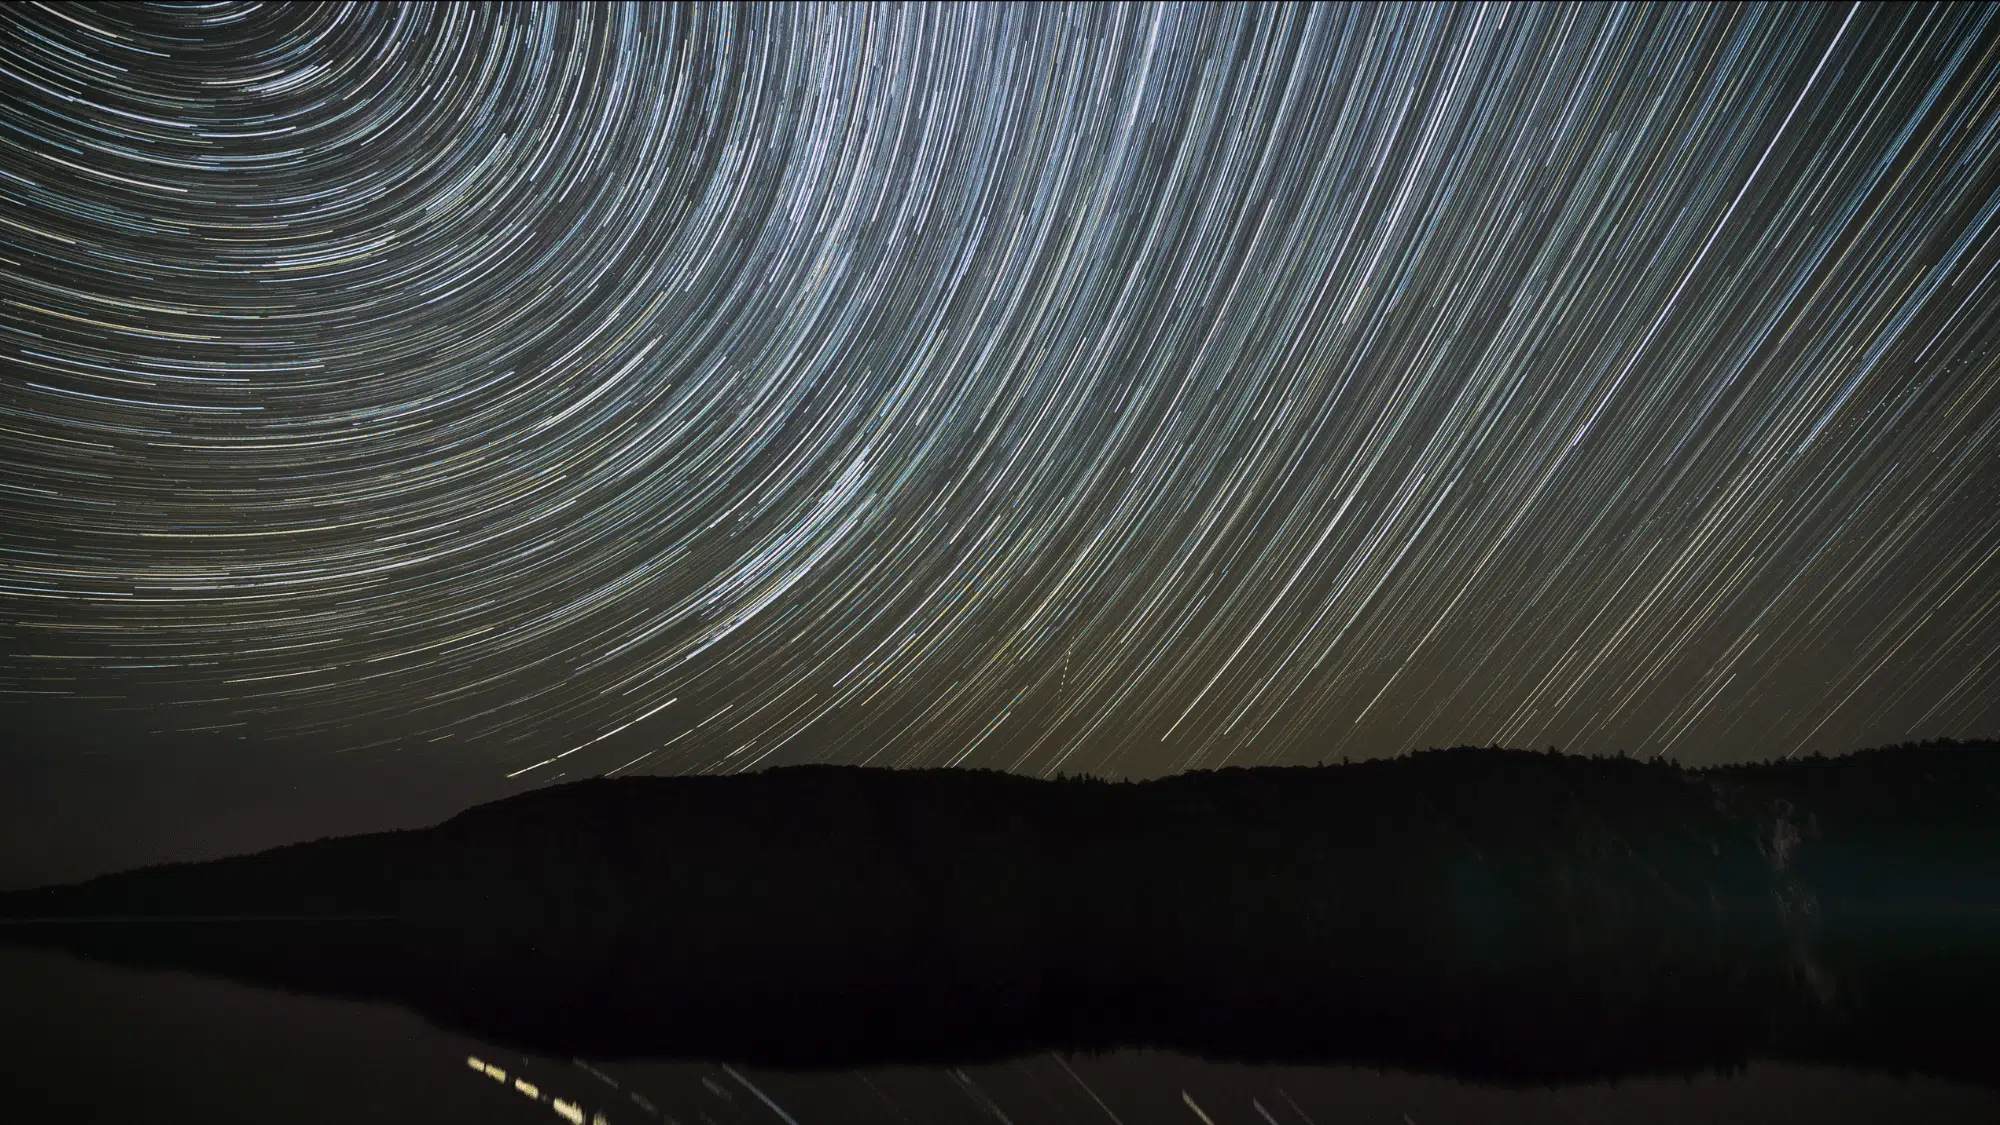
Image 1
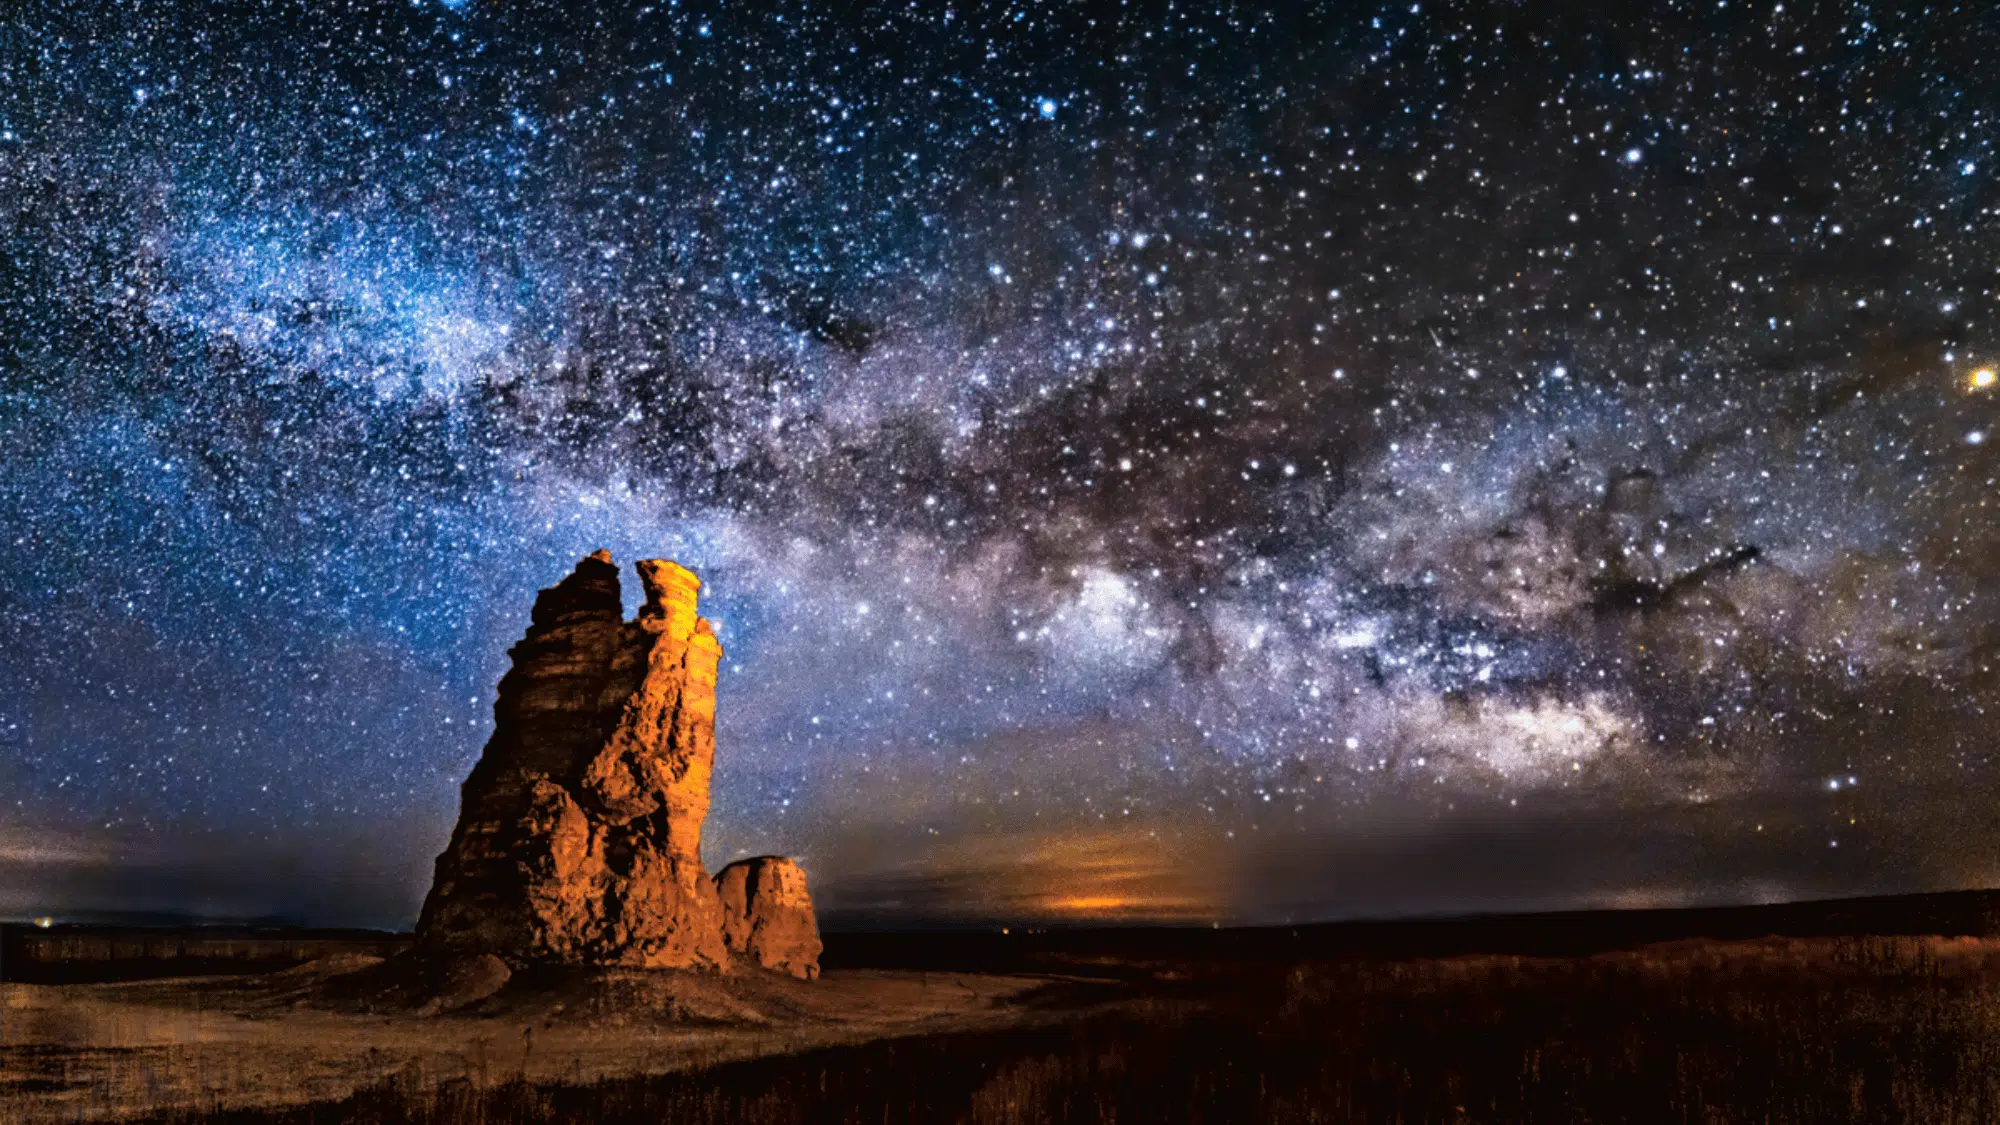
Image Source: Visual Wilderness
A full-frame mirrorless camera with a 24–30MP sensor, high-ISO performance (clean up to ISO 6400), wide dynamic range, and excellent low-light autofocus would have captured this shot.
Paired with a 14–24mm f/2.8 lens, manual focus, ISO 3200–6400, a 20–25s shutter speed, and sturdy tripod support, it captures sharp foreground detail and a bright Milky Way.
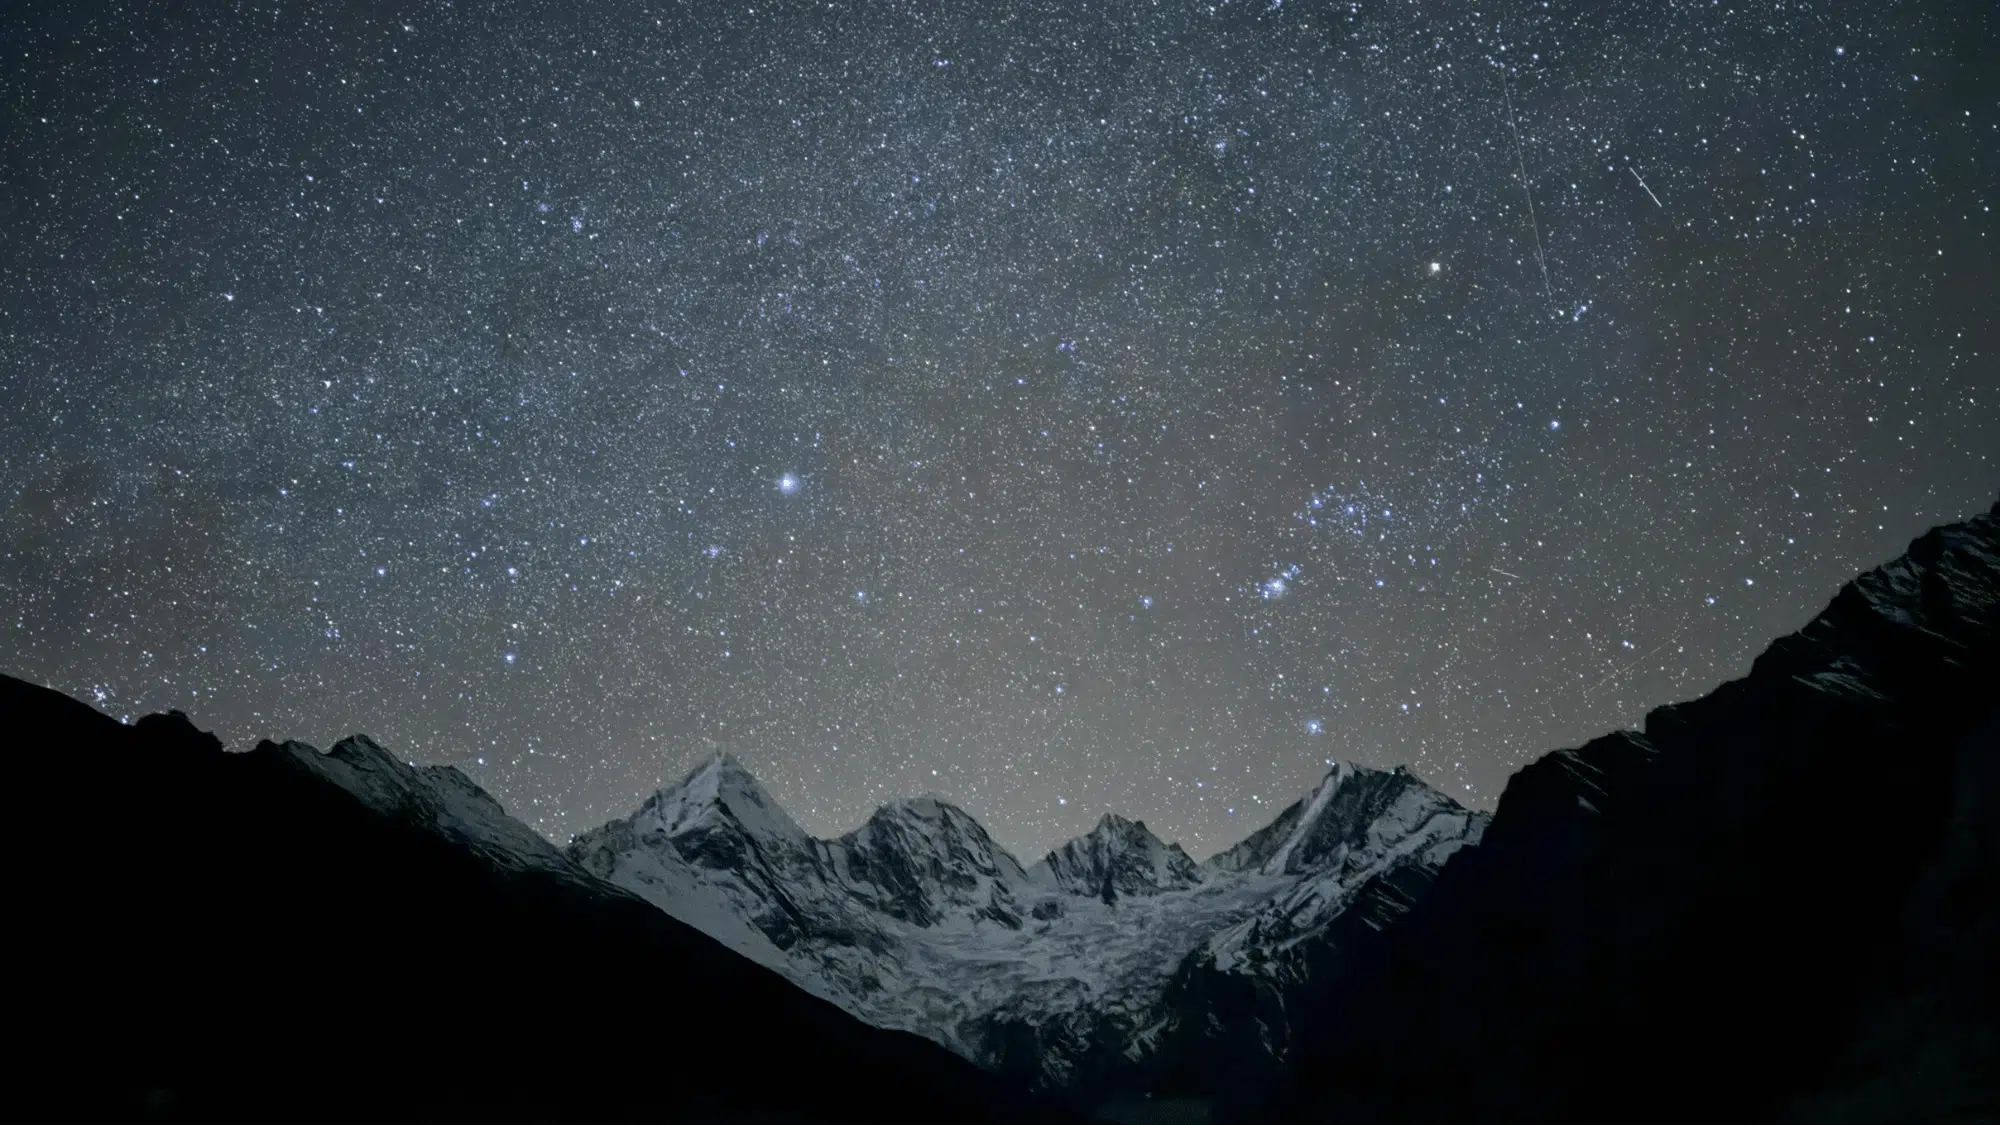
Image 2
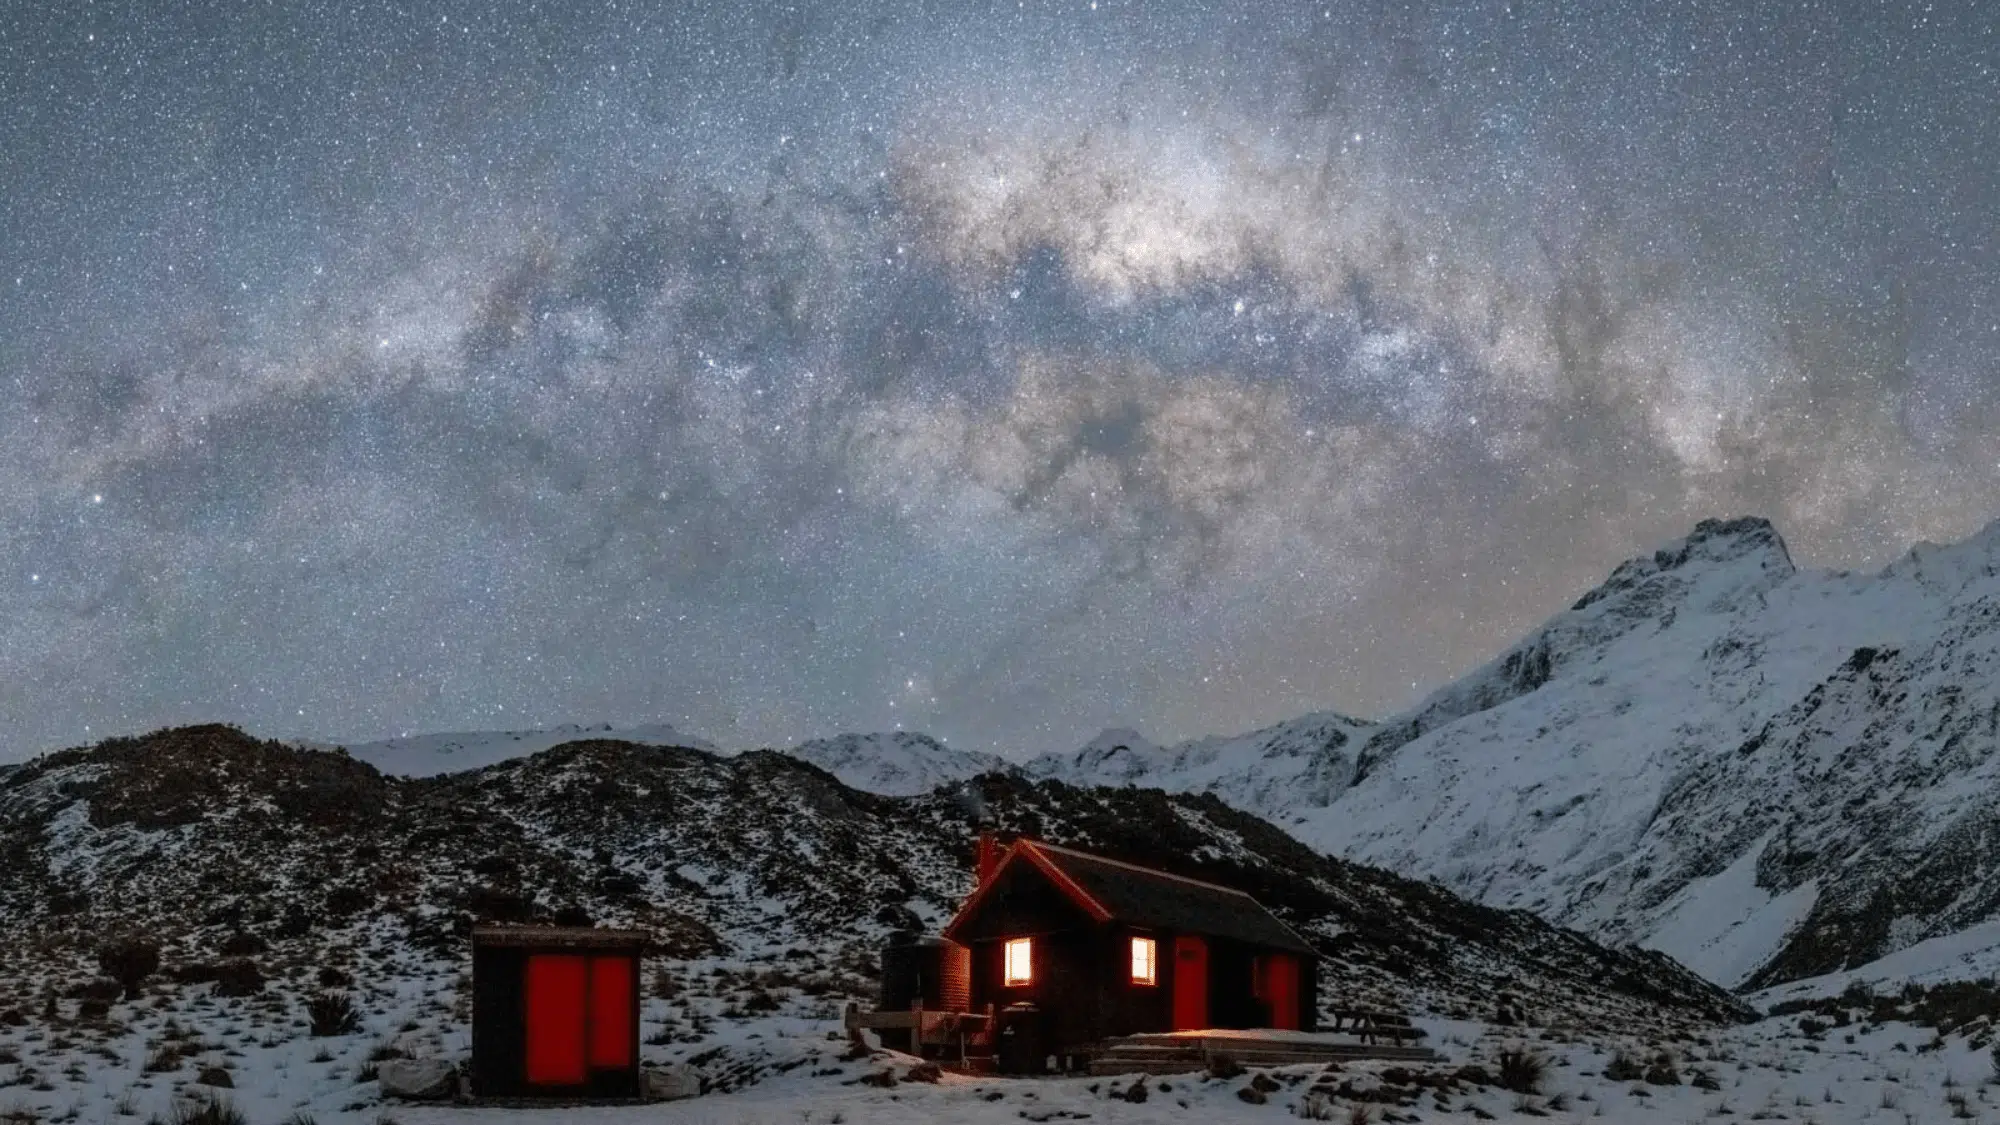
Image Source: Meghan Maloney Photography
A full-frame camera with excellent low-light performance, around 24–30MP, wide dynamic range, and clean results up to ISO 6400 helps achieve this image.
Paired with a 14–24mm or 16–35mm f/2.8 lens, manual focus, ISO 3200–6400, 15–25s shutter, and a stable tripod, it captures the Milky Way, mountain detail, and reflective lake clarity beautifully.
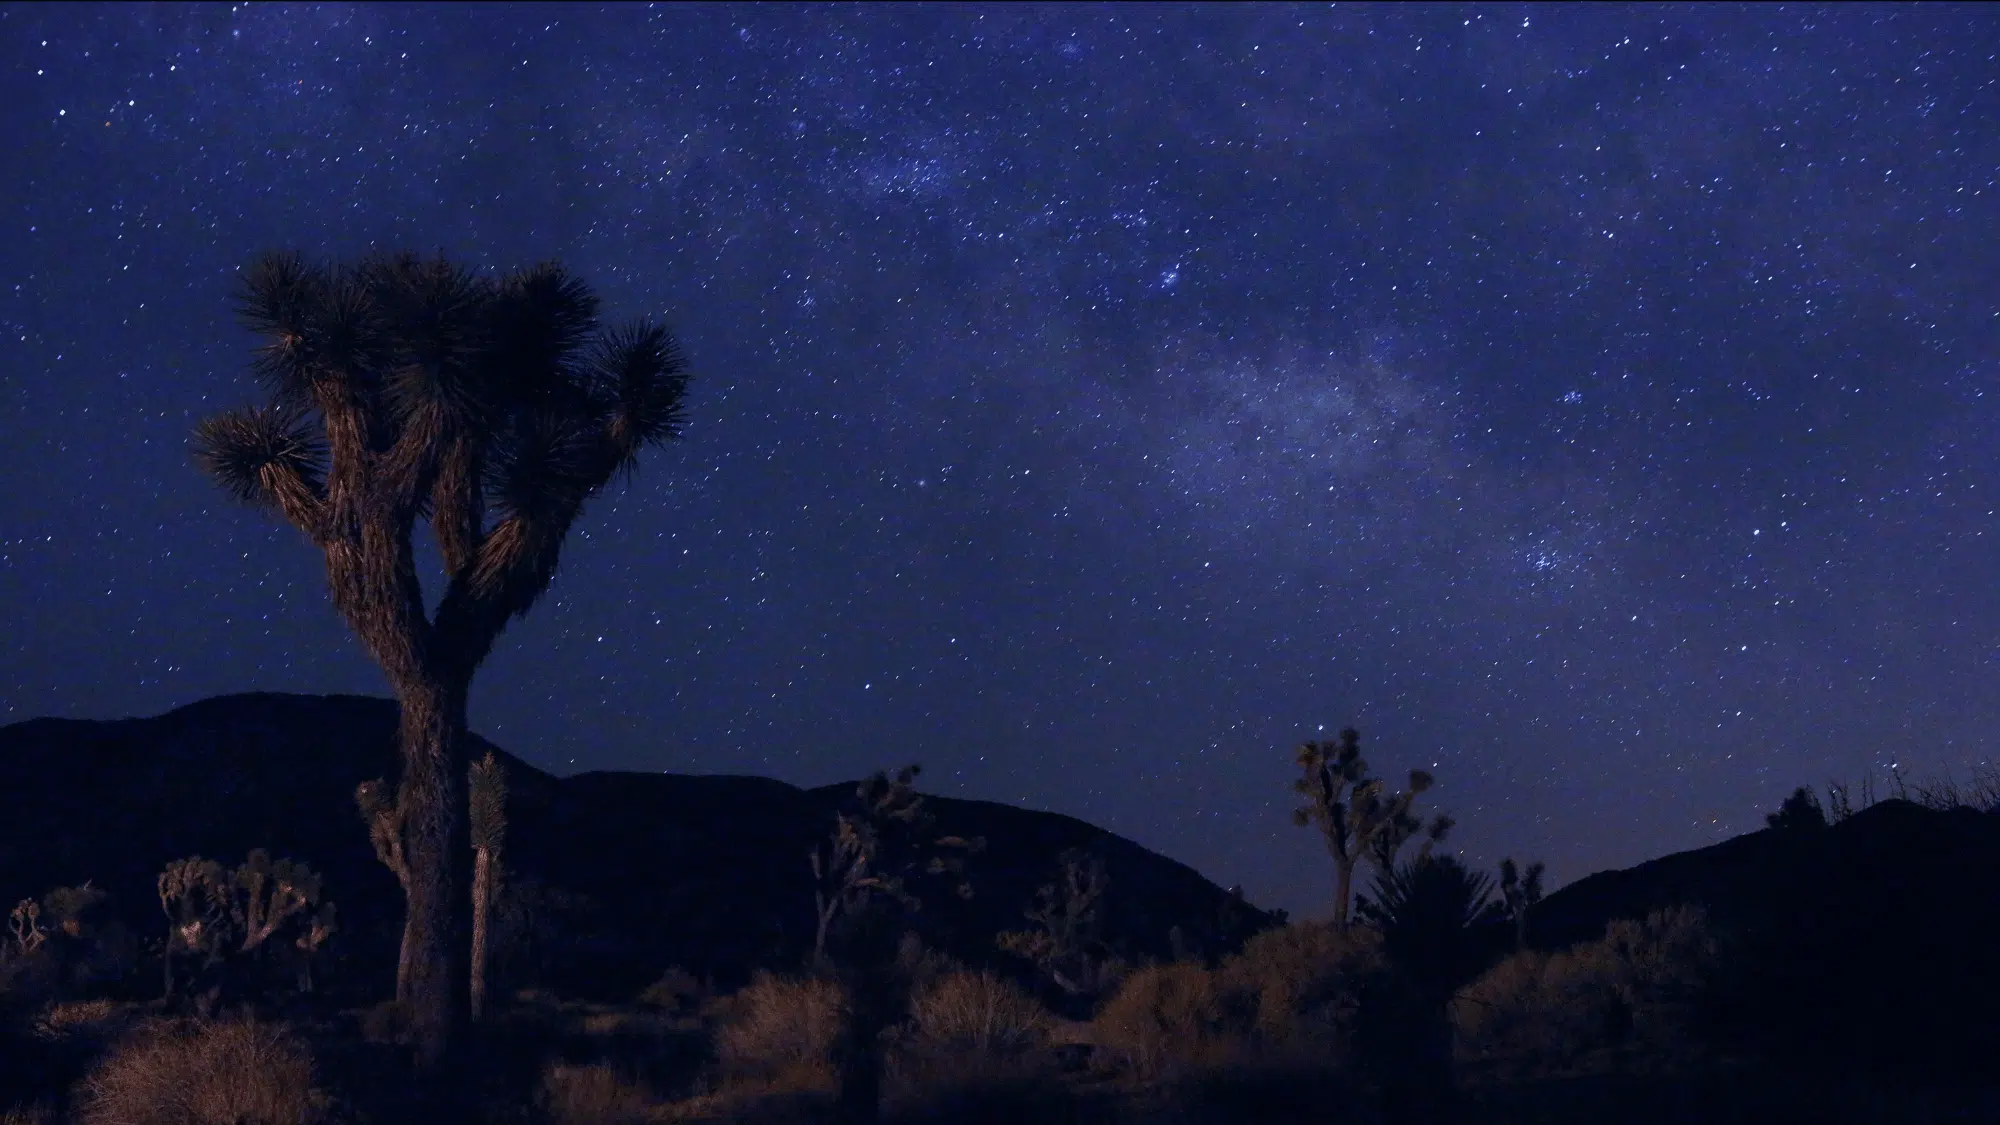
Image 3
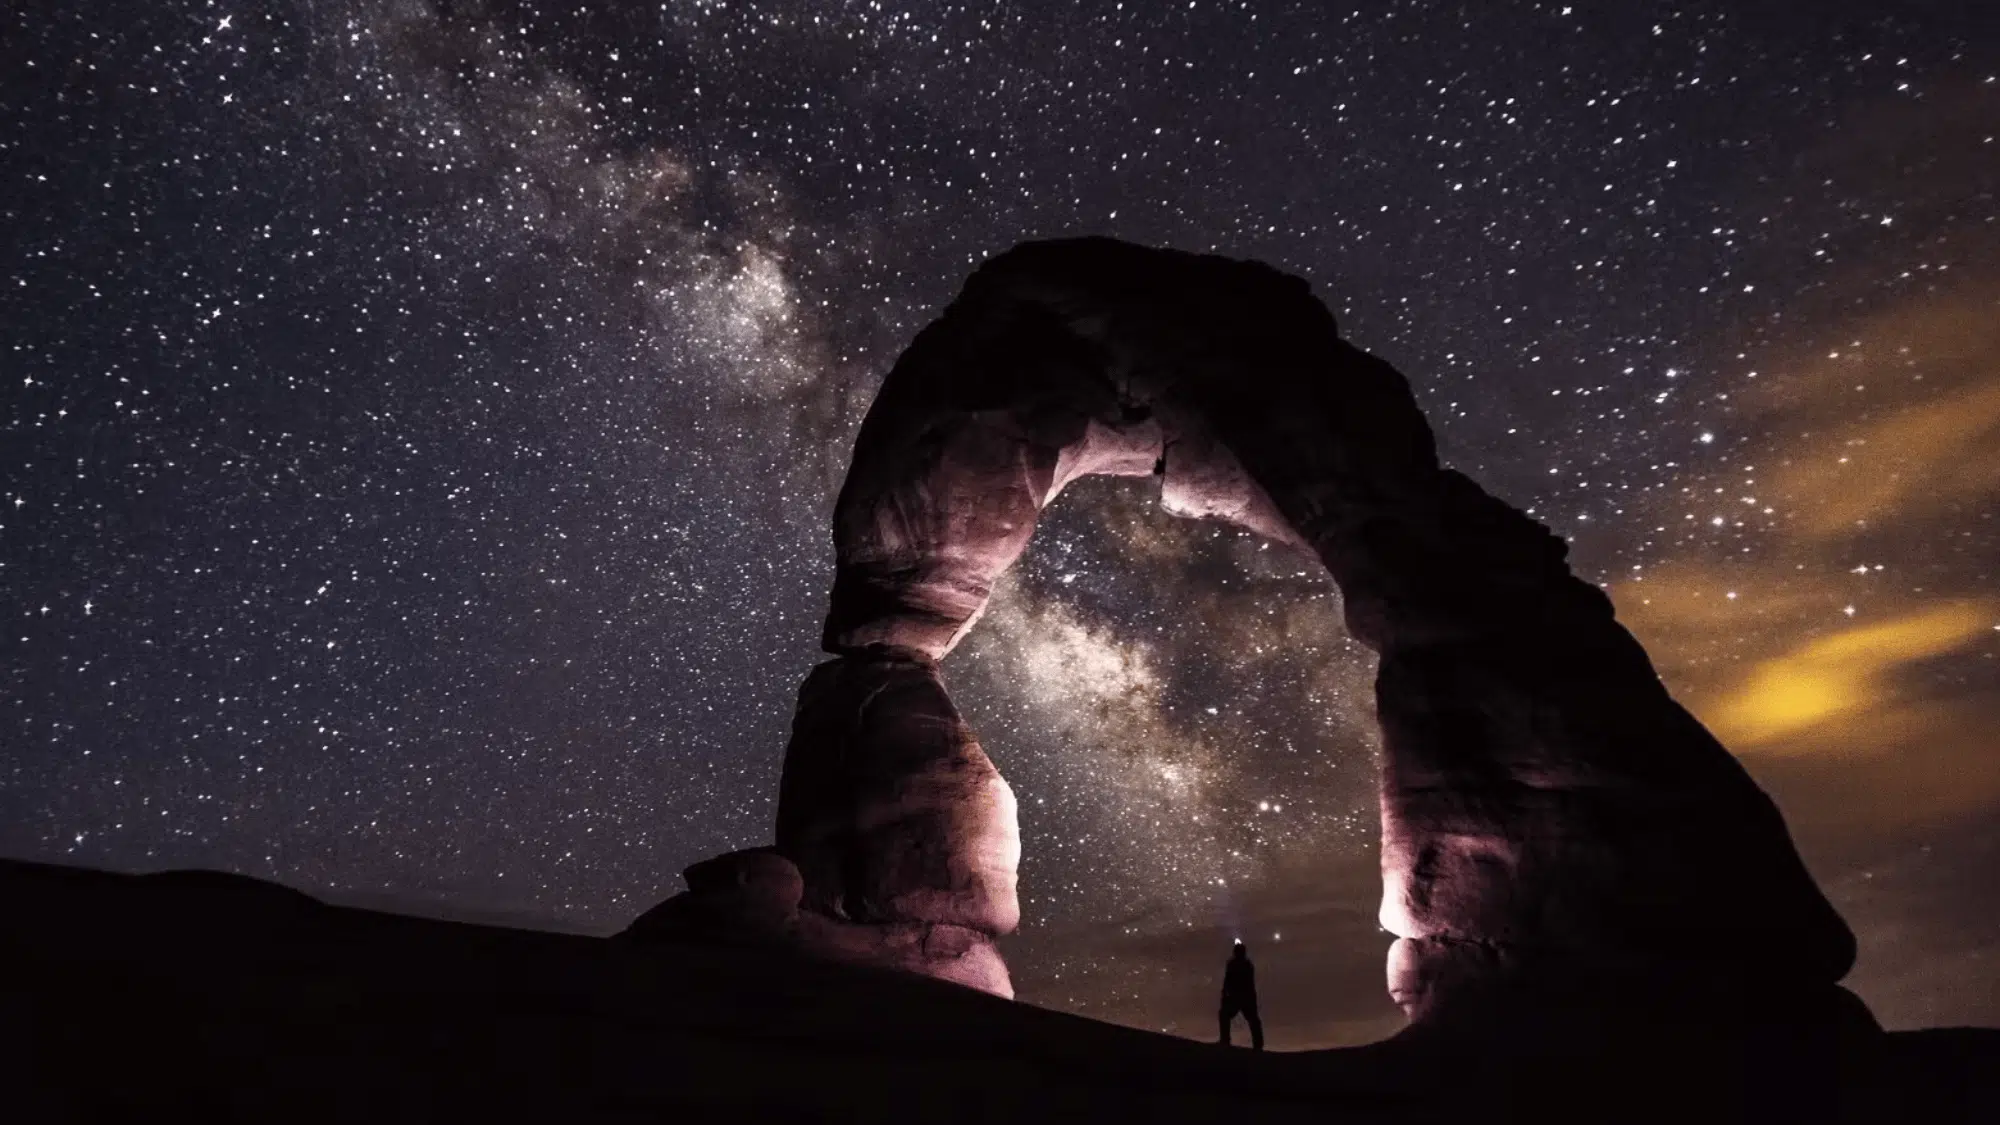
Image Source: Blind
A full-frame camera in the 20–30MP range works well for this kind of Milky Way image.
Strong high-ISO performance, clean files up to ISO 6400, or even 12800, makes it especially helpful. Use a fast wide-angle lens such as a 14–24mm f/2.8 or a 20mm f/1.8.
With settings near ISO 3200–6400 and a 10–20s shutter speed, plus a solid tripod, the arch and stars appear crisp and well-defined.
Image 4
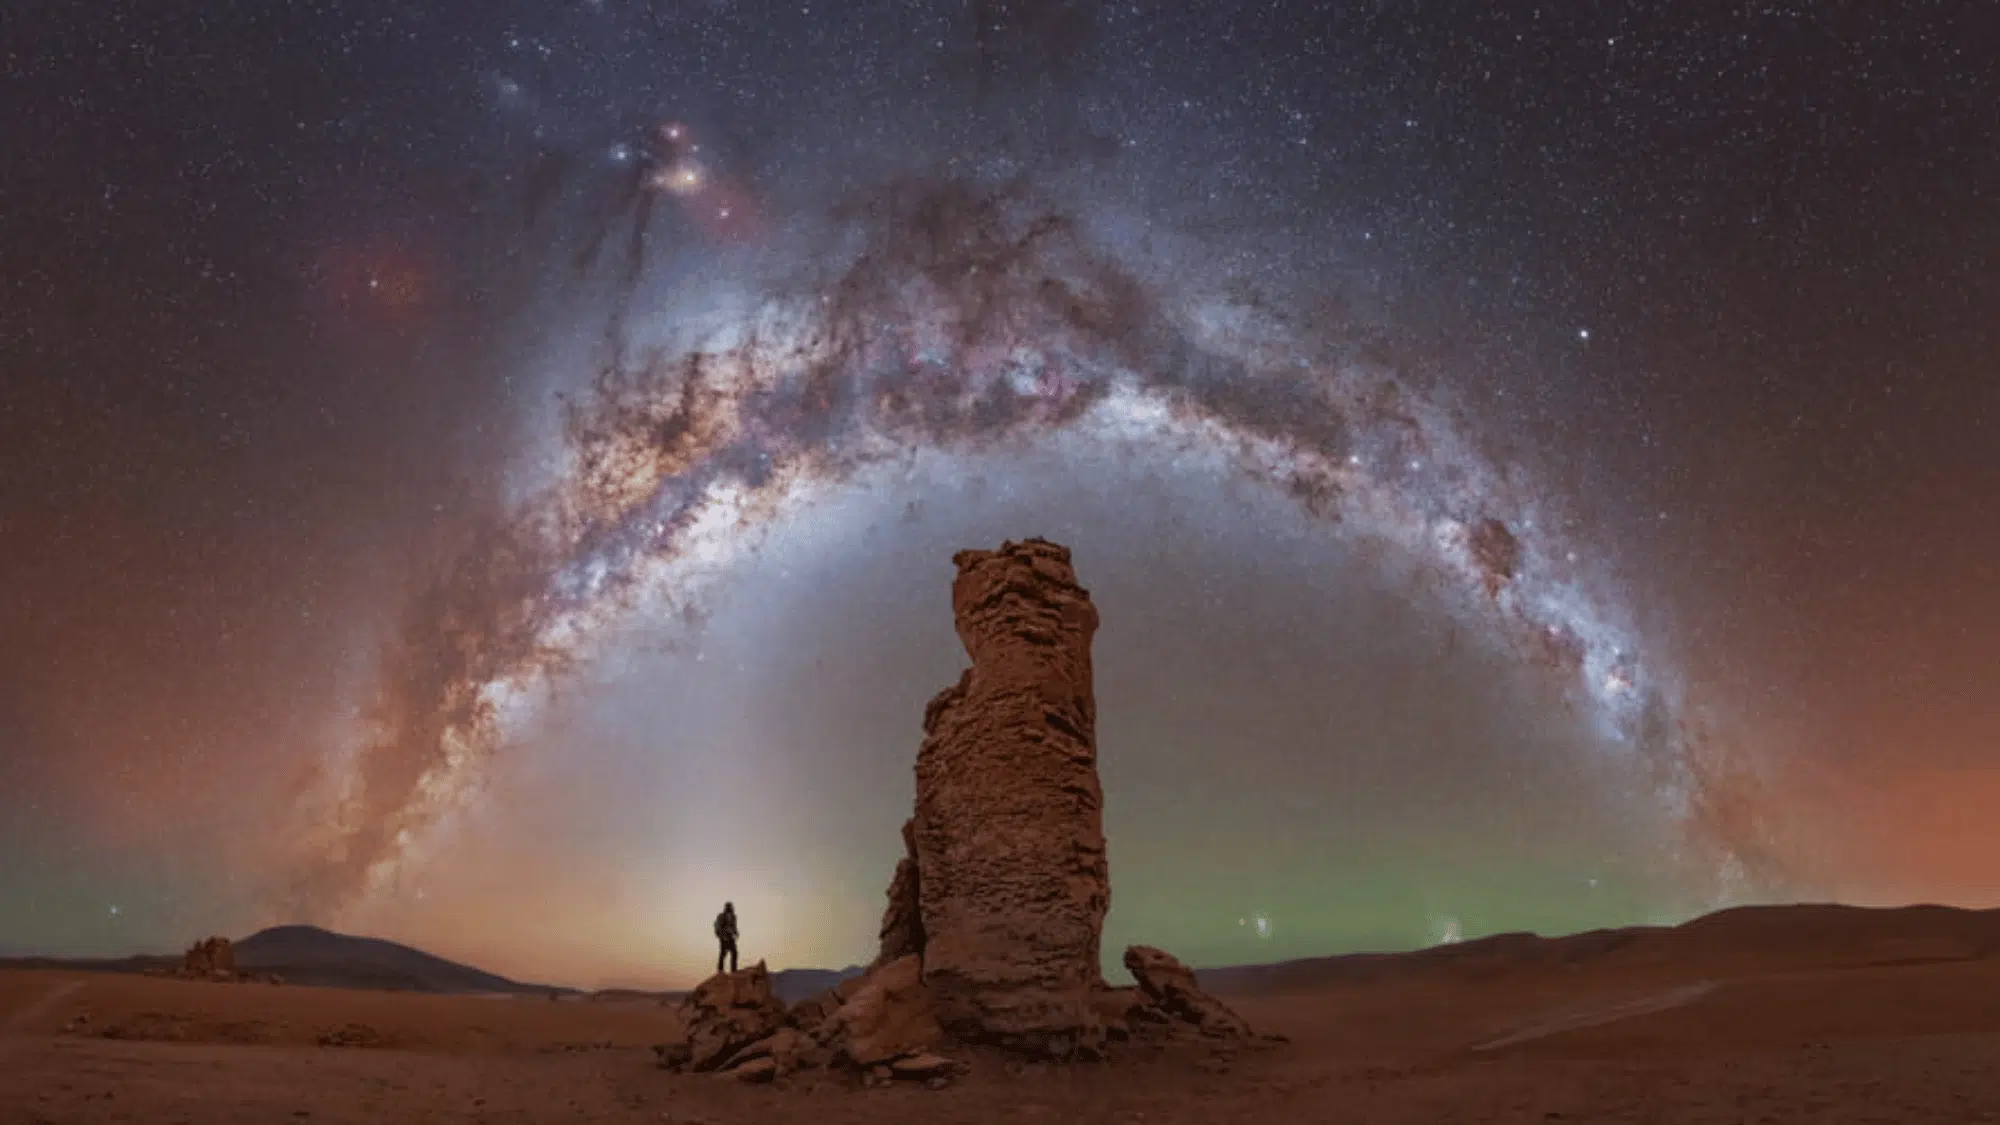
Image Source: Capture the Atlas
A camera with a full-frame sensor around 24–30MP, strong dynamic range, and clean high-ISO performance (up to ISO 6400–12800) is ideal for capturing a sweeping Milky Way like this.
Pair it with a fast wide lens, 14–20mm at f/1.8–f/2.8. Using manual focus, a 10–20s shutter, and a stable tripod allows both the sky arc and desert foreground to stay sharp.
Image 5
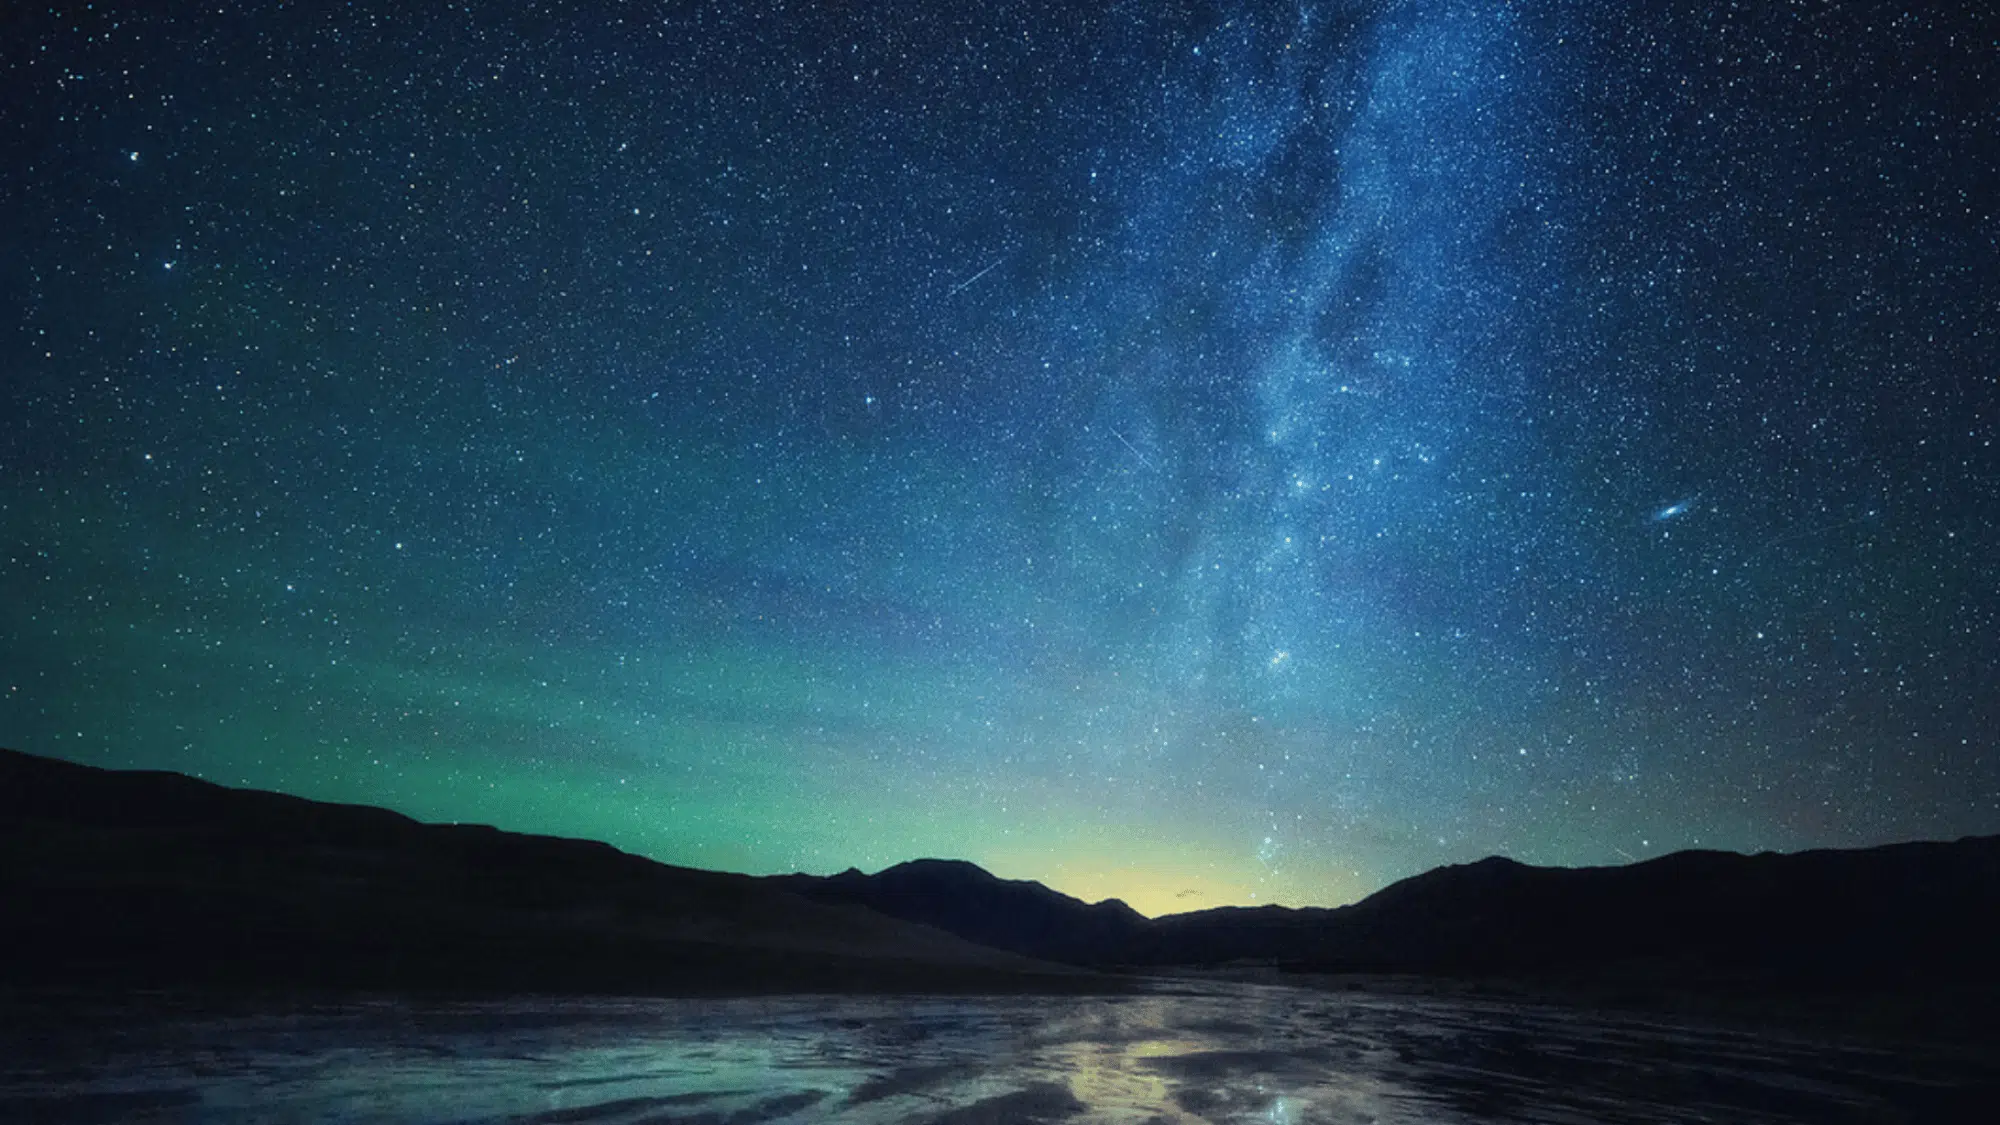
Image Source: Peter Zelinka
A camera with a full-frame sensor in the 24–30MP range, strong noise control, and solid dynamic range suits this serene nightscape well.
Pair it with a fast wide-angle lens, around 14–20mm at f/1.8–f/2.8.
Settings near ISO 3200–6400 and a 10–20s shutter help reveal the Milky Way’s vertical glow while keeping the reflective foreground crisp and atmospheric.
Image 6
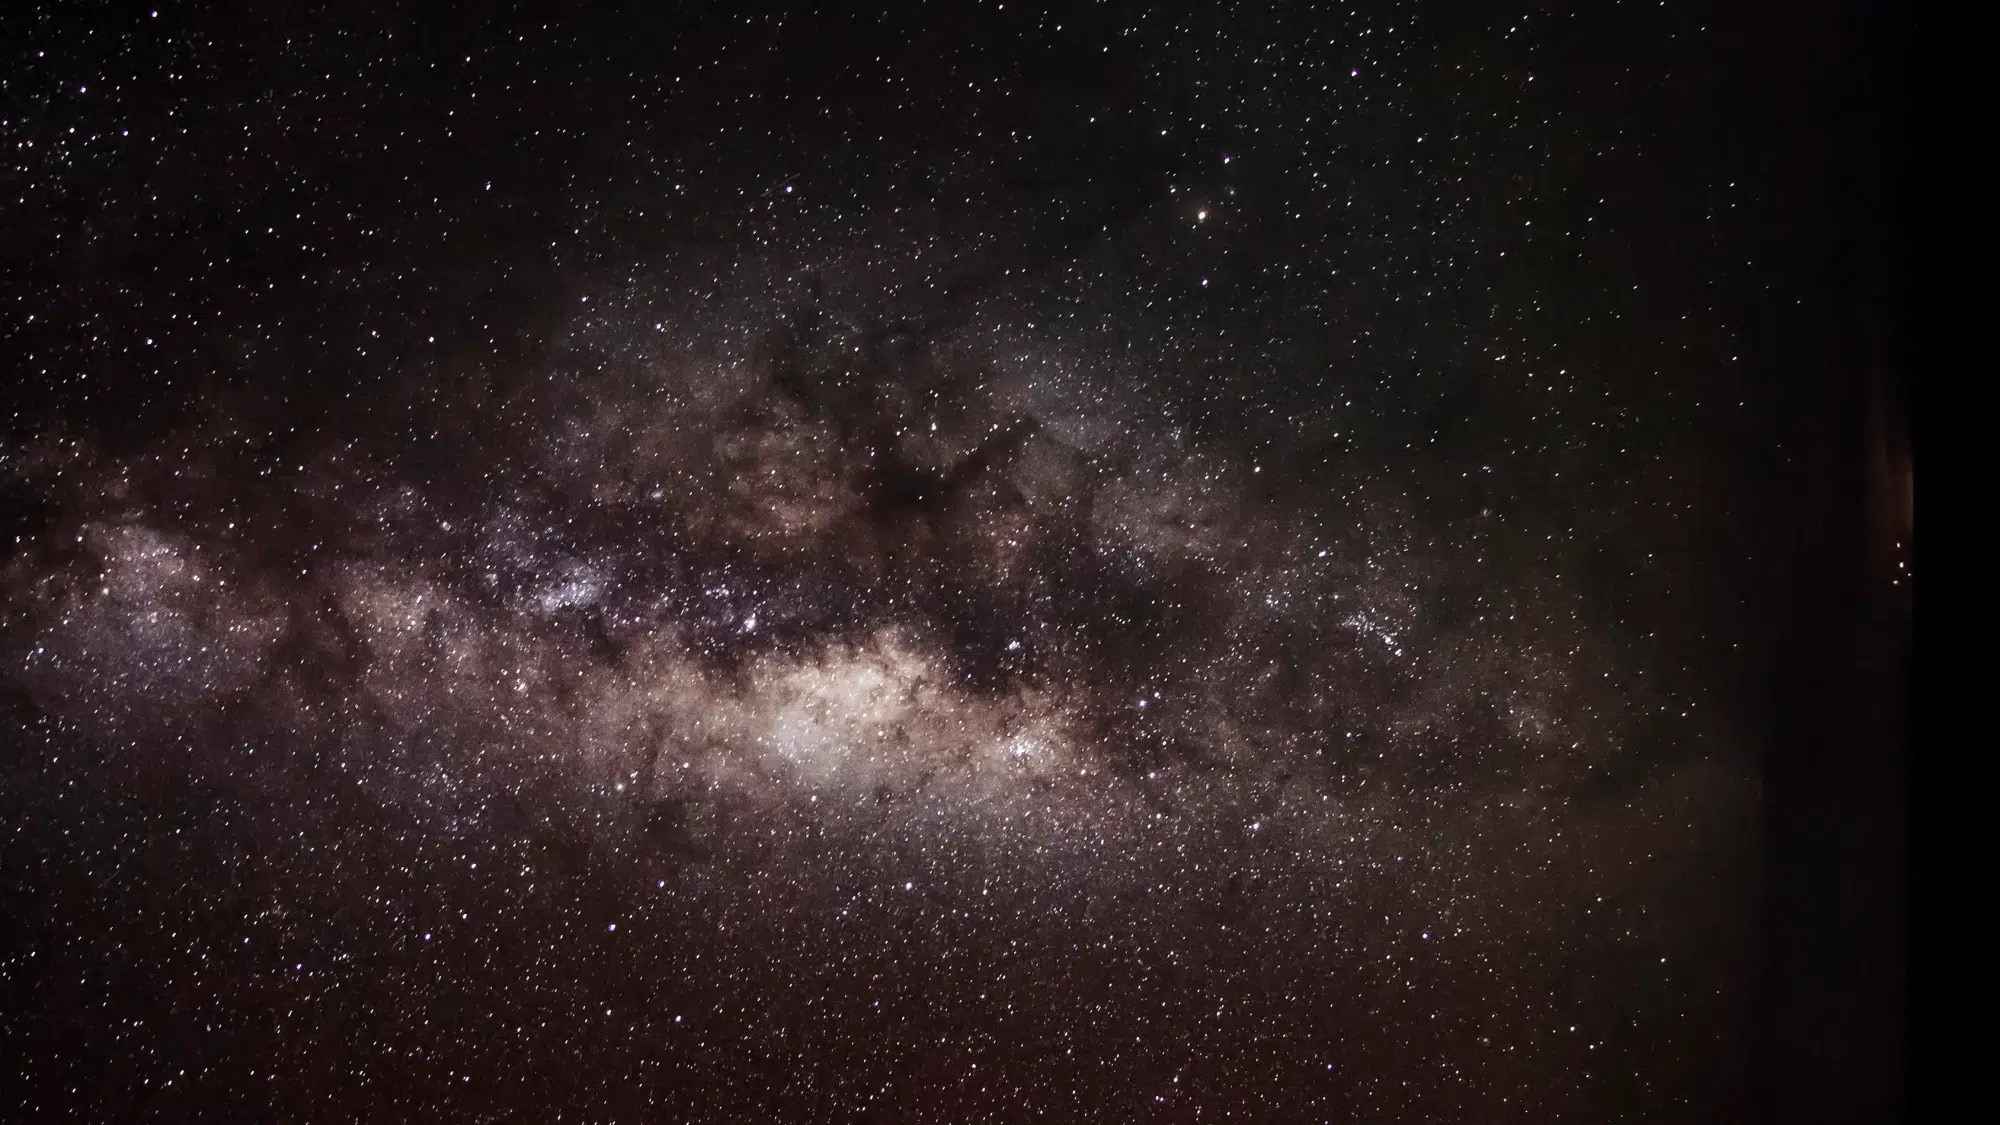
Image Source: Jason Weingart Photography
A camera with a full-frame 20–30MP sensor and strong high-ISO tolerance is well-suited for capturing this dense Milky Way core.
Using a fast wide or standard-wide lens, around 14–24mm or 20mm at f/1.8–f/2.8, helps gather enough light. Settings near ISO 3200–6400 and a 10–15s shutter keep the stars defined while preserving the galaxy’s contrast and texture.
Image 7
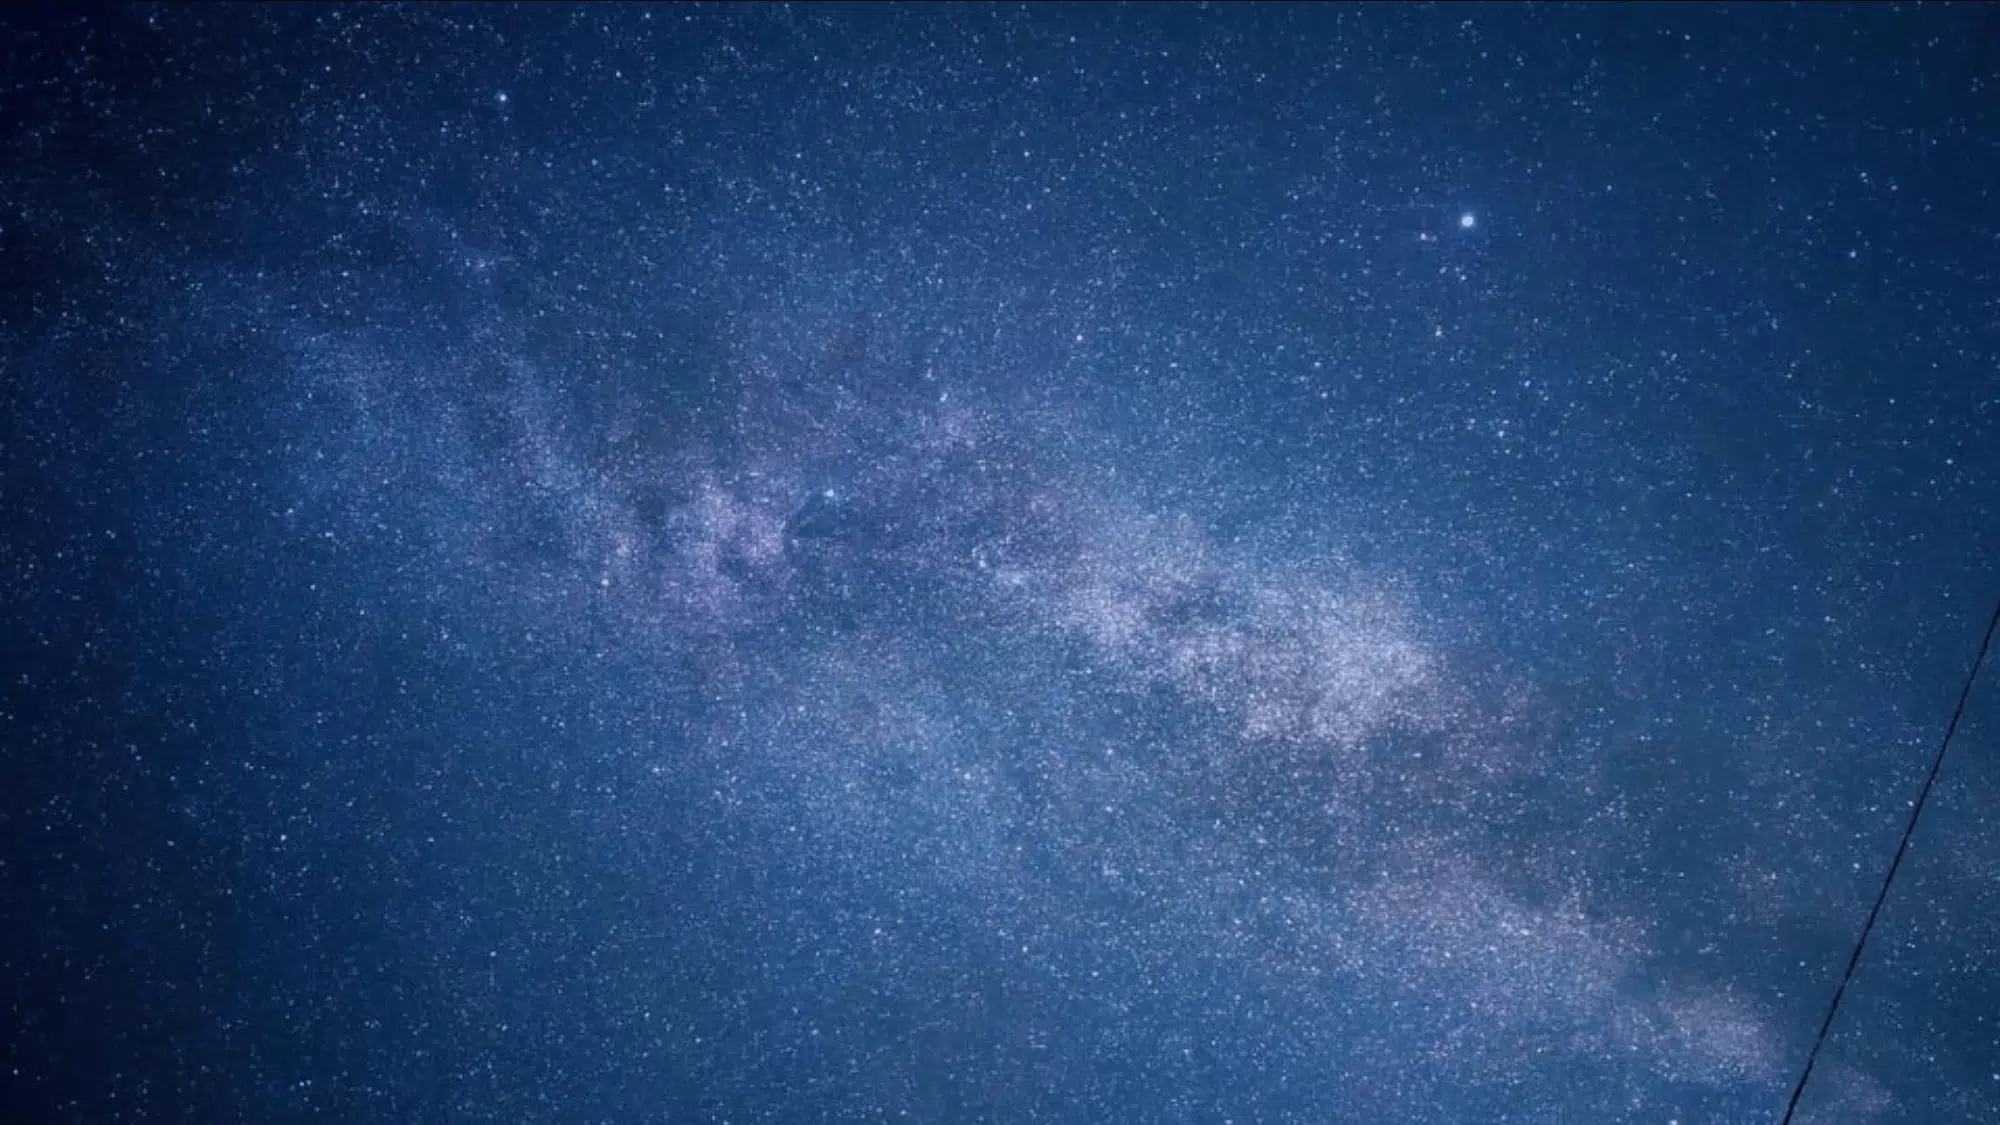
Image Source: r/astrophotographie on Reddit
A camera with a clean high-ISO range, usable up to ISO 3200–6400, paired with a 20–30MP full-frame sensor, is ideal for this soft, expansive Milky Way capture.
A wide lens around 14–24mm at f/2.8 or faster brings in enough light. With manual focus, a 10–20s shutter, and a stable setup, the sky’s subtle colors and star fields stay crisp.
To Conclude
Capturing the Milky Way forever transforms how people view the night sky. Those first sharp shots of swirling stars and glowing galactic cores make every late night and remote location worth the effort.
The learning curve isn’t steep; just practice with settings, scout dark locations, and shoot during new moons. Each outing builds skills and confidence. Don’t stress about getting everything perfect on the first try.
Experiment with different foregrounds, play with exposure times, and review what works. The night sky isn’t going anywhere.
Keep shooting, keep learning, and those pro-level images will come naturally with time and patience.