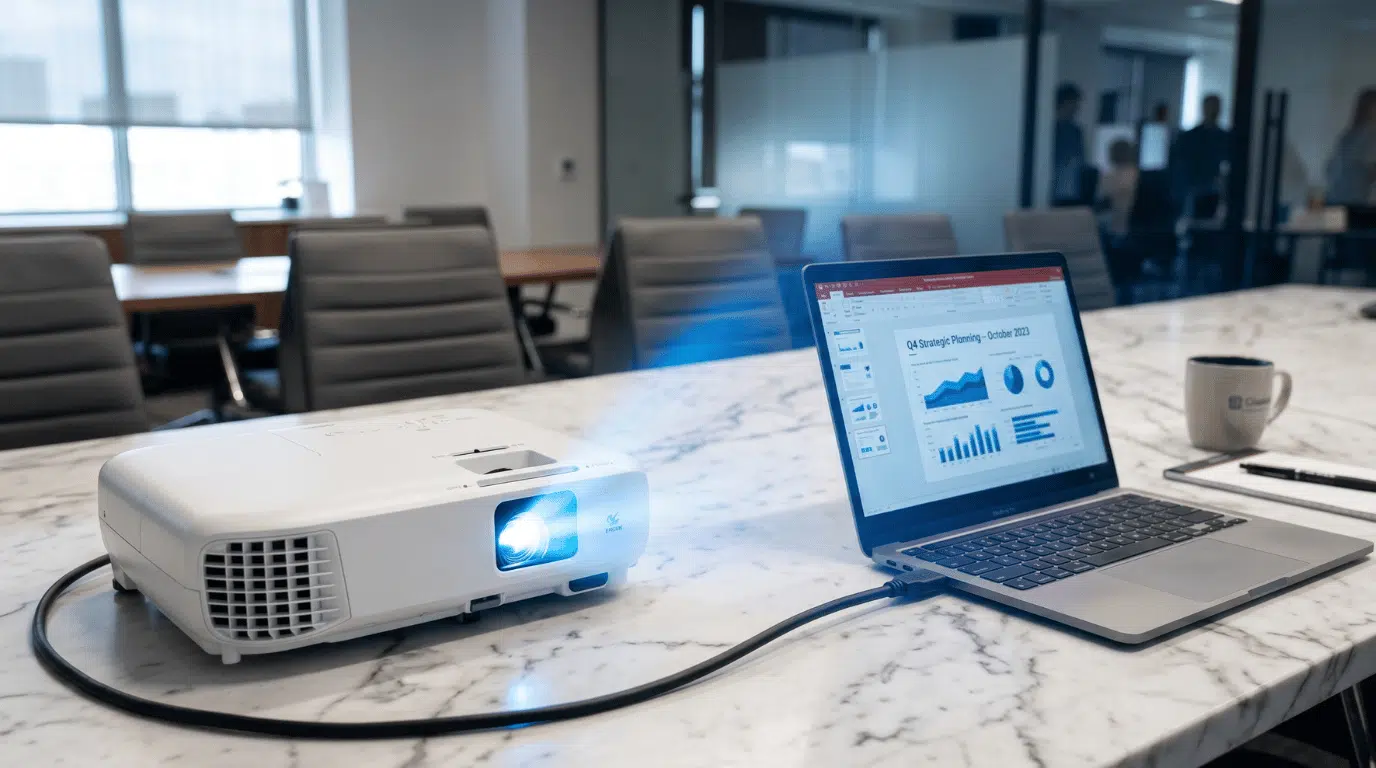



Most people hit the same wall right before a presentation: the projector is on, the laptop is open, and the screen stays blank. It is a frustrating spot to be in, especially with a room full of people waiting.
The good news is that connecting a laptop to a projector takes less than two minutes once you know which cable or method to use.
This blog covers every common connection method- HDMI, USB-C, VGA, and wireless- with clear, direct steps for Windows, Mac, and Chromebook users.
It also walks through the most common problems people face after plugging in, so you can fix them quickly without restarting everything.
How to Connect a Laptop to a Projector via HDMI

HDMI is the fastest and most reliable option for most setups. One cable handles both video and audio, and the projector detects the signal within a few seconds of being plugged in.
Windows
- Turn on the projector and use the remote or the input button on the projector body to set the input source to HDMI.
- Plug one end of the HDMI cable into the projector and the other end into the laptop.
- Wait a few seconds. Windows should detect the projector automatically.
- Press Windows key + P to open the display menu. Select Duplicate to show the same screen on both displays, or Extend to use the projector as a second screen.
- If nothing appears, press Windows key + P again and cycle through the display options, or right-click the desktop, select Display Settings, and click Detect.
Mac
- Turn on the projector and set its input source to HDMI.
- Plug the HDMI cable into the projector and into the Mac. If the Mac has only USB-C ports, use a USB-C-to-HDMI adapter.
- Go to Apple Menu, then System Settings, then Displays. The projector appears as a second display automatically.
- Select Mirror Displays to duplicate the screen, or drag the display arrangement to extend it.
- If the projector does not appear, click Detect Displays in the Displays settings panel.
Chromebook
- Turn on the projector and set its input source to HDMI.
- Plug the HDMI cable into the projector and into the Chromebook. Use a USB-C-to-HDMI adapter if needed.
- Open the system tray in the bottom-right corner and select Settings.
- Go to Device, then Displays. The projector appears in the display list.
- Choose Mirror Built-in Display to duplicate the screen, or arrange the displays to extend them.
Wireless Laptop to Projector Connection: No Cable Needed

Wireless projection removes cables entirely. Your projector must support wireless input, either built-in or via a dongle.
Windows (Miracast)
- Confirm the projector has a wireless receiver connected or built in.
- On the laptop, press Windows key + K to open the cast panel.
- Select the projector from the list of available displays.
- The screen begins casting within a few seconds. Miracast works over Wi-Fi Direct, so a router is not required. Keep the laptop within 30 feet of the projector for a stable connection.
Mac (AirPlay)
- Connect the Mac and the projector or Apple TV to the same Wi-Fi network.
- Click Control Center in the menu bar, then select Screen Mirroring.
- Choose the projector or Apple TV from the list.
- AirPlay works with Apple TV and AirPlay-compatible smart projectors from brands such as Epson and BenQ. If the projector does not appear in the list, confirm both devices are on the same network.
Chromebook
- Open the system tray and select Cast.
- If no Cast option appears, go to Settings> Device> Displays, and look for a Cast or wireless display option.
- Select the projector or Chromecast receiver from the list.
- The Chromebook screen mirrors to the projector. Keep the Chromebook within range of the wireless receiver for a stable connection.
Connecting a Laptop to a VGA Projector (Older Models)

VGA is common in classrooms and older conference rooms. The connector is blue with 15 pins and a screw on each side. Keep in mind that VGA carries video only, so a separate cable is needed for audio.
- With the projector off, plug the VGA cable into the projector and into the laptop. Tighten the screws finger-tight on both ends.
- Turn on the projector and set the input source to VGA or PC using the remote or the input button.
- On Windows, press Windows key + P and select the display mode. On Mac, go to System Settings, then Displays.
- Since VGA carries no audio, run a 3.5mm audio cable from the laptop headphone jack to the projector audio input. Alternatively, connect to a set of external speakers.
- If the laptop has no VGA port, use a USB-C-to-VGA or HDMI-to-VGA adapter. These are widely available and cost very little.
What Cable or Adapter Do You Need
Everything you need to know about choosing the right cable or adapter to connect your laptop to a projector.
| Connection | Audio | Video Quality | Best For |
|---|---|---|---|
| HDMI | Yes | Up to 4K | Most modern setups |
| USB-C / Thunderbolt | Yes | Up to 4K | Modern laptops without HDMI |
| Wireless (Miracast/AirPlay) | Yes | Up to 1080p | Cable-free setups |
| VGA | No | Up to 1080p | Older projectors |
How to Adjust Your Projector Display
Once the laptop is connected to the projector, a few adjustments can significantly improve the image.
Duplicate or Extend the Screen: In Duplicate mode, the same content appears on both the laptop screen and the projector. This is the best option for presentations.
On Windows, press Windows key + P to switch between modes. On Mac, go to System Settings, then Displays, and toggle Mirror Displays.
On Chromebook, open the system tray, go to Settings, then Device, then Displays.
Adjust Resolution and Audio:A blurry or stretched image usually indicates that the laptop’s output resolution does not match the projector’s native resolution.
On Windows, right-click the desktop, select Display Settings, and adjust the resolution. On Mac, go to System Settings, then Displays, and select a matching resolution from the list.
For audio, HDMI and USB-C carry sound automatically, but the system may default to the laptop speakers.
Before You Connect Your Laptop to a Projector
Taking 60 seconds to check two things before connecting will save a lot of frustration. First, look at the ports on the laptop. Most modern laptops have at least one HDMI or USB-C port.
Older models may only have VGA. Knowing which port is available tells you exactly which cable or adapter to grab. Second, check the projector inputs.
Look at the back or side of the projector for labeled ports such as HDMI 1, HDMI 2, VGA, or a wireless receiver slot.
The input selected on the projector must match the cable plugged into it, or the screen will stay blank. If the laptop port and the projector input do not match, a simple adapter solves the problem.
Common Laptop-to-Projector Problems and How to Fix Them
Work through each fix below before assuming the hardware is faulty. Most problems have a simple cause.
1. No Signal on the Projector: Use the remote or the input button on the projector body to cycle through sources until HDMI 1, HDMI 2, or VGA matches the cable in use. Check that the cable is fully seated on both ends.
2. Projector Screen Is Black: On Windows, press Windows key + P and switch between display modes. On Mac, go to System Settings, then Displays, and click Detect Displays. Unplugging and replugging the cable often resolves it.
3. No Sound Through the Projector: On Windows, open Sound Settings and set the projector as the default output. On Mac, go to System Settings, then Sound, and select the projector under Output. VGA requires a separate 3.5mm cable.
4. Blurry or Stretched Image: Check the projector manual to confirm its native resolution, then match it in the laptop display settings. Setting both devices to 1920×1080 resolves the issue for most modern projectors.
5. Wireless Connection Keeps Disconnecting: Move the laptop closer to the projector receiver. Restarting both the laptop Wi-Fi and the projector wireless receiver often restores a stable connection.
Wrapping Up
Connecting a laptop to a projector does not have to be a last-minute source of stress. With the right cable in your bag and a basic understanding of your laptop’s ports, the whole process takes under two minutes.
HDMI remains the most straightforward option for most setups, but USB-C adapters, VGA cables, and wireless casting all get the job done depending on your equipment.
Test your setup before the room fills up, confirm the input source on the projector, and adjust the display mode to suit the situation.
If something does not work the first time, the fixes are almost always simple. A loose cable or a wrong input selection is responsible for most problems.
Frequently Asked Questions
Does It Matter Which HDMI Port I Use?
No. Both Ports Work the Same Way. Just Make Sure the Projector Input Source Matches Whichever Port You Plugged into.
How Do You Know Which HDMI Port You Have?
Check the Label Next to The Port on Your Laptop or Projector. It is usually marked HDMI 1 or HDMI 2.
Why is the laptop on but Not Displaying on The Screen?
The display mode is likely set to “PC screen only.” Press Windows key + P and switch to Duplicate or Extend.