


Ever placed a document on your printer’s scanner and wondered what to do next? Scanning may seem complicated, but it usually takes only a few steps.
If you need to scan paperwork, school assignments, receipts or family photos, the process is similar across most printers.
Once your printer is connected to your computer through USB or the same Wi-Fi network, you can scan using the printer’s control panel, a built-in computer tool or the manufacturer’s app.
This guide explains each method step by step, including where to find scanned files and how to fix common scanning problems.
What You Need Before You Start
Before you start scanning, make sure your setup is ready to avoid common issues.
First, check that your printer is connected to your computer, either with a USB cable or through the same Wi-Fi network if you’re using wireless scanning.
Next, confirm you have the right scanning software installed. You can use built-in tools such as Windows Fax and Scan, Windows Scan, or Image Capture on Mac or install your printer manufacturer’s scanning application for additional features.
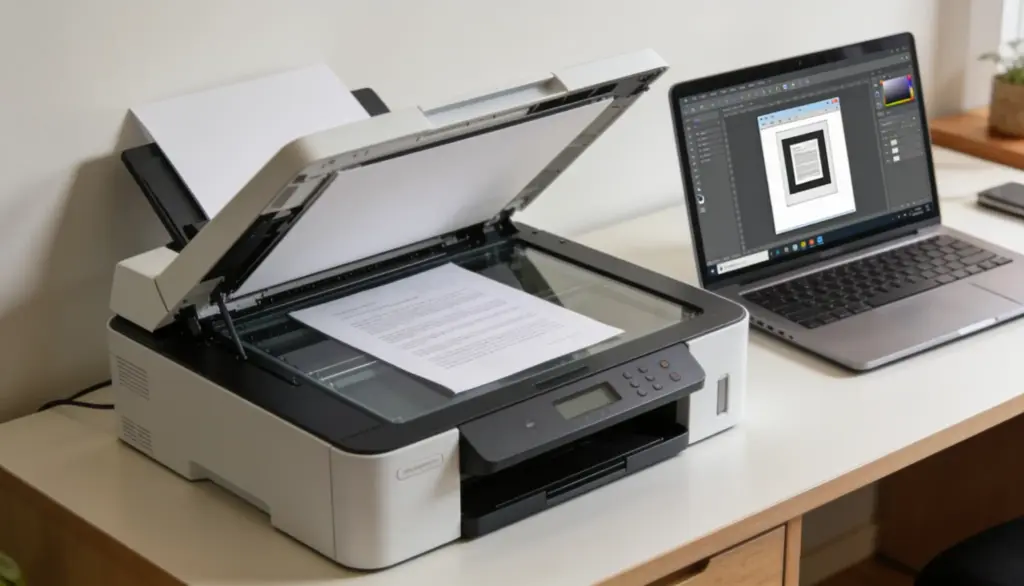
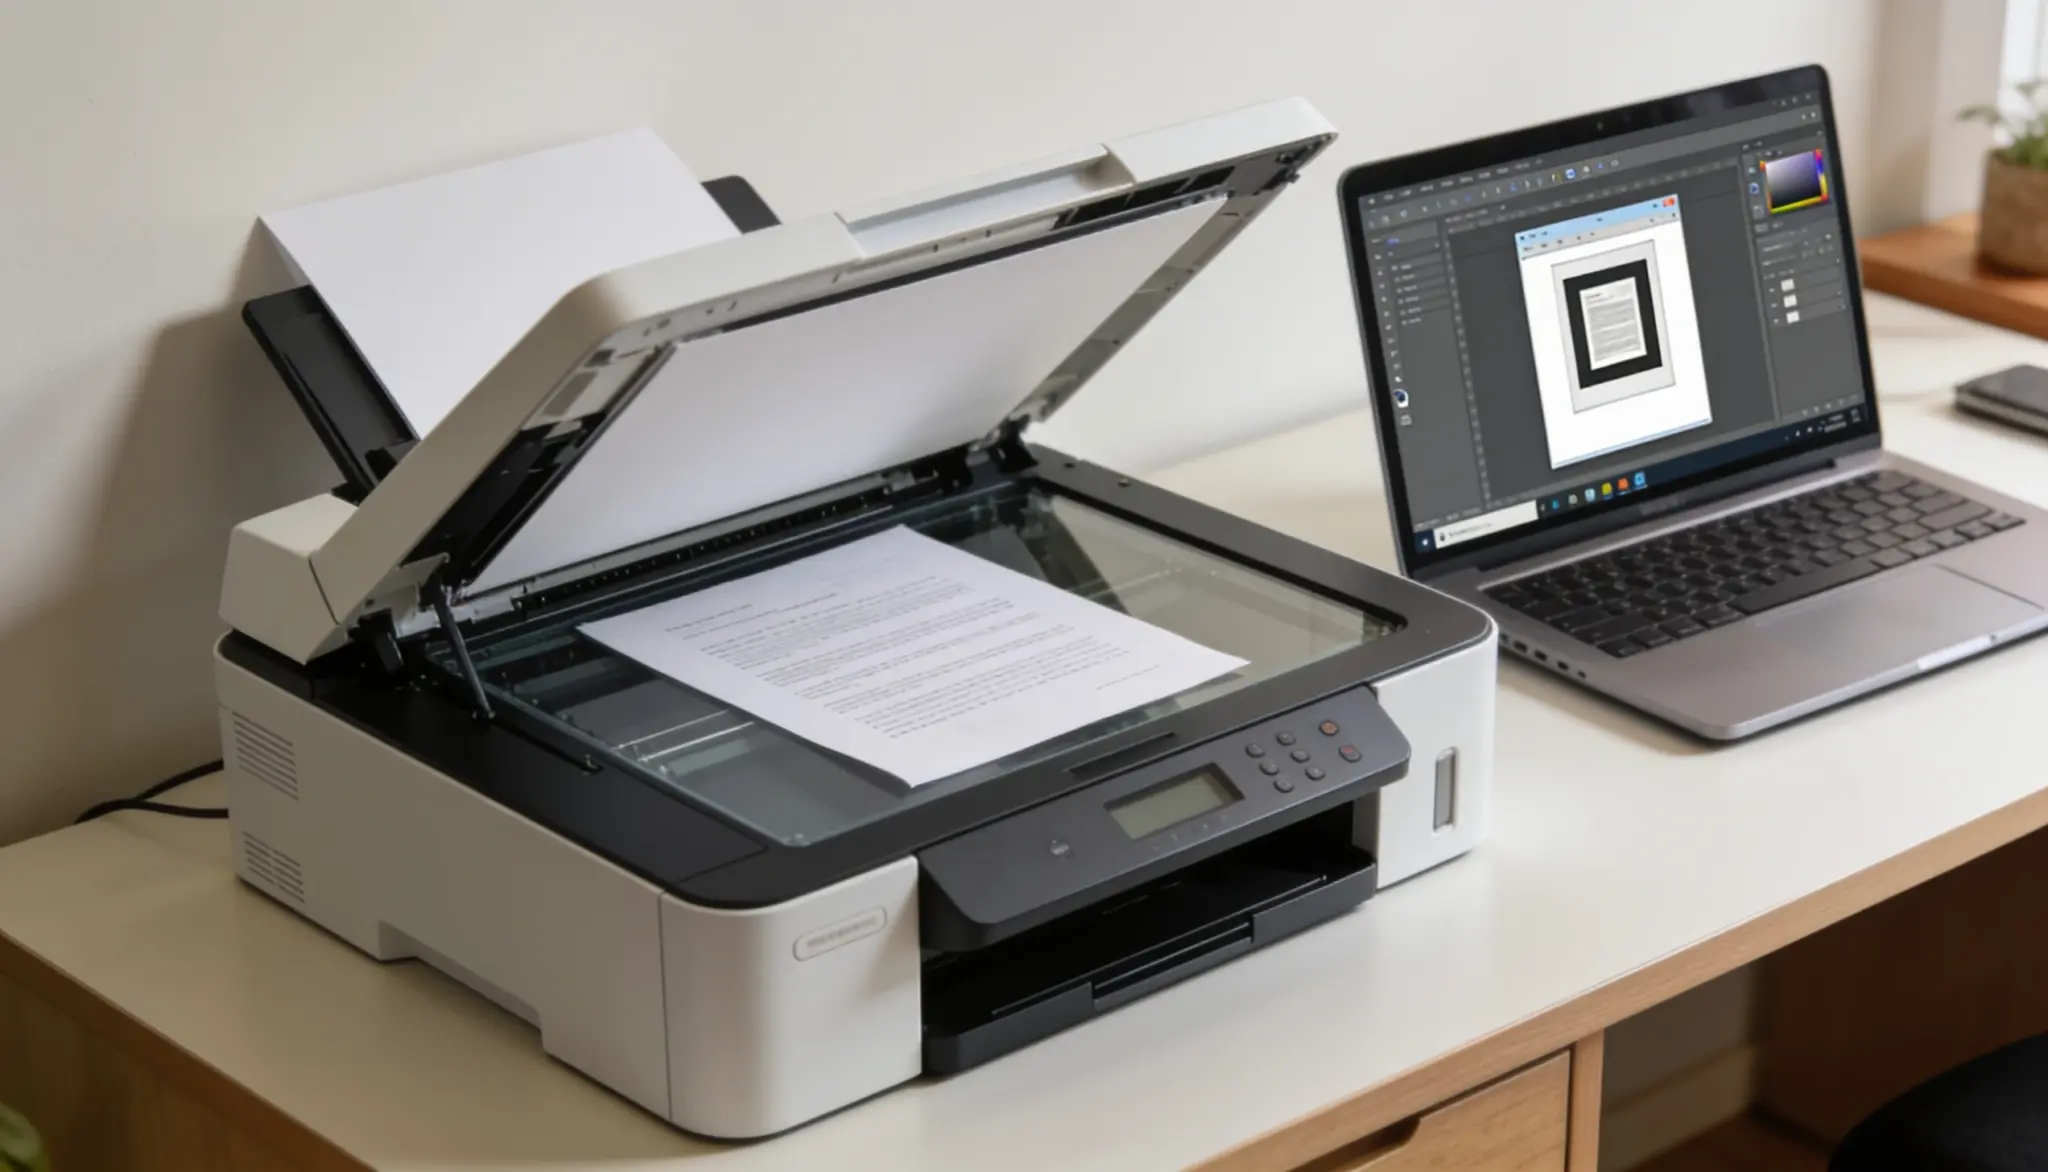
Finally, position your document correctly by placing it face down on the scanner glass or face up in the automatic document feeder (ADF), if your printer has one.
Once these basics are in place, you’re ready to scan quickly and without unnecessary setup problems.
If you’re scanning printed photos, JPEG offers good image quality with a smaller file size. Set the resolution to 300 DPI for most documents, or use a higher DPI for detailed images.
Steps to Scan From a Printer to a Computer

The process is similar on Windows and macOS: open the scanning tool, select your printer, adjust the settings, choose where to save the file, and start scanning.
On a Windows Computer
If you’re using a Windows PC, follow these simple steps to scan a document without installing additional software:
- Open Windows Scan: Search for Windows Scan in the taskbar and launch the app.
- Select Your Printer: Choose your printer from the Scanner drop-down menu.
- Choose a File Format: Select PDF for documents or JPEG for photos.
- Set The Save Location: Pick a folder or use the default location.
- Start The Scan: Click Scan and wait for the process to finish.
- Review and Save: Check the preview, then save or open the scanned file.
If your printer’s manufacturer software is installed, you can use that instead. Open the printer’s assistant app, choose the scan option, and follow the same basic flow.
On a Mac
On a Mac, you can scan documents using the built-in Image Capture tool or the Printers & Scanners settings.
- Open Printers & Scanners: Go to Apple menu > System Settings > Printers & Scanners.
- Select your Printer: Choose your printer from the list.
- Open The Scanner: Click Open Scanner.
- Adjust Scan Settings: Select Show Details to choose the file type, color mode, and resolution.
- Scan The Document: Click Scan and wait for it to finish.
- Find your File: Locate the scanned document in the folder shown under Scan To.
Both systems follow the same pattern: pick the printer, set the file type, then scan. The manufacturer’s app usually adds a few more editing options on top of this.
Choosing The Right File Type and Save Location

Before you scan, take a moment to adjust the file format and resolution so the final file matches your needs.
For contracts, forms, and other text-heavy or multi-page documents, PDF is the best choice because it keeps pages together and is easy to share.
Finally, choose where the file will be saved. Most apps default to the Documents or Scanned Documents folder, but creating a dedicated scan folder can make future files much easier to organize and find.
Fixing Common Scanning Problems
Most scanning problems come from connection or software settings rather than a faulty scanner. Try these steps before considering a repair.
1. Check The Connection: Make sure the computer and printer are powered on and connected to the same Wi-Fi network.
2. Enable Scan to Computer: Check the manufacturer’s utility and confirm that the Scan to Computer feature is enabled.
3. Update Scanner Drivers: If printing works but scanning does not, update or reinstall. If scanning still fails, check for other common computer or hardware issues affecting the connection.
4. Check System Changes: Windows or macOS updates may change scanner settings or permissions.
5. Restart Both Devices: Restart the printer and computer, then try scanning again to see if the issue is resolved.
What Other Users Say About Scanning Issues
People across printer support communities report that most scanning issues are caused by software settings rather than faulty hardware. The examples below highlight the most common solutions users found effective.
“I had to uninstall the drivers, then go back to Machine Scan Settings. After that I could scan from my printer to my PC again.” Reddit
If your printer still prints but won’t scan, reinstalling the scanner driver and reconfiguring the scan settings is one of the most frequently recommended fixes before assuming there’s a hardware problem.
“The printer can’t ‘send’ scans to the computer. The computer can ‘request’ a scan from the printer.” Reddit
Many first-time users expect the printer to automatically send scanned files. In reality, most printers wait for a scan request from your computer’s scanning software.
“It likely needs to get connected to your WiFi. Have you installed the software and gone thru the setup procedure yet?” Reddit
A common obstacle when learning how to scan from printer to computer is an incomplete network setup. Reddit users frequently recommend confirming that both the printer and computer are connected to the same Wi-Fi network and that the printer has completed its setup process before attempting to scan. This simple check often resolves scan detection issues.
How to Confirm Your Scan Saved Correctly
Once your scan is complete, don’t close the scanning app right away. Take a moment to open the file and confirm that everything was captured correctly. A quick review can save you from having to repeat the scanning process later.
Start by locating the scanned file in the folder selected by your scanning software, which is often Documents, Downloads, or Pictures by default.
Open the file and check that the pages are in the correct order, the orientation is accurate, and the image or text appears clear.
If the scan looks blurry or difficult to read, increase the resolution to 300 DPI for documents or 600 DPI for photos and scan again. For multi-page documents, also make sure all pages have been combined into a single file rather than being saved separately.
Conclusion
Scanning documents becomes much simpler once you understand the basic process. Windows and Mac users have built-in tools, while printer apps can provide additional scanning options.
Choosing the correct format, resolution, and save location also helps produce files that are easier to store and share.
If a scan fails, checking a few basic settings can often solve the problem quickly.
Have a useful scanning tip or a printer issue you managed to solve? Share your experience in the comments to help other readers.
Frequently Asked Questions
Can Multiple Pages Be Scanned Into One PDF?
Yes. Many scanning apps allow multiple pages to be combined into one PDF. An automatic document feeder can make the process faster.
What Resolution Should Be Used for Scanning?
For most documents, 300 DPI provides clear text without creating unnecessarily large files. Photos may benefit from 600 DPI when more detail is needed.
Can Old Photos Be Scanned Using a Printer?
Yes. A flatbed scanner can digitize printed photos. Using a higher resolution can help preserve more detail.