


That ceiling light has been bothering you for a while. It flickers, it looks old, and it just does not fit the room anymore. The good news? You do not need to call anyone.
Most homeowners can change a light fixture in under an hour. You just need a few basic tools and the right safety steps.
This guide covers the full process. It starts at the breaker and goes all the way to testing your new fixture. By the end, you will know how to replace a ceiling light the right way.
What to Know Before Changing a Light Fixture
Changing a light fixture means replacing one fixture with another on an existing ceiling box. You are not adding new wiring or a new circuit. For a standard replacement, the wiring is already in place.
Your job is to disconnect the old fixture, connect the new one, and secure it to the ceiling box. If you need to add a new box or run fresh wiring to a new location, stop here. That job belongs to a licensed electrician.
Types of Light Fixtures You Can Replace Yourself
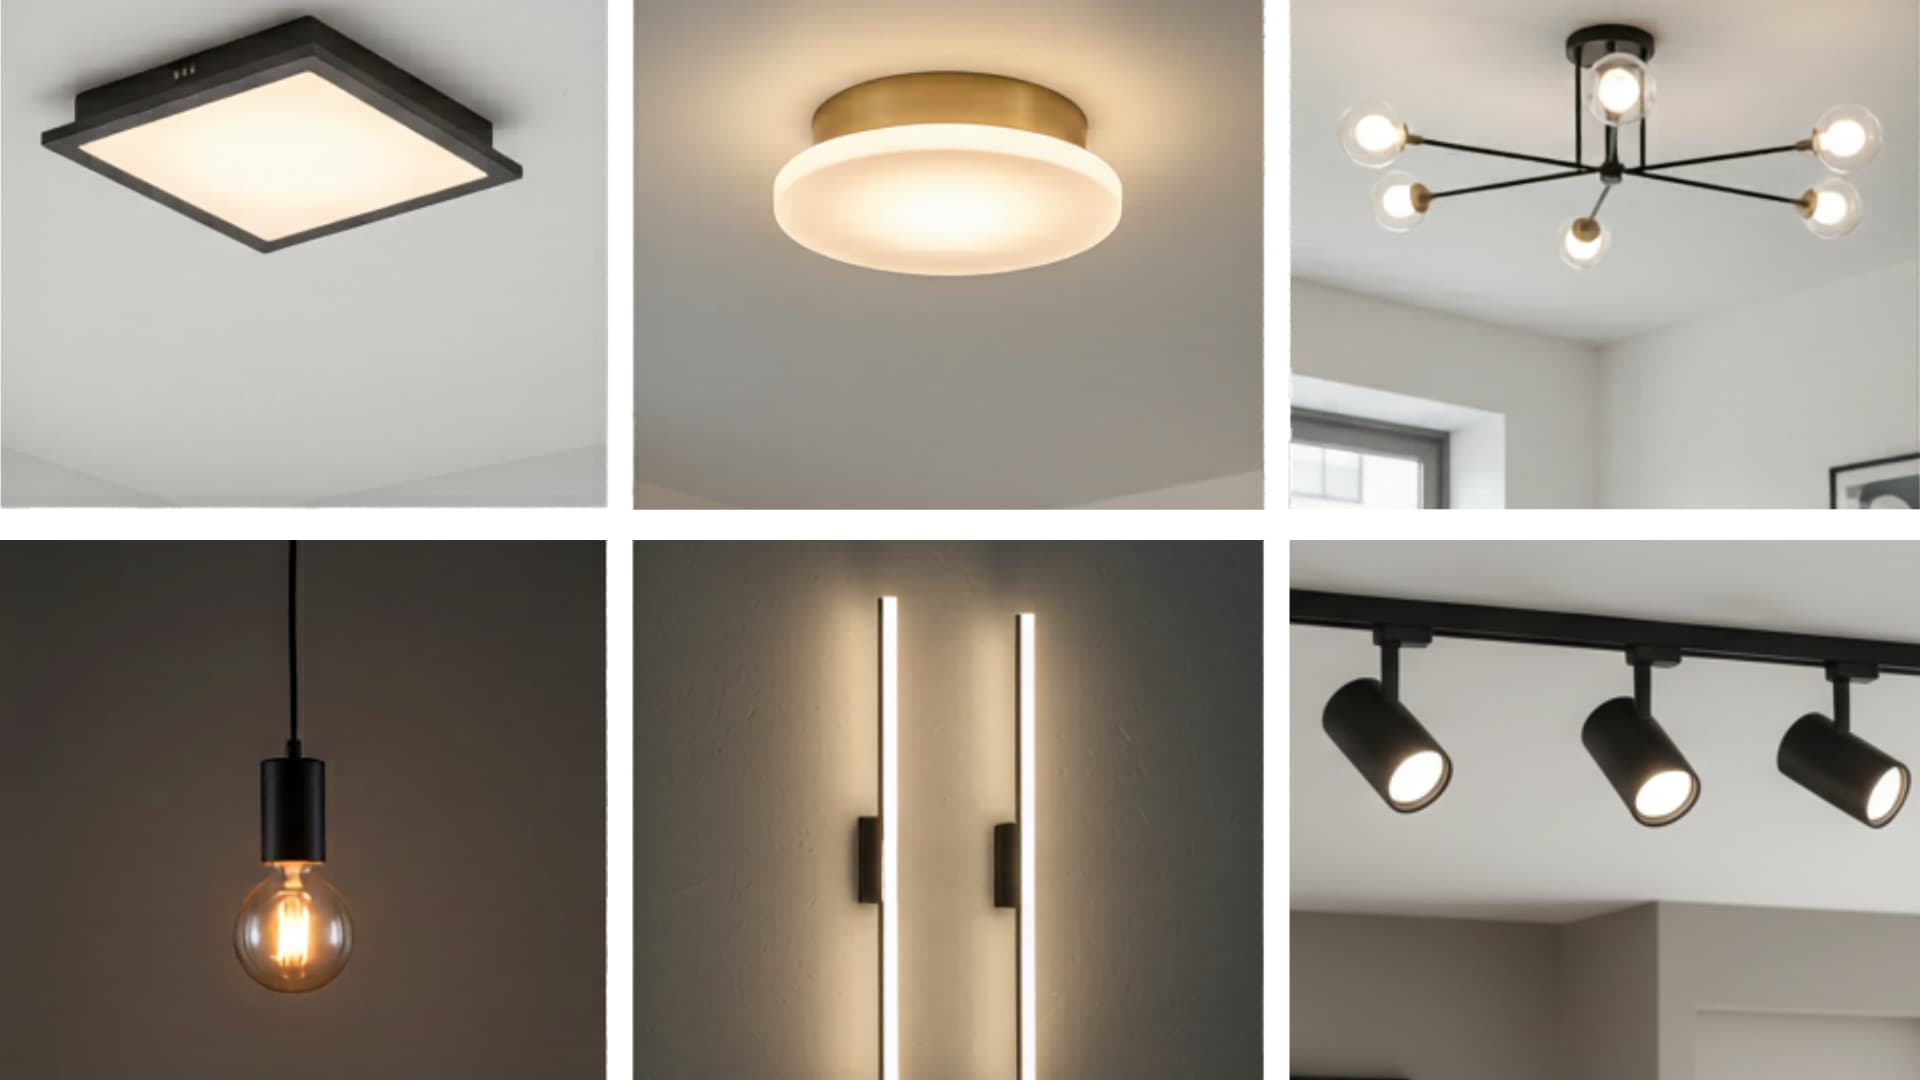
Not every ceiling light is set up the same way. Before you buy a replacement, check which type of fixture you have. That way, you know what to expect during the swap.
- Flush-mount: Sits flat against the ceiling and is the simplest type to replace.
- Semi-flush mount: Hangs a few inches below the ceiling and uses the same three-wire connection as a flush mount.
- Pendant light: Hangs by a cord or rod. Treat it like a standard fixture, then adjust the cord length after it is up.
- Chandelier: Uses the same three wires, but the weight means you must check your ceiling box rating before hanging it.
- Wall sconce: Mounted on the wall with wires coming out of a wall box instead of the ceiling.
- Track lighting: Multiple heads on one bar. A bit more work than a flush mount, but still within DIY range.
Note: Ceiling fans are a separate project. They have an extra wire and need a fan-rated ceiling box. This guide covers light fixtures only.
Tools and Materials You Need Before You Start
Getting your tools ready before you start keeps the project moving without any stops. Here is everything you will need, laid out in one place.
| Tool / Material | What It Is For |
|---|---|
| Non-contact voltage tester | Confirms the wires carry no live current before you touch them |
| Phillips screwdriver | Removes and tightens mounting screws |
| Flathead screwdriver | Loosens canopy screws and certain wire connections |
| Wire stripper | Removes the plastic coating from wire ends when needed |
| Needle-nose pliers | Helps twist wires together in tight spots |
| Electrical tape | Wraps over wire nuts for added protection |
| Wire nuts / wire connectors | Secures the connections between ceiling and fixture wires |
| Ladder | Required if the fixture is above arm’s reach |
| Drop cloth or old towel | Catches ceiling dust and debris during removal |
| New light fixture | The replacement you have chosen for the space |
| LED bulbs | Make sure the wattage matches the rating printed inside the new fixture |
How to Change a Light Fixture: Step-by-Step
Once your tools are ready, the process is clearer than most people expect. Follow each step in order and do not skip ahead.
Step 1: Turn Off the Power the Right Way
Head to your circuit breaker panel and flip the breaker that controls the room with the fixture. Turning off the wall switch alone is not enough.
The ceiling wires can still carry live current even with the switch off. Once the breaker is flipped, go back and try the light switch. If nothing turns on, the power is off.
Then hold a non-contact voltage tester near the ceiling wires after you open the fixture. If it does not beep or light up, you are safe to continue.
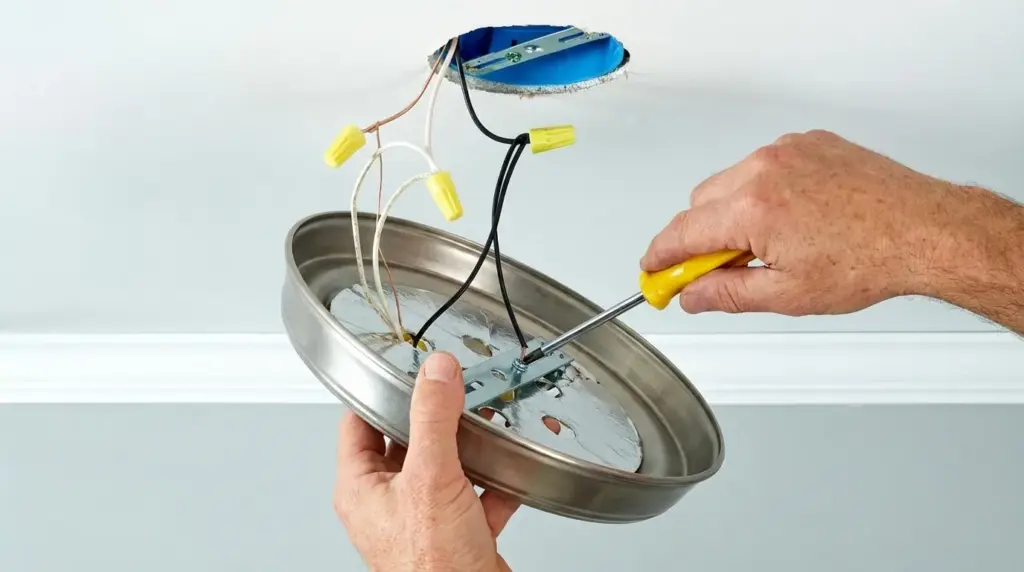
Step 2: Remove the Old Fixture
Unscrew the canopy. That is the rounded plate that sits flat against the ceiling. Support the fixture with one hand as it comes loose.
Before you disconnect anything, take a clear photo of the wiring with your phone. This gives you a reference for how each wire was connected.
Then unscrew the wire nuts, separate the wires, and unscrew the mounting bracket from the ceiling box. Set the old fixture aside.
Step 3: Check the Ceiling Box and Wiring
Push gently on the ceiling box. It should feel firm and should not shift at all. Standard ceiling boxes hold up to 50 lbs. If your new fixture weighs more than that, you need a box with a higher weight rating.
An expandable brace bar mounted between the joists also works for heavier loads. Also look at the wires. You need three: black, white, and a bare copper or green-covered ground.
If anything looks unusual or you find aluminum wire, stop. Call a licensed electrician before going further.
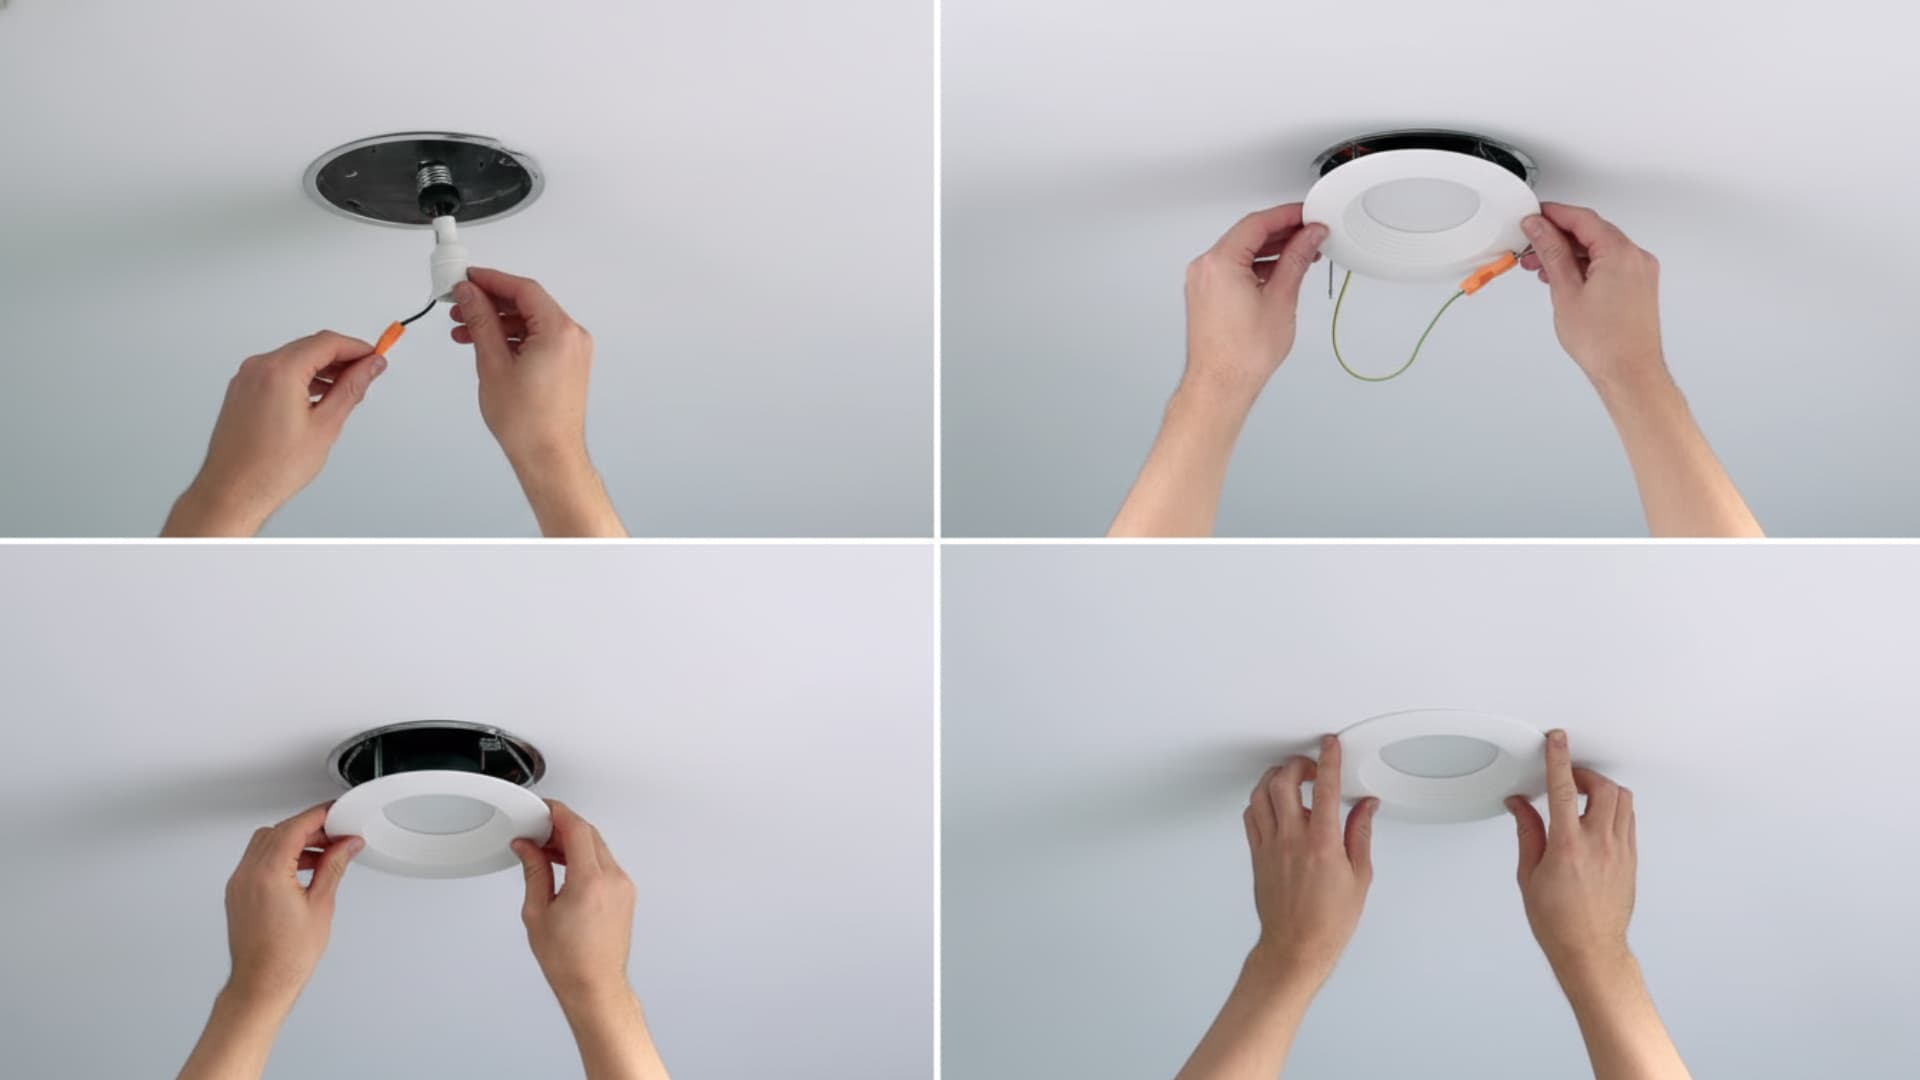
Step 4: Install the New Mounting Bracket
Most new fixtures come with a mounting bracket. Attach it to the ceiling box using the screws included with your fixture. Make sure it sits level and feels firm before you move on.
Thread the fixture wires through the bracket opening if your fixture design calls for it. Refer to the manufacturer’s instructions here, as each fixture is built a little differently.
Step 5: Connect the Wires
Match the wire colors: black to black, white to white, and copper or green to the ground. Twist each pair together clockwise. Then screw a wire nut over each connection.
Give each nut a firm pull to check it holds. Wrap a short piece of electrical tape around each wire nut for extra protection. Fold the wires carefully into the ceiling box. Do not force them in.
Step 6: Secure the Fixture and Test It
Lift the canopy up to the ceiling and screw it into place. If the fixture hangs by a cord or chain, set the height before you tighten anything.
Install the bulbs and make sure the wattage does not go above the rating printed inside the fixture. Then go back to the breaker panel and restore power. Flip the wall switch.
If the light comes on, the job is done. If it does not, turn the breaker off again. Check the black and white wire connections first. That is where most loose connections happen.
When You Should Call a Licensed Electrician Instead
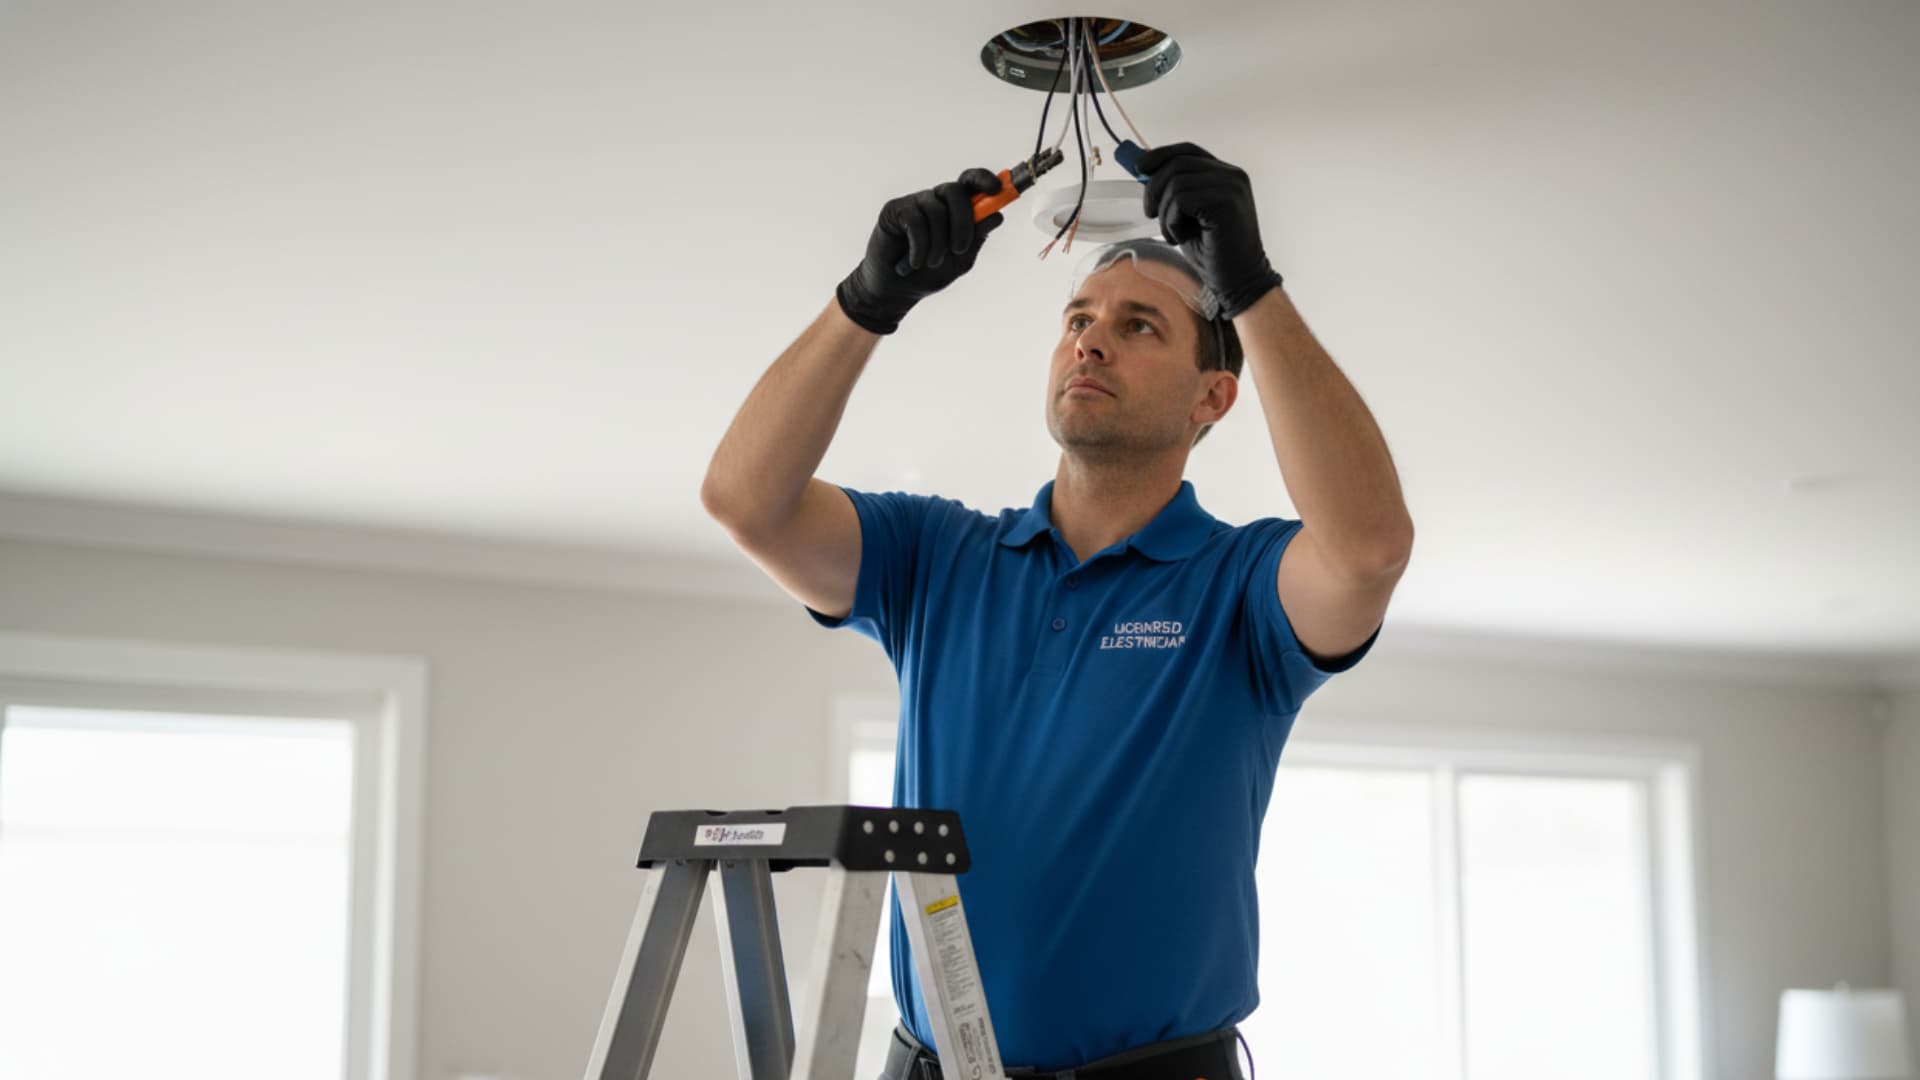
Some situations go beyond a standard fixture replacement. If you run into any of the points below, stop the project and bring in a licensed electrician.
- The ceiling box moves or feels loose: It must be properly remounted or replaced before any new fixture goes up.
- You find aluminum wiring: It is silver in color and needs a specialist. It cannot be connected the same way as copper.
- There are more wires than expected: The setup is more involved than a simple swap and needs a professional check.
- There is no ground wire: An electrician needs to assess if it is safe to continue without one.
- You need to add a new ceiling box in a new location: This type of work needs a permit in most areas.
- The new fixture weighs over 50 lbs, and the box is not rated for it: The box needs to be upgraded before installation.
- You are not sure about what you see inside the box: Uncertainty is reason enough to stop and call someone who does this every day.
Mistakes People Make When Changing a Light Fixture
Most problems with a fixture replacement come down to a few common errors. Knowing what to avoid before you start keeps the project safe and clean.
| Mistake | Why It Matters | What to Do Instead |
|---|---|---|
| Turning off only the wall switch | The ceiling wires can still carry live current | Turn off the circuit breaker and verify with a voltage tester |
| Skipping the voltage tester | You cannot tell power is off just by looking | Test the wires before touching them, every single time |
| Not photographing the old wiring | It is easy to forget which wire was connected to which | Take a clear photo before you disconnect anything |
| Using a ceiling box not rated for the fixture weight | A box not built for the load can pull loose over time | Check the weight rating on the box before you install |
| Over-tightening wire nuts | This can break or strip the wire | Twist until snug, then stop |
| Installing bulbs above the wattage limit | Too much heat can damage the fixture or start a fire | Match bulb wattage exactly to the label inside the fixture |
| Leaving loose wire connections | Loose connections lead to flickering or no power at all | Pull each wire nut firmly after connecting to confirm it holds |
How to Choose the Right New Fixture for Your Space?
Pick a fixture that fits the room size, ceiling height, and your ceiling box rating. In rooms with low ceilings, a flush-mount or semi-flush mount keeps the space open and comfortable.
Pendant lights over a dining table or kitchen island work best at 28 to 34 inches above the surface. Match the finish to the other metal hardware in the room, like cabinet pulls or faucets.
Check the weight of the new fixture before you buy it. Standard ceiling boxes hold up to 50 lbs. If you want something heavier, plan to upgrade the box at the same time.
Summing It Up
Changing a light fixture is one of those home projects that feels harder than it actually is. Once you follow the steps in the right order, the work goes smoothly.
A new fixture can completely change the feel of a room without a big renovation budget. Take your time at each stage. Check your wire connections before securing the canopy.
If anything looks unfamiliar inside the ceiling box, call a licensed electrician. You now have a clear, step-by-step guide for how to change a light fixture safely.
Start at the breaker, go through each step, and trust the process.