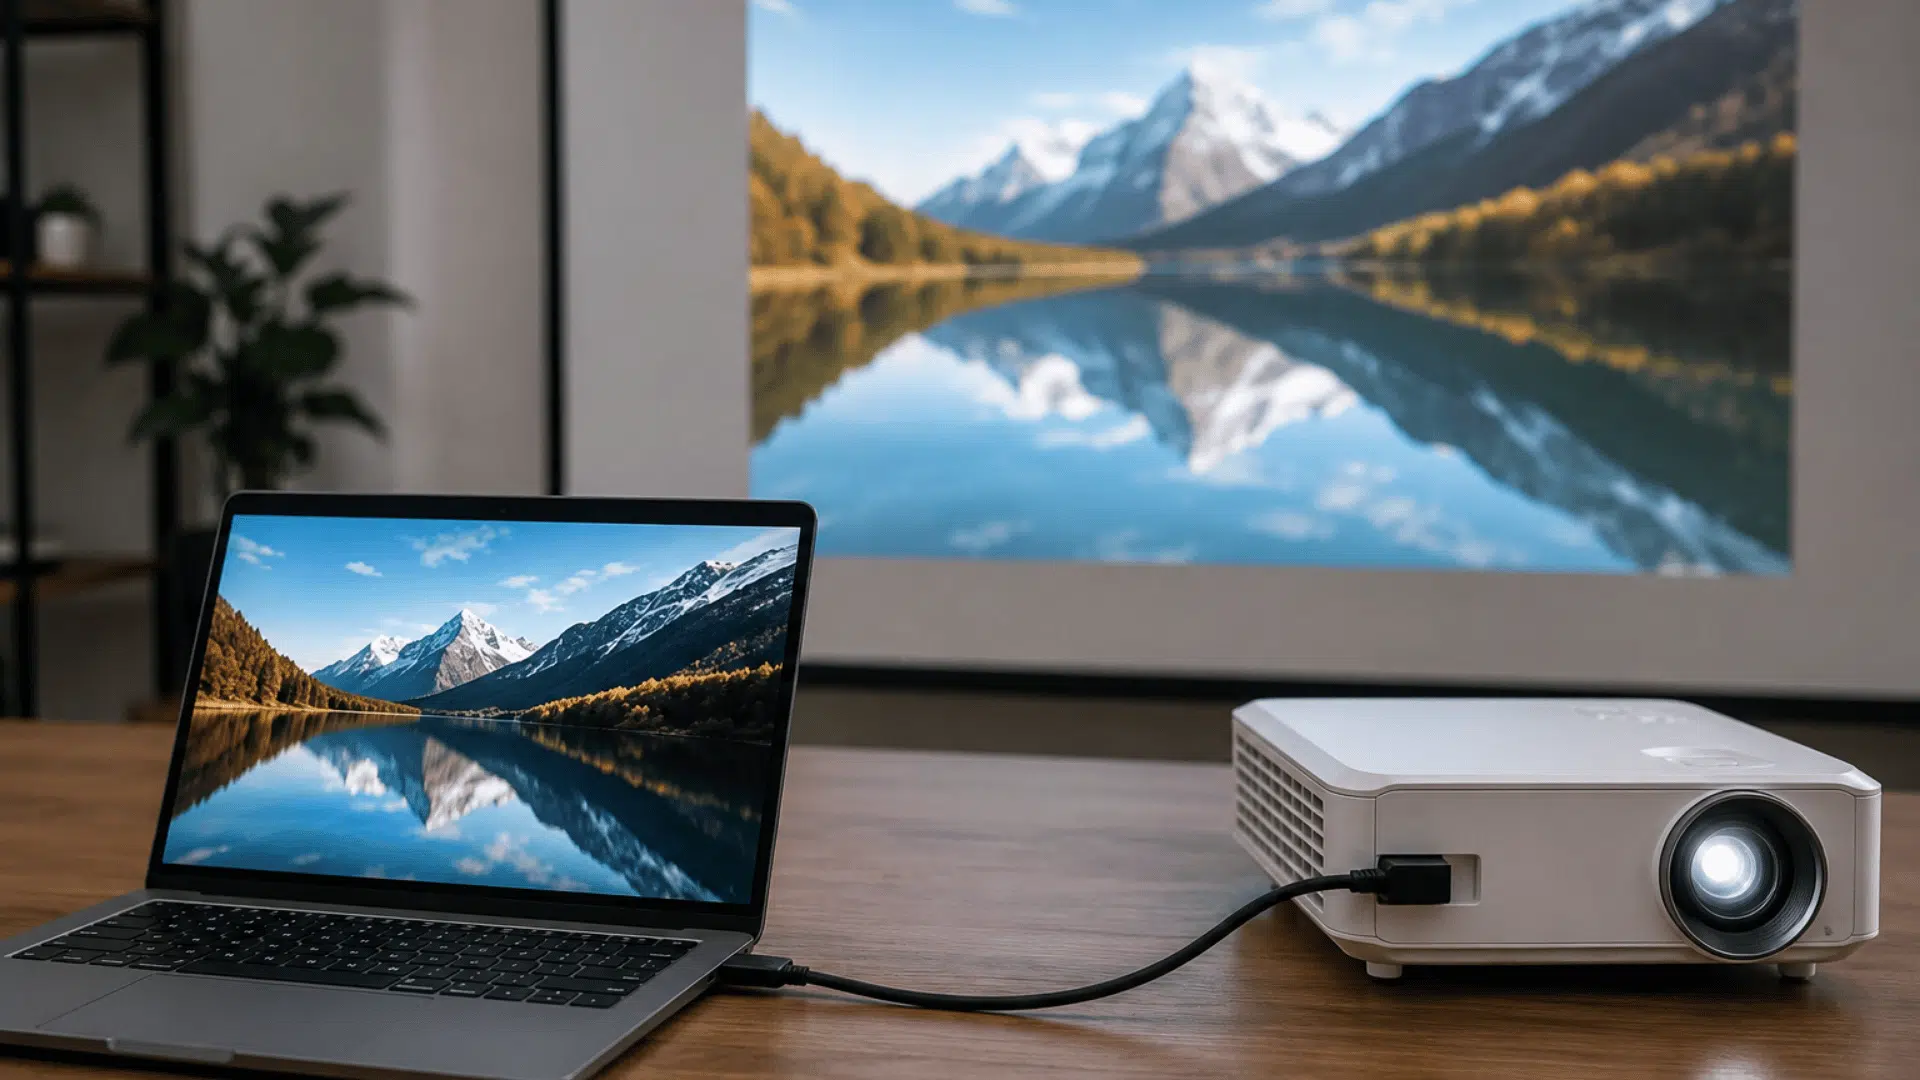



Connecting a projector to a laptop is usually simple once you know which port or wireless option each device supports.
Most setups use an HDMI cable because it carries both video and audio over a single connection.
Some older projectors may require a VGA connection, while newer models may support USB-C, screen mirroring, or Wi-Fi casting.
After connecting, you may also need to choose the appropriate display mode, such as duplicate, extend, or projector-only. This blog explains the main connection methods, setup steps, and quick fixes for common problems.
Read on to get your laptop screen showing on the projector without stress.
What You Need Before Connecting a Laptop to a Projector
Before you connect anything, check the ports on both devices. This helps you pick the right cable and avoid setup delays.
| Item Needed | Why It Matters |
|---|---|
| Laptop | Make sure it has a working display port, such as HDMI, USB-C, Mini DisplayPort, or VGA. |
| Projector | Check the input ports on the back or side, then match them to your laptop’s outputs. |
| HDMI Cable | This is the most common choice because it carries both video and audio. |
| VGA Cable | Use this for older laptops or projectors, but it only carries video. |
| Adapter | You may need a USB-C-to-HDMI, Mini DisplayPort-to-HDMI, or HDMI-to-VGA adapter. |
| Power Source | Keep both devices plugged in for a stable setup. |
| Remote or Buttons | Use these to select the correct projector input. |
How to Connect a Projector to a Laptop Easily
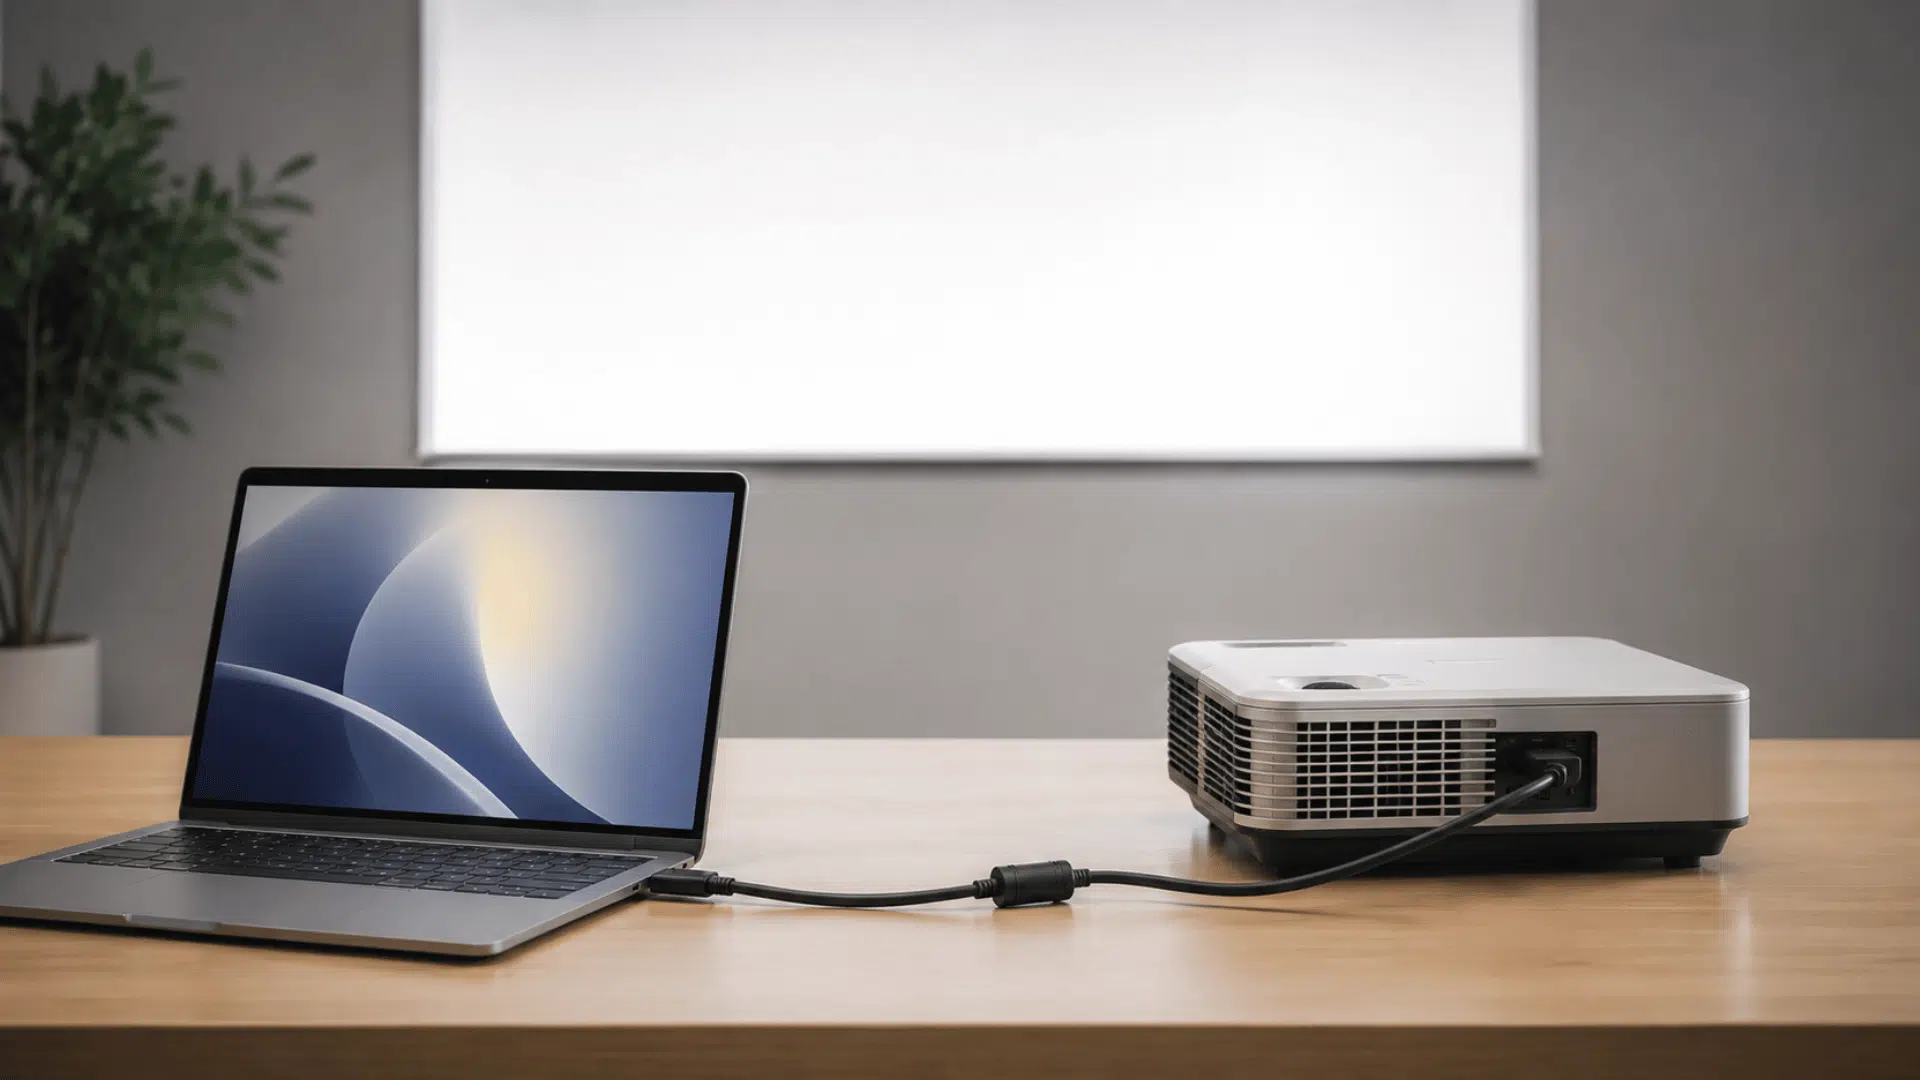
Learning how to use projector settings makes the setup easier before a meeting, class or movie night. This section also showshow to connect a projector to a laptop with the right cable, input source and display mode.
1. Check the ports on both devices
Start by checking the ports on your laptop and projector. HDMI is the most common modern option because it can carry both video and audio, but it is not available on every device.
Some laptops use USB-C, Mini DisplayPort, or Thunderbolt, while older projectors may use VGA. VGA sends video only, so you may need a separate audio cable or speaker.
2. Choose the right cable or adapter
Pick a cable or adapter based on the ports you found. Use HDMI if both devices have HDMI ports.
If your laptop has USB-C and the projector has HDMI, use a USB-C-to-HDMI adapter or cable.
If the projector only supports VGA, use a VGA cable and a separate audio option if needed. This is an important part of correctly connecting a projector to a laptop.
3. Connect the laptop to the projector
Plug one end of the cable into your laptop and the other end into the projector.
If you are using an adapter, connect the adapter to the laptop first, then attach the HDMI or VGA cable.
Do not force the connector into the port. If the projector has more than one HDMI input, note the label, such as HDMI 1 or HDMI 2.
4. Turn on the projector and select the input
Turn on the projector and wait a moment if it needs time to start.
Use the remote, the Source button, or the Input button to select the port you connected to.
Select HDMI 1, HDMI 2, VGA, or USB-C as needed. A wrong input can cause a “No Signal” message even when the cable is connected correctly. This step matters for using the projector setup.
5. Set the laptop display mode
On Windows, press Windows + P and choose Duplicate, Extend, or Second screen only.
Duplicate shows the same screen on both devices, which works well for presentations.
Extend gives extra screen space. On Mac, openSystem Settings > Displays, then choose mirroring you show the same screen on the projector. This helps complete theconnection between the projector and thelaptop for viewing.
6. Adjust the image and test everything
Once the laptop screen appears, adjust the focus, zoom, height, and keystone correction.
Move the projector closer or farther away if the image size is wrong. Test a slide, video, or webpage before presenting.
If sound is needed, check whether the projector has built-in speakers, and choose HDMI, projector, or external speakers in the sound settings. This is the final step in using a projector properly.
Different Ways to Connect a Projector to a Laptop
A laptop can connect to a projector via a cable or wirelessly. The right option depends on your laptop’s ports, the projector’s inputs, and your display’s support.
- HDMI: A common wired option for modern setups. It can carry both video and audio over a single cable.
- USB-C to HDMI: Useful when your laptop has USB-C and the projector has HDMI. The USB-C port must support video output.
- VGA: Common on older projectors. It sends video only, so sound needs a separate cable or speaker.
- Mini DisplayPort or Thunderbolt: Some laptops need an adapter to connect these ports to HDMI or VGA.
- Wireless display: Windows can cast to Miracast-supported projectors. Mac users can mirror through AirPlay-supported projectors, Apple TV, or compatible displays.
- Input source: After connecting, select the matching source, such as HDMI, VGA, or screen mirroring.
How to Adjust Projector Focus and Screen Size
After the laptop screen appears, place the projector on a flat, stable surface facing the screen or wall. Move the projector closer to make the image smaller, or farther away to make it larger.
Some models also have a zoom ring or a zoom button for small changes in size without moving the unit.
Next, turn the focus ring or use the focus control until text and edges look sharp. If the image looks tilted or wider at one end, use keystone correction to straighten it.
Raise or lower the projector carefully, rather than pointing it too sharply upward. Finally, test a slide, video, or webpage to check clarity, screen fit, and viewing comfort before starting your presentation.
Common Mistakes to Avoid During Setup
A few small mistakes can slow down your router setup or weaken your network. This is what to avoid for a smoother, more secure connection.
- Using the Wrong Cable: Do not guess the cable type. HDMI, USB-C, VGA, and adapters work differently. Check both ports first. VGA carries video only, so audio needs a separate cable or speaker.
- Picking the Wrong Input: A projector may show “No Signal” if the wrong input is selected. Match the source to the port used, such as HDMI 1, HDMI 2, VGA, or screen mirroring.
- Forgetting Display Settings: Connecting the cable is not always enough. On Windows, use Windows + P to duplicate or extend the screen. On Mac, check the Displays settings and turn on mirroring if needed.
- Ignoring Image and Sound Checks: Do not start without testing. Adjust focus, zoom, height, and keystone. Then play a short video or slide to confirm the picture and audio work properly.
Wrapping Up
Connecting a projector gets much easier once you follow the right order.
Check the ports, choose the correct cable, connect both devices firmly, select the matching input, and set the display mode on your laptop.
Adjust focus, zoom, height, and keystone only as needed. Test the image and sound before a class, meeting, or movie night.
If something goes wrong, recheck the cable, input source, and display settings first. Try these steps next time you set up a projector and get a clear screen fast.
Frequently Asked Questions
Can You Connect a Projector to a Laptop without an Internet Connection?
Yes, wired connections like HDMI, VGA, or USB-C do not require an internet connection. Wireless casting may need Wi-Fi, depending on the projector and device.
Why is Your Projector Image Blurry?
A blurry image is often caused by poor focus, wrong distance, or uneven placement. Adjust the focus control, move the projector, and check the screen surface.
Can a Projector Work as a Second Monitor?
Yes, most laptops can use a projector as a second display. Choose Extend mode on Windows or arrange displays on Mac.