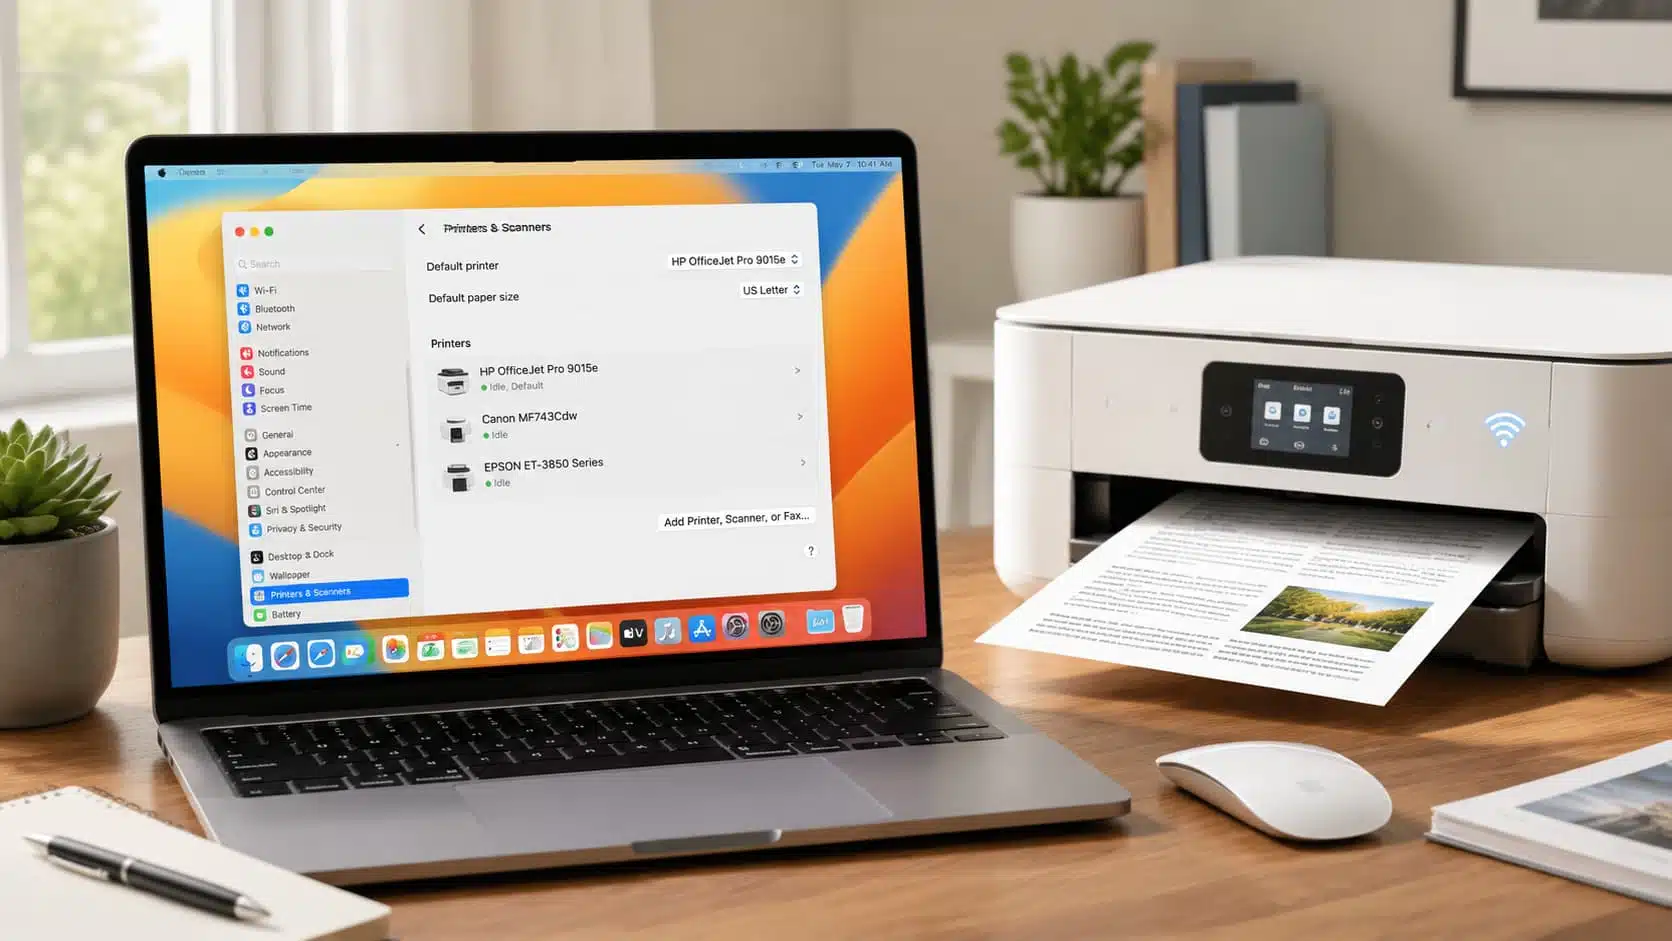



Setting up a new printer shouldn’t feel like a chore, but if you’ve ever stared at a blank Printers & Scanners window wondering why your Mac won’t find your printer, you know it can get frustrating fast.
Learning how to add printer to Mac is actually a quick process once you know where to look, no matter if you’re connecting a simple USB cable or a wireless connection over Wi-Fi.
Below, you’ll find the exact steps to add a printer to your Mac, how the different connection methods compare, how to set up wireless printing through AirPort Utility, and what to do if your Mac still won’t recognize your printer.
By the end, you’ll know exactly how to add printer to Mac without the guesswork.
How to Add Printer to Mac
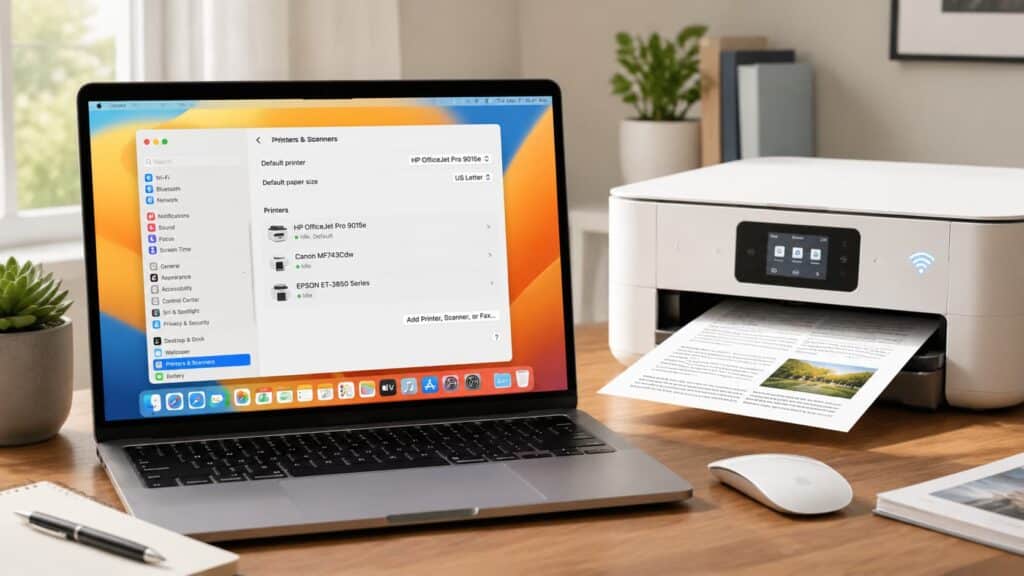
Adding a printer to your Mac comes down to one main place: the Printers & Scanners section of System Settings.
From there, click the “+” button to open a list of available printers, and macOS handles most of the technical work automatically, especially if your printer supports AirPrint.
The exact path after that depends on how your printer connects, either a direct USB cable, your home Wi-Fi network, a specific IP address, or Bluetooth.
Once you know which connection type your printer uses, the rest of the setup usually takes just a couple of minutes, the same kind of quick decision that comes up when choosing between a Mac and a PC in the first place.
Before You Start: What You’ll Need
Having a few things ready before you begin makes the whole process go much more smoothly.
- Printer powered on and connected: if wireless, make sure it’s already joined the same Wi-Fi network as your Mac
- A USB cable on hand: needed if you’re connecting a wired printer directly
- Updated Mac software: older macOS versions sometimes lack current printer drivers, so check for updates first
- Basic awareness of your home network setup: since CISA’s guidance on securing internet-connected devices specifically includes networked printers as a device worth protecting once it joins your Wi-Fi, and its home Wi-Fi security resource covers the basics of keeping that network secure in general
Having these basics in place before you start setup saves you from stopping halfway through to track something down.
How to Add a Printer to Mac Step by Step
Following these steps in order covers the core process for most printers, regardless of brand.
Step 1: Prepare Your Printer and Mac
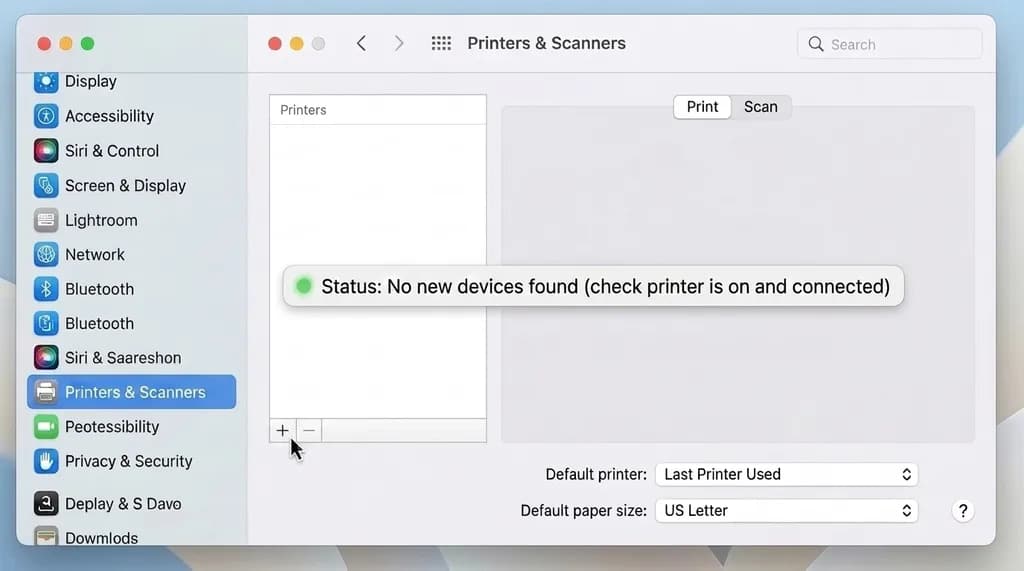
Turn on your printer and, if it connects wirelessly, make sure it’s already joined the same Wi-Fi network as your Mac before you begin.
Check that your Mac’s software is current by going to System Settings, then General, then Software Update, since outdated macOS versions occasionally miss newer printer drivers entirely.
Getting this groundwork done first prevents much of the confusion that shows up later in the process once you’re mid-setup, the same kind of prep that makes scanning a document afterward go smoothly too.
Step 2: Open Printers & Scanners in System Settings
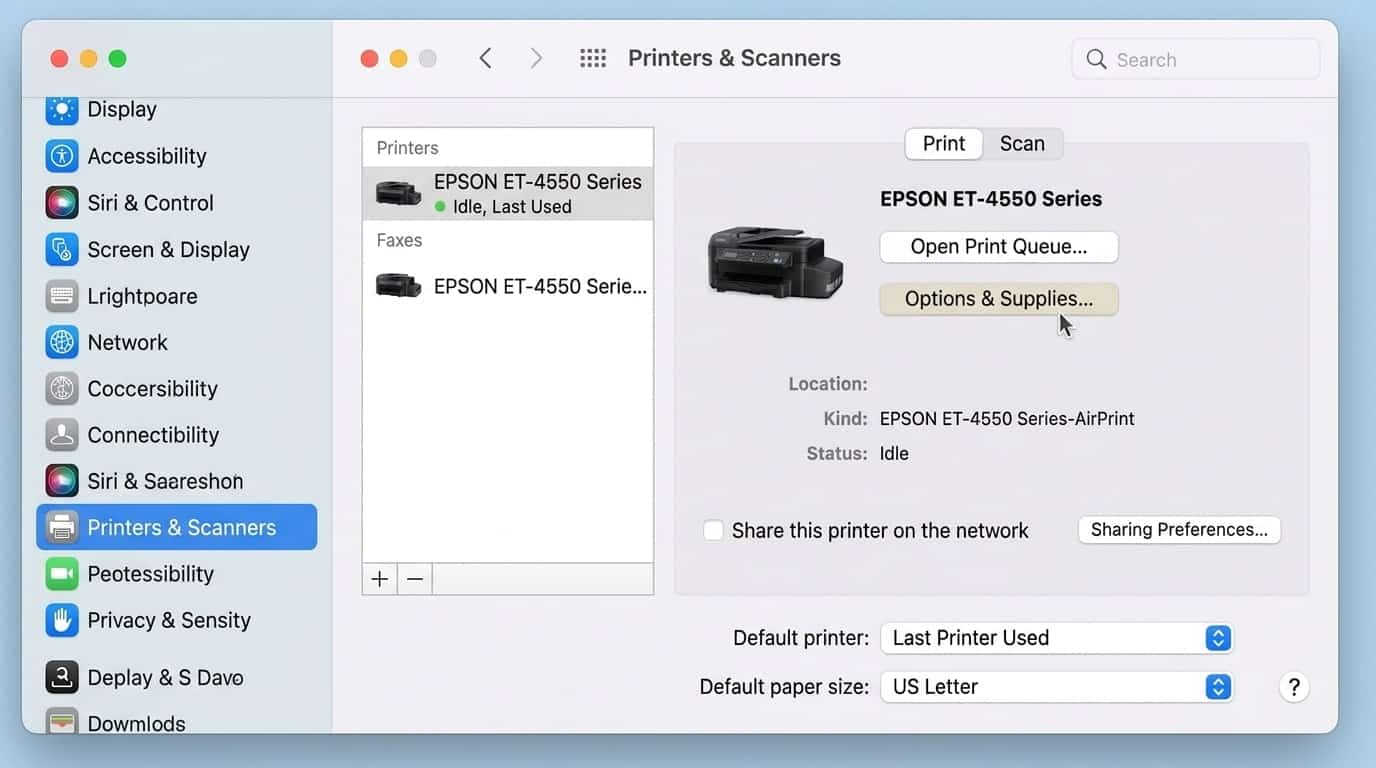
Click the Apple menu in the top-left corner of your screen, then select System Settings from the list that appears.
From the sidebar, choose Printers & Scanners, which shows any printers already set up and lets you add a new one right away.
This is the central hub for every printer connected to your Mac, so it’s genuinely worth knowing where to find it even after your initial setup is fully complete, much like knowing where to check when a smart TV keeps dropping its Wi-Fi connection saves a repeat troubleshooting session.
Step 3: Add Your Printer via USB or Wi-Fi
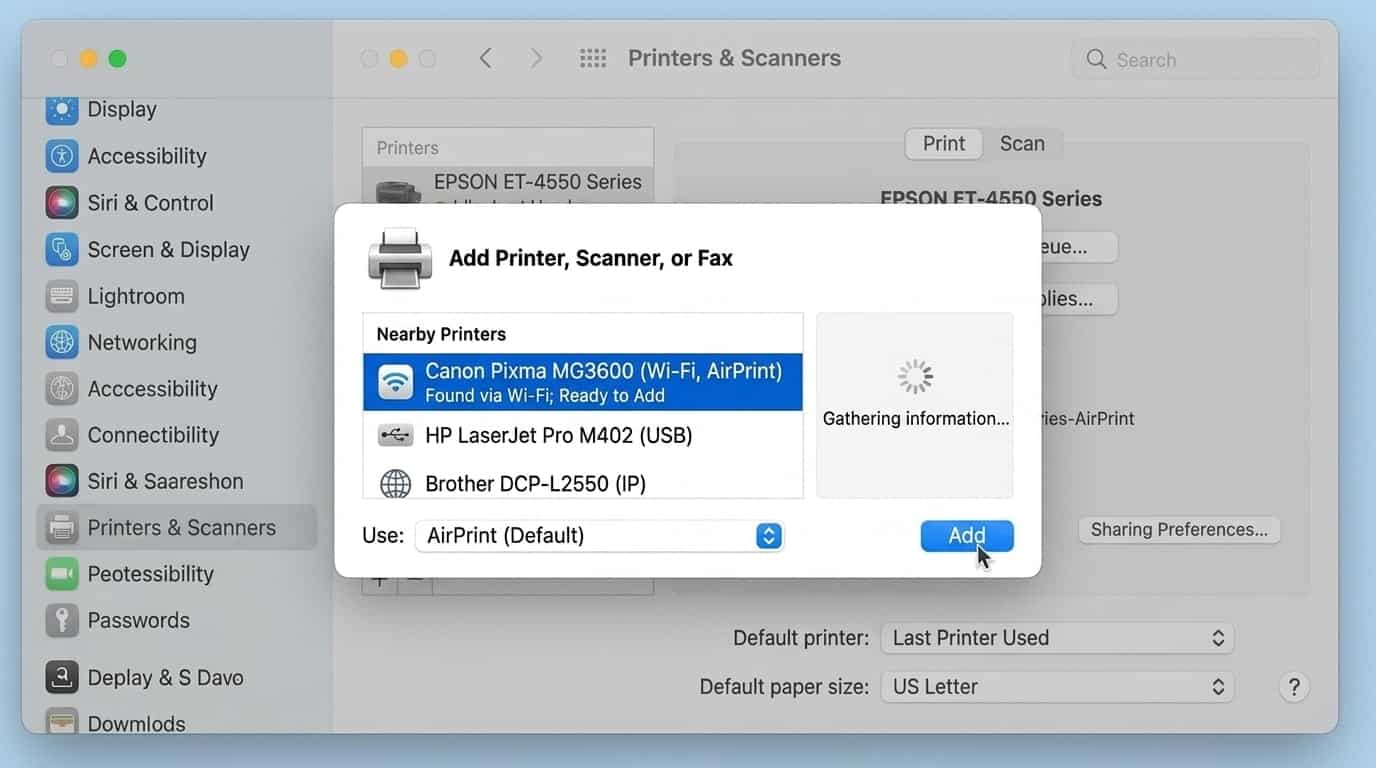
Click the “+” button below the printer list to see what your Mac can currently detect on its own.
If using a USB cable, plug it in now, and your Mac should recognize the printer automatically within seconds. For a Wi-Fi printer, it should appear in the same list as long as it’s connected to your network; CISA’s wireless network guidance recommends confirming it’s your own before adding anything. Select the printer and click Add to finish.
Step 4: Install Any Required Software
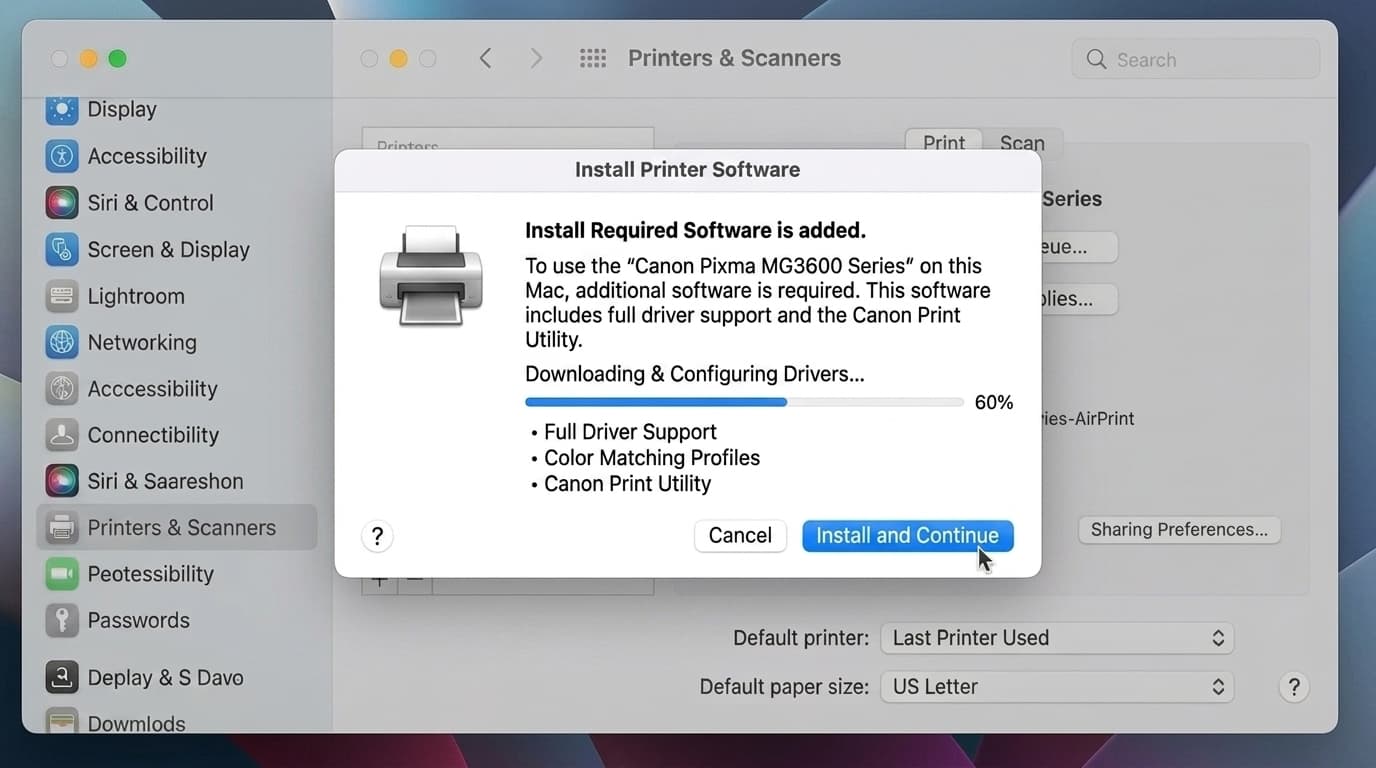
If your printer supports AirPrint, you can skip this step entirely, since no additional drivers are needed for it to work correctly.
For other printers, your Mac may prompt you to download specific software once you select it from the list, and allowing this download completes the driver installation automatically in the background.
This step only takes a minute or two even on a slower internet connection, so there’s no need to worry about it holding up the rest of setup.
Step 5: Set as Default and Print a Test Page
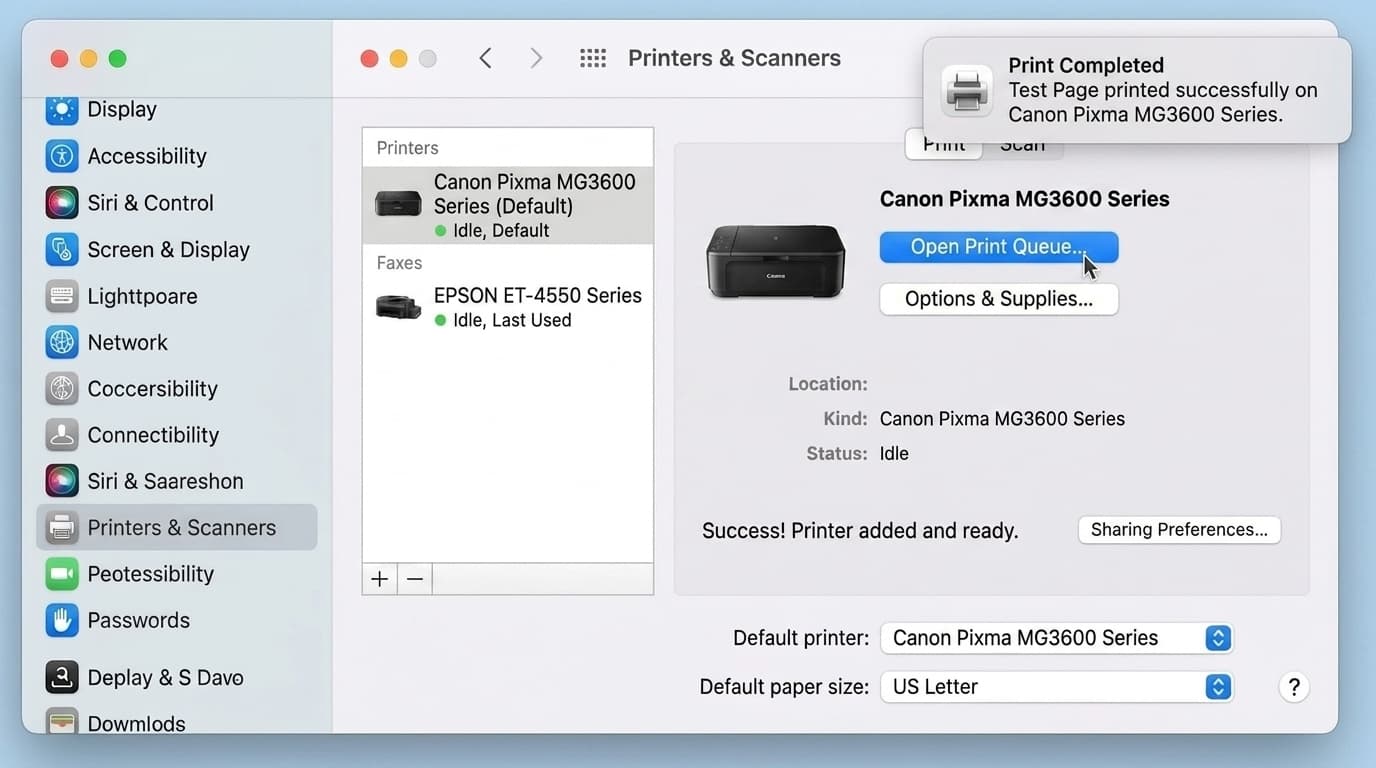
Once your printer appears in the Printers & Scanners list, you can set it as your default printer if it’s the one you’ll use most often.
Send a simple test page to confirm everything is actually working correctly before you rely on it for something important.
Catching an issue now, while it’s still fresh in your mind, is far easier than troubleshooting mid-document later on when you’re in a hurry.
Connection Methods for Adding a Printer to Mac
Seeing how the different connection types compare side by side makes it easier to pick the right one for your specific printer and setup.
| Method | Best For | What You’ll Need |
|---|---|---|
| USB | Quick, reliable setup with no network dependency | A compatible cable, since Mac usually auto-detects the rest |
| Wi-Fi | Wireless printing from anywhere on your network | Printer and Mac connected to the same Wi-Fi network |
| IP Address | Manual setup when automatic detection fails | The printer’s specific IP address, found in its network settings |
| Bluetooth | Short-range wireless without relying on Wi-Fi | A Bluetooth-enabled printer, paired manually through System Settings |
None of these methods is objectively better across the board; the right one really depends on your printer’s capabilities and how your home network is set up.
Setting Up Wireless Printing via AirPort Utility
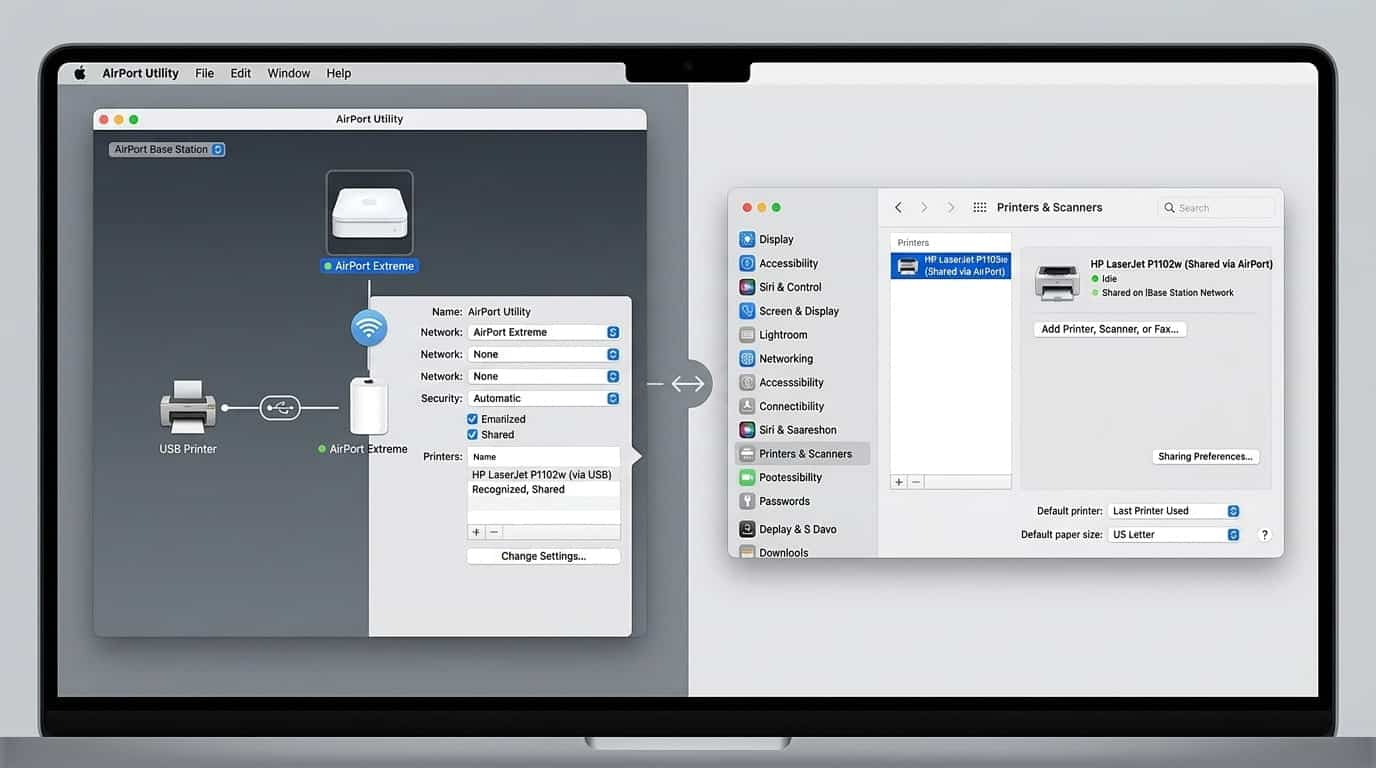
If you have an older USB-only printer but still want to print wirelessly, AirPort Utility offers a workaround worth knowing about.
Connecting your USB printer directly to an AirPort base station lets every Mac on that same network print to it without needing its own Wi-Fi connection.
To set this up, open AirPort Utility, select your base station, and check the USB Printer tab to confirm your printer is recognized once it’s plugged into the base station’s USB port.
From there, the shared printer should appear automatically in the Printers & Scanners list on any Mac connected to that network, making this a genuinely useful option if you’re trying to extend an older printer’s life without buying a new wireless model.
Securing Your Printer on a Wi-Fi Network
Once your printer joins your home network, a few basic habits help keep that connection secure.
- Change your router’s default admin password if you haven’t already, since default credentials are often publicly known and easy to exploit
- Keep your router’s firmware updated, since manufacturers regularly patch security gaps that could affect every device on your network, printers included
- Avoid sharing your Wi-Fi password more broadly than necessary, since anyone with access can potentially see and use devices connected to that same network
- Consider a guest network for visitors, keeping your primary network, and the devices on it, more contained and easier to monitor
These habits take only a few minutes to set up but meaningfully reduce the risk of adding more devices to your home network over time.
What to Do if Your Mac Cannot Find the Printer
If your printer isn’t showing up after following the steps above, a few specific checks usually solve the problem.
- Confirm your printer and Mac are genuinely on the same Wi-Fi network, since being connected to a guest network or a different band can prevent detection entirely
- Restart both your printer and your Mac, since a simple restart resolves a surprising number of connection issues on its own
- Check for a pending macOS update, since an outdated system can sometimes fail to recognize newer printer models correctly
- Try adding the printer manually using its IP address instead of relying on automatic detection, especially if it’s worked before but suddenly stopped appearing
- Reset the printing system entirely by right-clicking within the Printers & Scanners list and selecting the reset option, then re-add your printer from scratch
Working through these in order resolves the vast majority of detection issues without needing to contact support or reinstall anything major.
Troubleshooting Common Printer Setup Issues
Beyond detection problems specifically, a few other issues tend to come up during or after setup.
| Issue | Likely Cause | What to Try |
|---|---|---|
| Printer shows as offline | Sleep mode or a dropped Wi-Fi connection | Wake the printer and confirm it’s still connected to your network |
| Print jobs stuck in queue | A paused queue or a corrupted job | Clear the queue and resend the print job |
| Driver installation fails | An incomplete download or outdated software | Restart your Mac and retry the software update |
| Printer prints blank pages | Low ink or a clogged print head | Check ink levels and run the printer’s cleaning cycle |
Most of these issues resolve quickly once you identify which one you’re actually dealing with, rather than restarting the entire setup process from scratch.
When to Contact Your Printer Manufacturer Instead
If you’ve worked through the steps and fixes above and your printer still isn’t cooperating, the issue may sit outside what macOS itself can solve.
Hardware problems, like a failing Wi-Fi chip inside the printer or a genuinely corrupted firmware update, usually need the manufacturer’s own support tools rather than anything available in System Settings.
Brands like HP, Canon, Epson, and Brother all offer their own diagnostic software and driver downloads that go deeper than macOS’s built-in detection, and their support teams can often identify a hardware fault that no amount of restarting or reconnecting will fix.
Reaching out at this point isn’t giving up; it’s simply recognizing when the problem has moved from a setup issue to something only the manufacturer can properly diagnose.
Final Thoughts
Learning how to add printer to Mac really comes down to knowing where to look, the Printers & Scanners section of System Settings, and matching your setup steps to your printer’s specific connection type.
No matter if you’re plugging in a USB cable, joining a Wi-Fi network, or setting up wireless printing through an older AirPort base station, the process is genuinely straightforward once you follow it in order.
If your printer still isn’t showing up after trying the fixes above, don’t hesitate to check your printer manufacturer’s specific support page for model-specific guidance.
Try adding your printer today using the steps above, and send a quick test page to confirm everything works before you actually need to print something important.
Frequently Asked Questions
Can You Add a Printer to a Mac Without Wi-Fi?
Yes, a USB connection works entirely without Wi-Fi, since the cable itself handles the connection between your printer and Mac directly.
Do You Need to Install Printer Software Manually on a Mac?
Not always. AirPrint-compatible printers work without any manual software installation, while other models may prompt an automatic download the first time you add them.
Can Multiple Macs Share the Same Printer?
Yes, any printer connected to your Wi-Fi network, or shared through AirPort Utility, can typically be added to multiple Macs on that same network.
Why Does a Printer Disappear From the List After a macOS Update?
Updates occasionally reset certain printer configurations, so re-adding the printer through Printers & Scanners usually resolves this without reinstalling any software.