


Mouse DPI sounds like a technical term only gamers care about. But the truth is, it affects how smoothly and accurately a mouse moves on screen.
Most people just ignore it and deal with a mouse that never feels quite right. This Blog breaks down exactly what mouse DPI is and why it matters for both work and play.
It also walks through how to check DPI on Windows and Mac, the best DPI settings for gaming, and how to fix common problems. By the end, the right settings will make total sense!
What is Mouse DPI and Why Does It Matter?
DPI stands for Dots Per Inch. On a mouse, it measures hardware sensitivity, exactly how many pixels the cursor moves for every inch the mouse travels across the desk.
DPI shapes the entire computer experience. On large 4K or multi-monitor setups, higher DPI lets the cursor sweep across screens without constant lifting.
Fast-paced action and strategy games benefit from higher DPI settings between 1600 and 3200+, where quick reactions matter most. Higher DPI means speed. Lower DPI means accuracy. Neither is better by default; the right setting depends on the screen, the task, and personal comfort.
Check mouse DPI in three ways: manufacturer software, an online DPI analyzer, or manual measurement, each suited to a different mouse type.
Check DPI via Manufacturer Software

The easiest way to find mouse DPI is through the brand’s official software. Gaming mice from Logitech, Razer, and SteelSeries all have free apps that show the exact DPI setting in seconds!
Each brand shows DPI in a slightly different spot:
- Logitech G Hub: Open the app, click the mouse icon, head to the Performance tab, and the DPI value sits right under the sensitivity slider.
- Razer Synapse: Open the app, click Mouse, go to the DPI tab, and the current value appears on screen. The default is usually 800 or 1600.
- SteelSeries Engine: Open the app, click Mouse, go to DPI Settings, and check the active profile to see the current value.
Pro Tip: Most pro gamers who play Valorant or CS: GO use 400–800 DPI. Check whether the mouse already has one of these settings before changing anything.
Use an Online DPI Analyzer Tool
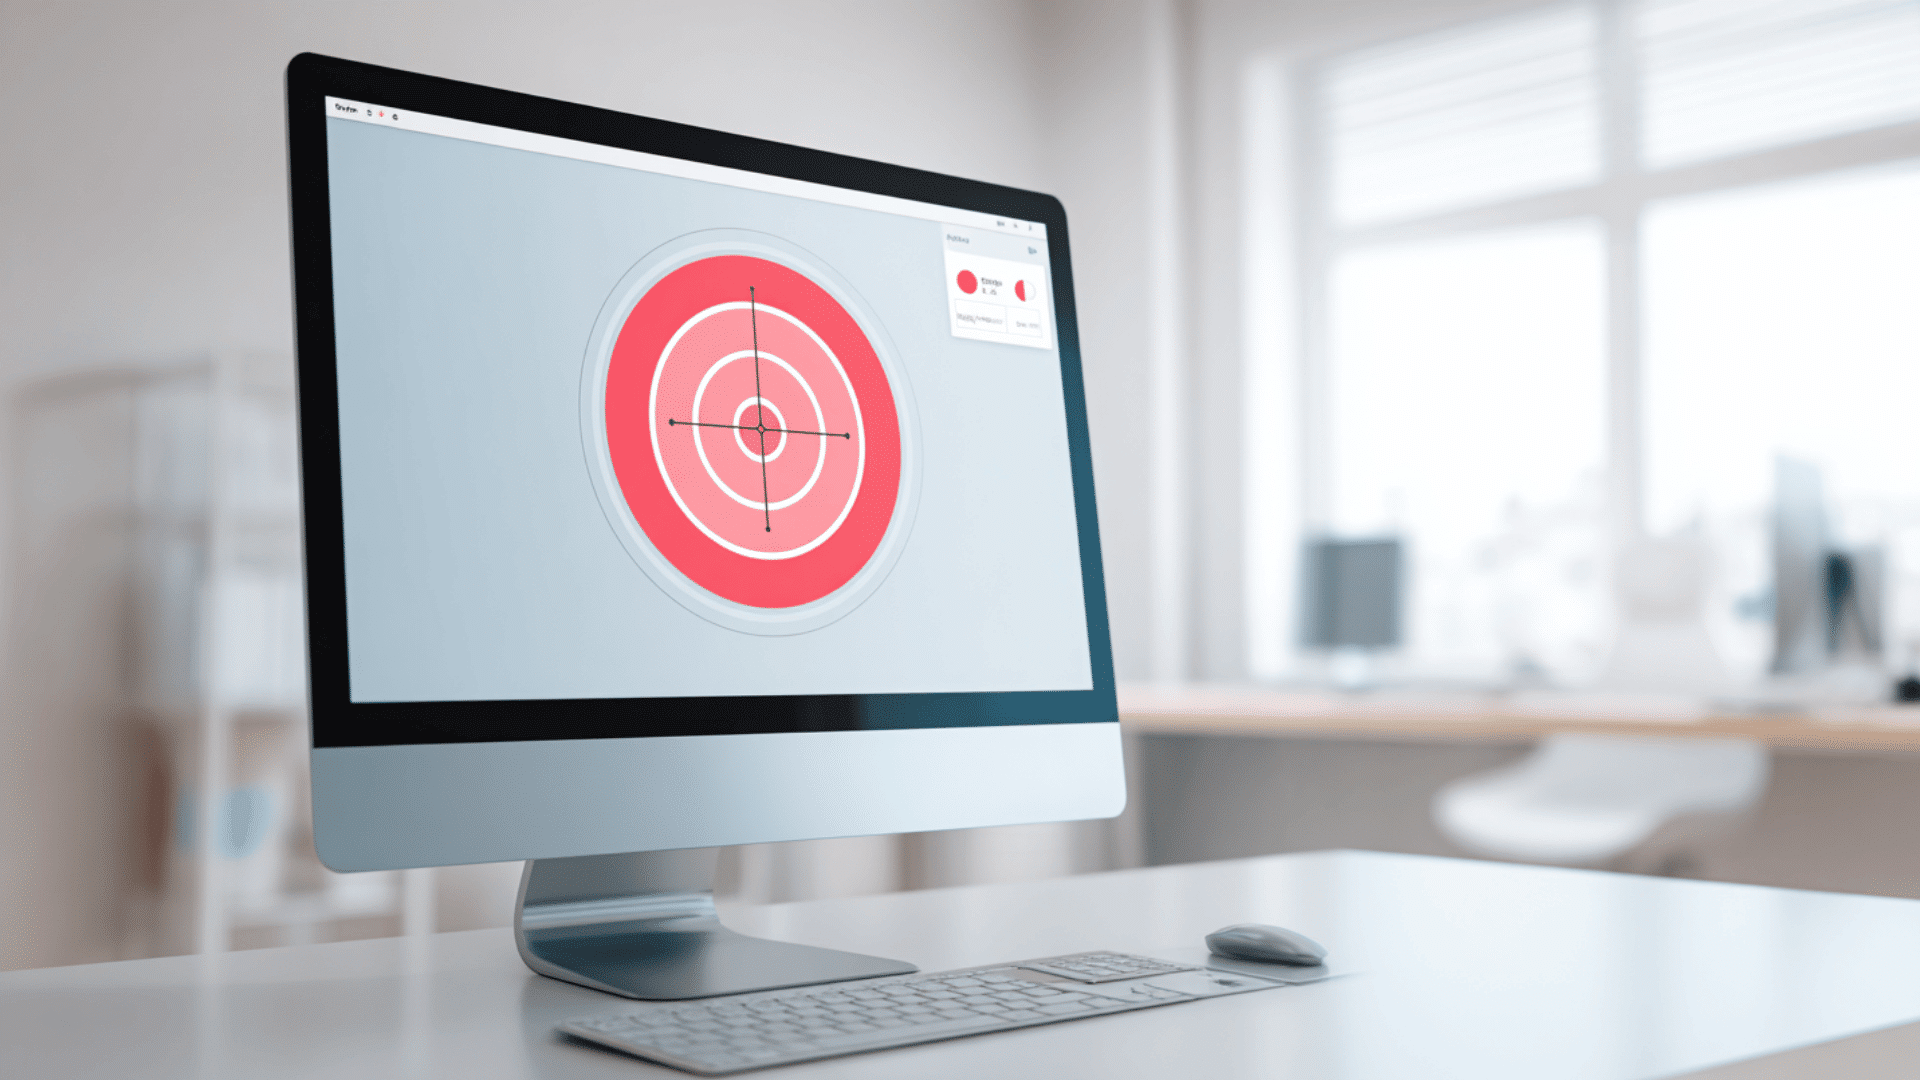
No software needed for this one. An online DPI analyzer measures mouse sensitivity right in the browser and takes just 2–3 minutes.
This is how to use mouse-sensitivity.com
- Grab a ruler: Draw a 2-inch line on paper as a reference.
- Open the tool: Go to mouse-sensitivity.com/dpianalyzer/ in any browser.
- Set the distance: Enter “2 inches” as the target distance.
- Click the target: Click and hold the red target on screen.
- Move the mouse: Slide it exactly 2 inches along the drawn line.
- Check the reading: The site displays the actual DPI instantly.
- Repeat and average: Run the test three times and average the results for the most accurate reading.
For best results, clean the mouse sensor before starting, use a smooth mousepad instead of carpet, and move the mouse in a straight line throughout.
Pro Tip: This tool is used by e-sports coaches and pro players across the US to set up mouse settings, so the readings it gives are worth trusting.
Manually Measure DPI
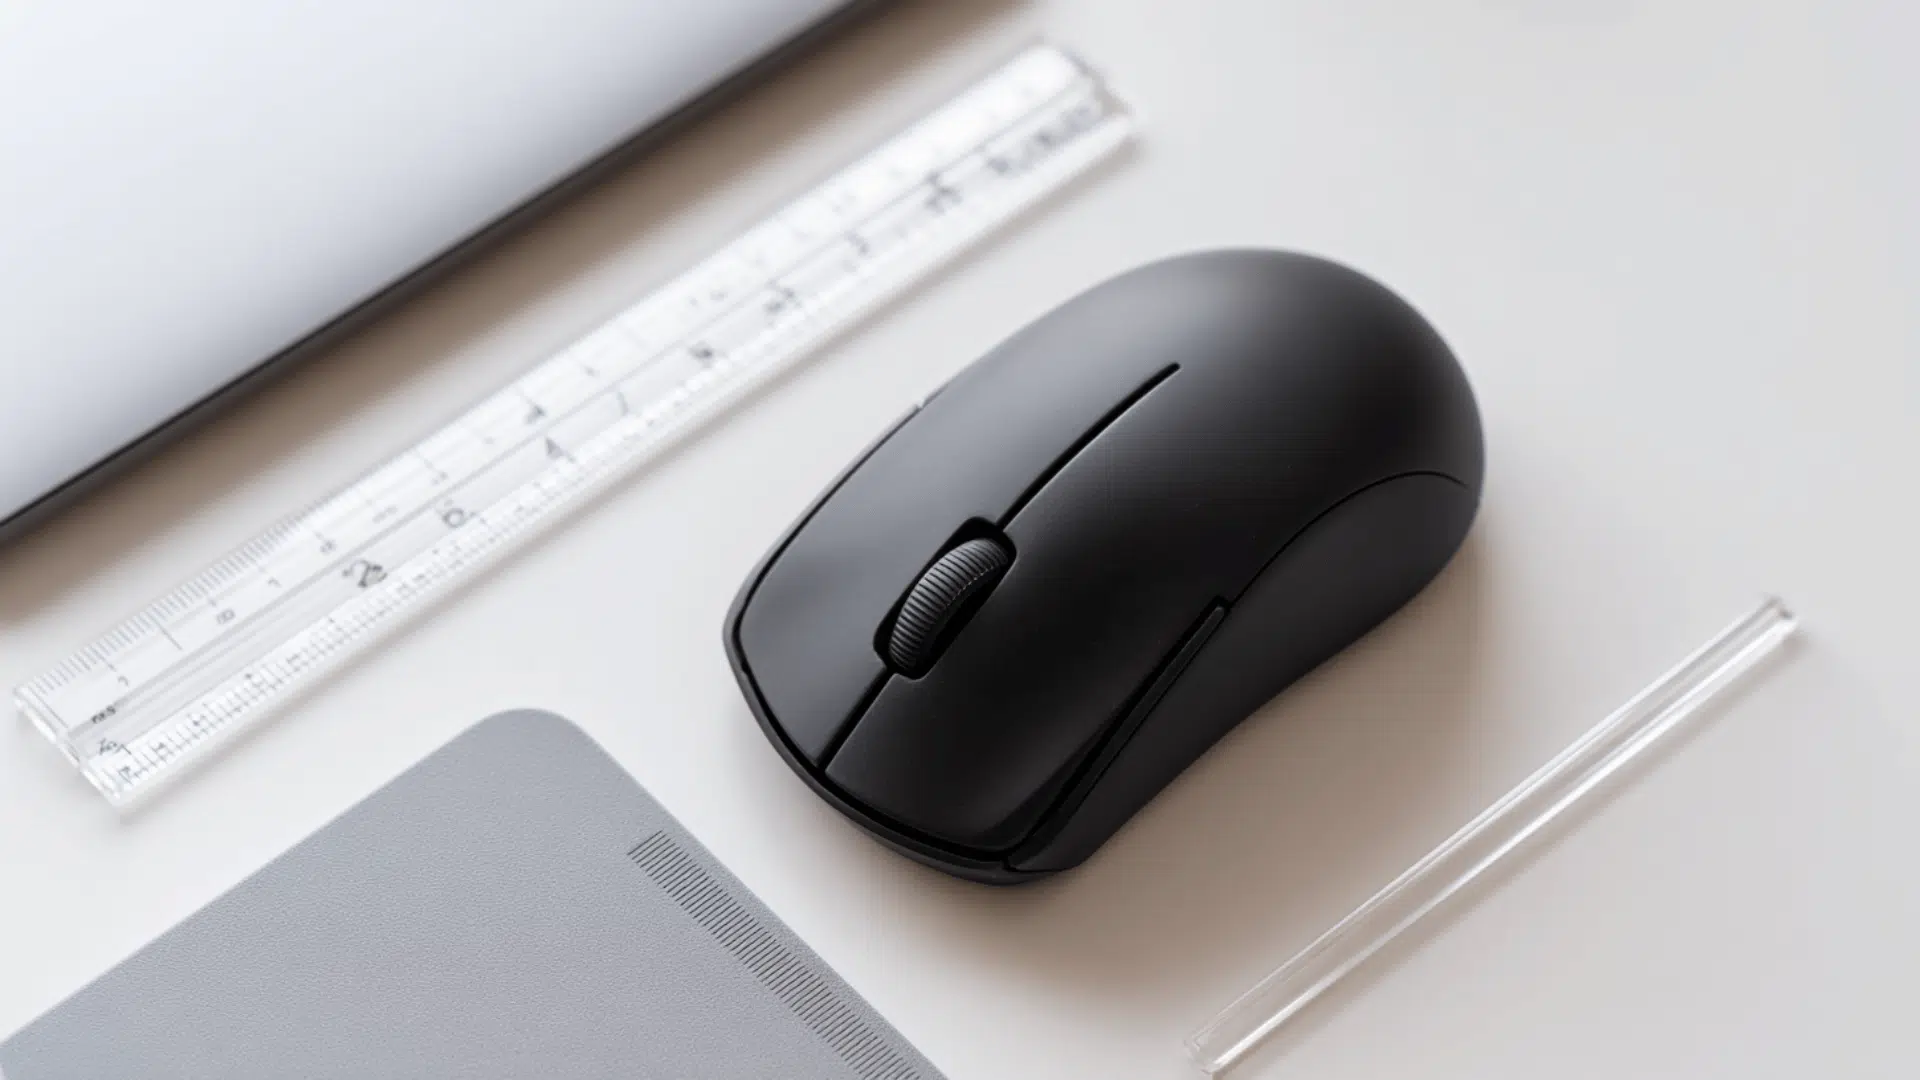
This method works best for basic office mice bought from Amazon, Best Buy, or Walmart that come with no brand software.
Keep in mind that the manual method carries a ±5–10% error margin, so software or online tools always give a more accurate reading.
Method A Paint Trick:
No tools are needed beyond a ruler and Microsoft Paint. This is how it works:
- Open Paint: Launch Microsoft Paint and zoom to 100%.
- Draw a line: Use a ruler to draw a 1-inch horizontal line on the screen.
- Check the pixels: Look at the pixel width of that line.
- Calculate DPI: Divide pixels by inches — 960 pixels over 1 inch equals 960 DPI.
Method B DPI Analyzer:
For a cleaner result, mouse-sensitivity.com does the math automatically. Just follow these steps:
- Open the tool: Go to mouse-sensitivity.com in any browser.
- Enter pointer speed: Type 6/11 in the “WPS” field.
- Move the mouse: Slide it exactly 2 inches across the mousepad.
- Get the result: The tool automatically calculates DPI.
DPI = Pixels ÷ Inches
Pro Tip: When there is no brand name on the mouse and no software available anywhere online, the manual method is the only real option, and Method B gives the cleaner result of the two.
How to Adjust Mouse Sensitivity on Mac?
Mac does not show exact DPI numbers, but the cursor speed is easy to adjust. Here is how to get there:
1. Open Apple menu: Click the Apple logo in the top-left corner of the screen.
2. Go to Settings: Select System Settings or System Preferences on older macOS versions.
3. Find Mouse: Scroll down and click Mouse.
4. Adjust speed: Drag the Tracking Speed slider left to slow the cursor down or right to speed it up
Which Method Should You Use?
The right method depends on the mouse type and the situation. This quick table makes the choice easy:
| Situation | Method | Reason |
|---|---|---|
| Logitech/Razer/SteelSeries | Manufacturer Software | Fast, accurate |
| No software | Online DPI Analyzer | Browser-based |
| Basic $20 mouse | Manual | Only option |
| Mac/Linux | Online DPI Analyzer | Cross-platform |
| Serious gamer | Software + Analyzer | Double-check |
| In a hurry | Manufacturer Software | Quickest |
Common Mouse DPI Mistakes to Avoid
Most DPI problems come down to a few simple setup errors:
- Enhance pointer precision: Always turn this Windows setting off first.
- Windows sensitivity vs. DPI: These two settings are completely different.
- Too high a DPI for the monitor: 1080p needs 800 DPI; 4K needs 1200–1600 DPI.
- Skipping in-game testing: Always test DPI in-game after changing it.
Conclusion
Mouse DPI plays a bigger role than most people realize. It controls cursor speed, accuracy, and overall mouse performance, whether for gaming, design, or everyday use.
Checking DPI is simple, whether through manufacturer software, an online tool, or a manual test.
The best DPI setting depends on the task, the screen size, and personal comfort. There is no single right number, just the one that works best. Clicks feel sharper.
Want to get more out of the mouse setup? Check out the guide on the best gaming mice to find a solid upgrade without spending too much.
Frequently Asked Questions
Why Do Pros Still Use 400 DPI?
400 DPI offers accurate control, consistent muscle memory, smooth aiming, and reduced errors, making it a strong fit for pro-level gameplay.
How Bad is 200 DPI?
200 DPI works fine for general use, balancing sharpness and Clarity, but May Feel Slow for Fast-Paced Gaming.
Is 8 K Polling Overkill?
8K polling is technically advanced, but on 144Hz monitors, the practical benefit is minimal—most gamers won’t notice a difference.