


Did your PC fail a Windows 11 compatibility check even though it meets most requirements?
The missing piece may be TPM 2.0, a security feature designed to protect sensitive information and support modern device protection features.
Many users search how to enable tpm 2.0 when they need to install Windows 11, fix security-related errors, or meet requirements for games with strict anti-cheat systems.
In most cases, TPM 2.0 is not missing but simply disabled and can be turned on through the computer’s BIOS or UEFI firmware settings.
What is TPM 2.0 and Why Do You Need to Enable It?
TPM stands for Trusted Platform Module, a small security chip (or firmware equivalent) that handles encryption keys, passwords, and other sensitive data separately from your main processor.
Think of it as a locked vault built right into your motherboard, keeping your login credentials and BitLocker encryption keys away from prying software.
Version 2.0 is the one Microsoft cares about, since it’s a hard requirement for Windows 11. Without it enabled, your PC either can’t install the OS at all or misses out on features like enhanced ransomware protection and Windows Hello.
Most machines made in the last several years already have the chip; it’s just waiting for you to switch it on.
Before You Enable TPM 2.0 on Your PC, Check Its Status
Before changing BIOS or UEFI settings, check whether TPM 2.0 is already active on your computer. Many systems have TPM enabled by default, so verification can save time.
1. Check TPM Status Using the TPM Management Tool: You can quickly check TPM availability through Windows
- Press Windows + R to open the Run dialog.
- Type tpm.msc and press Enter.
- Check the Status section for TPM readiness.
- Confirm Specification Version shows 2.0.
2. Check TPM Through Windows Security Settings: Windows Security also provides TPM details through built-in device protection settings
- Open Windows Security from the Start menu.
- Select Device Security.
- Open Security processor details.
- Check whether TPM is available and view its specifications.
3. Check Whether Your PC Supports TPM 2.0: You can check your computer’s hardware compatibility before enabling TPM 2.0
- Check your processor model and motherboard specifications.
- Confirm whether your system supports TPM 2.0, Intel PTT, or AMD fTPM.
- Review your manufacturer’s support page or device manual.
- Check if a BIOS update is required for TPM support.
Knowing your PC’s TPM support helps determine whether you need to enable a setting or upgrade hardware before installing Windows 11 or using security features, the same kind of groundwork covered in a broader review of your system’s security posture.
How to Enable TPM 2.0 in BIOS or UEFI Settings
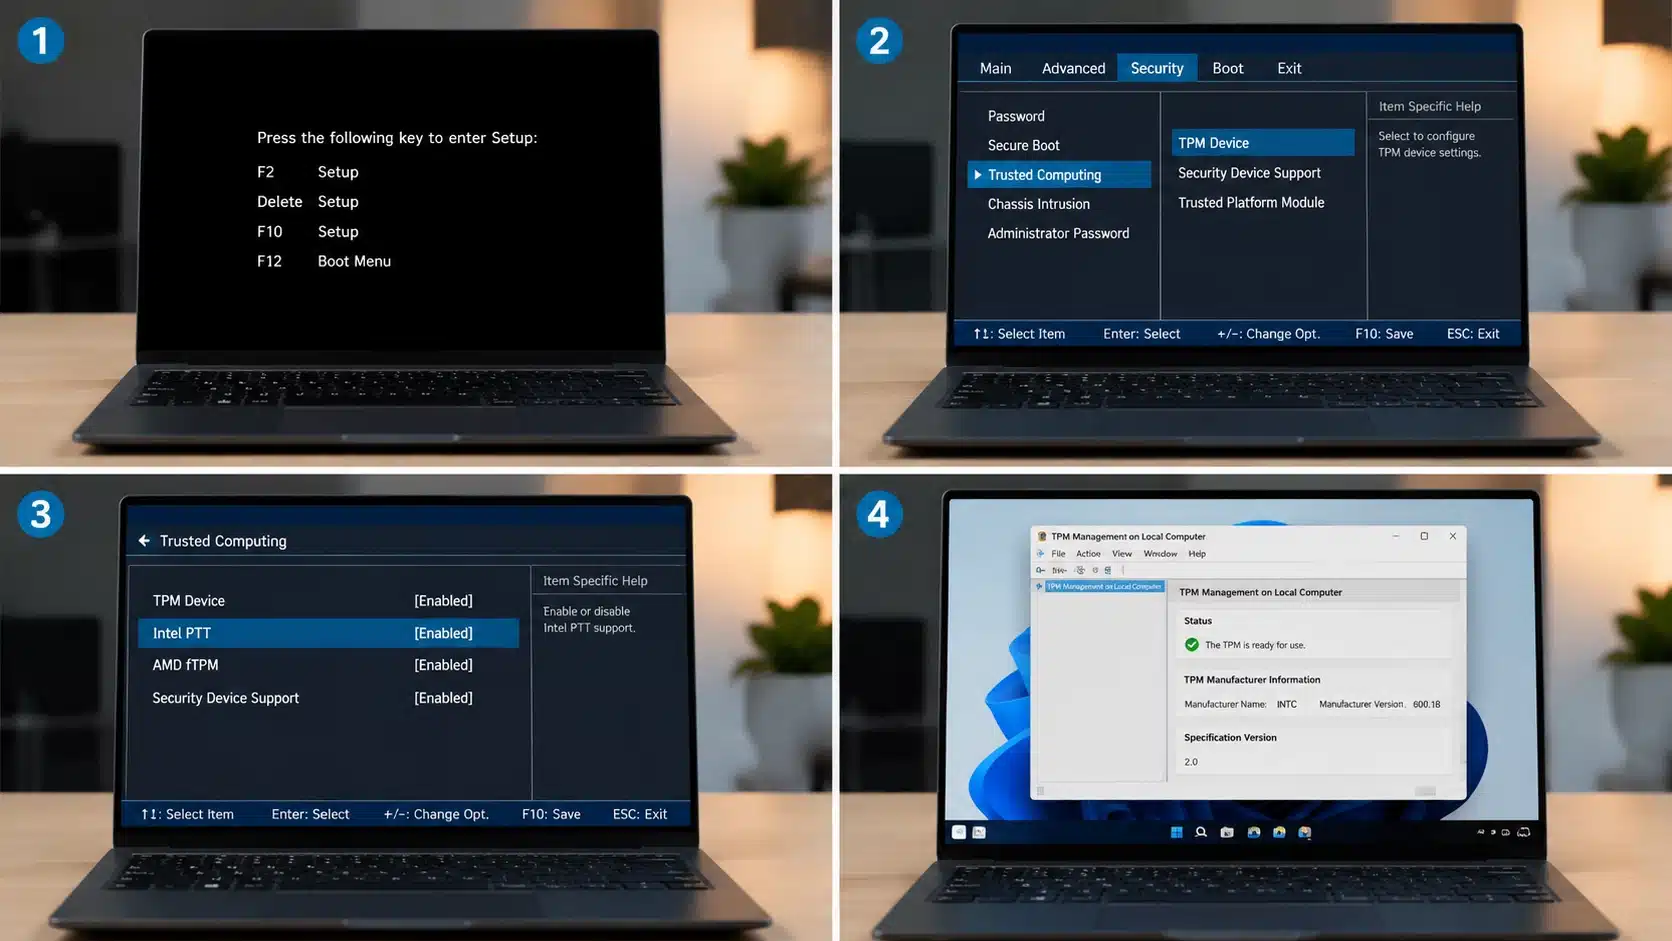
If TPM 2.0 is supported on your computer but disabled, you can enable it through BIOS or UEFI firmware settings.
The exact menu names may vary by device brand, motherboard model, and processor type, but the overall process is similar.
Step 1: Restart your computer and enter BIOS or UEFI settings
Restart your PC and press the BIOS key repeatedly during startup. Common keys include F2, Delete, F10, or F12.
If these keys do not work, you can access firmware settings through Windows by going to Settings > System > Recovery > Advanced Startup > Restart now > Troubleshoot > Advanced options > UEFI Firmware Settings.
Step 2: Locate the TPM setting
Once inside the BIOS or UEFI, open sections such as Security, Advanced, or Trusted Computing.
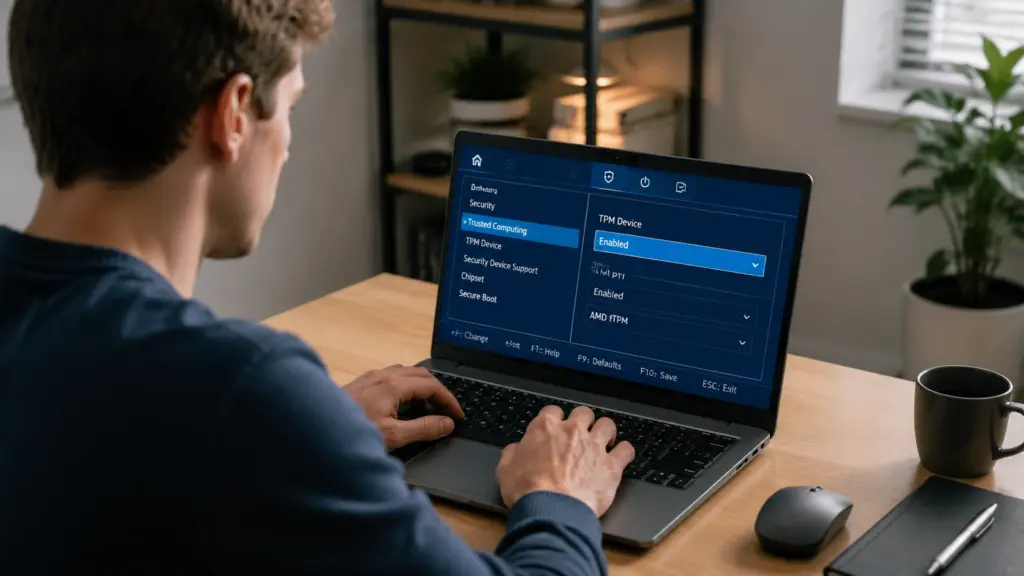
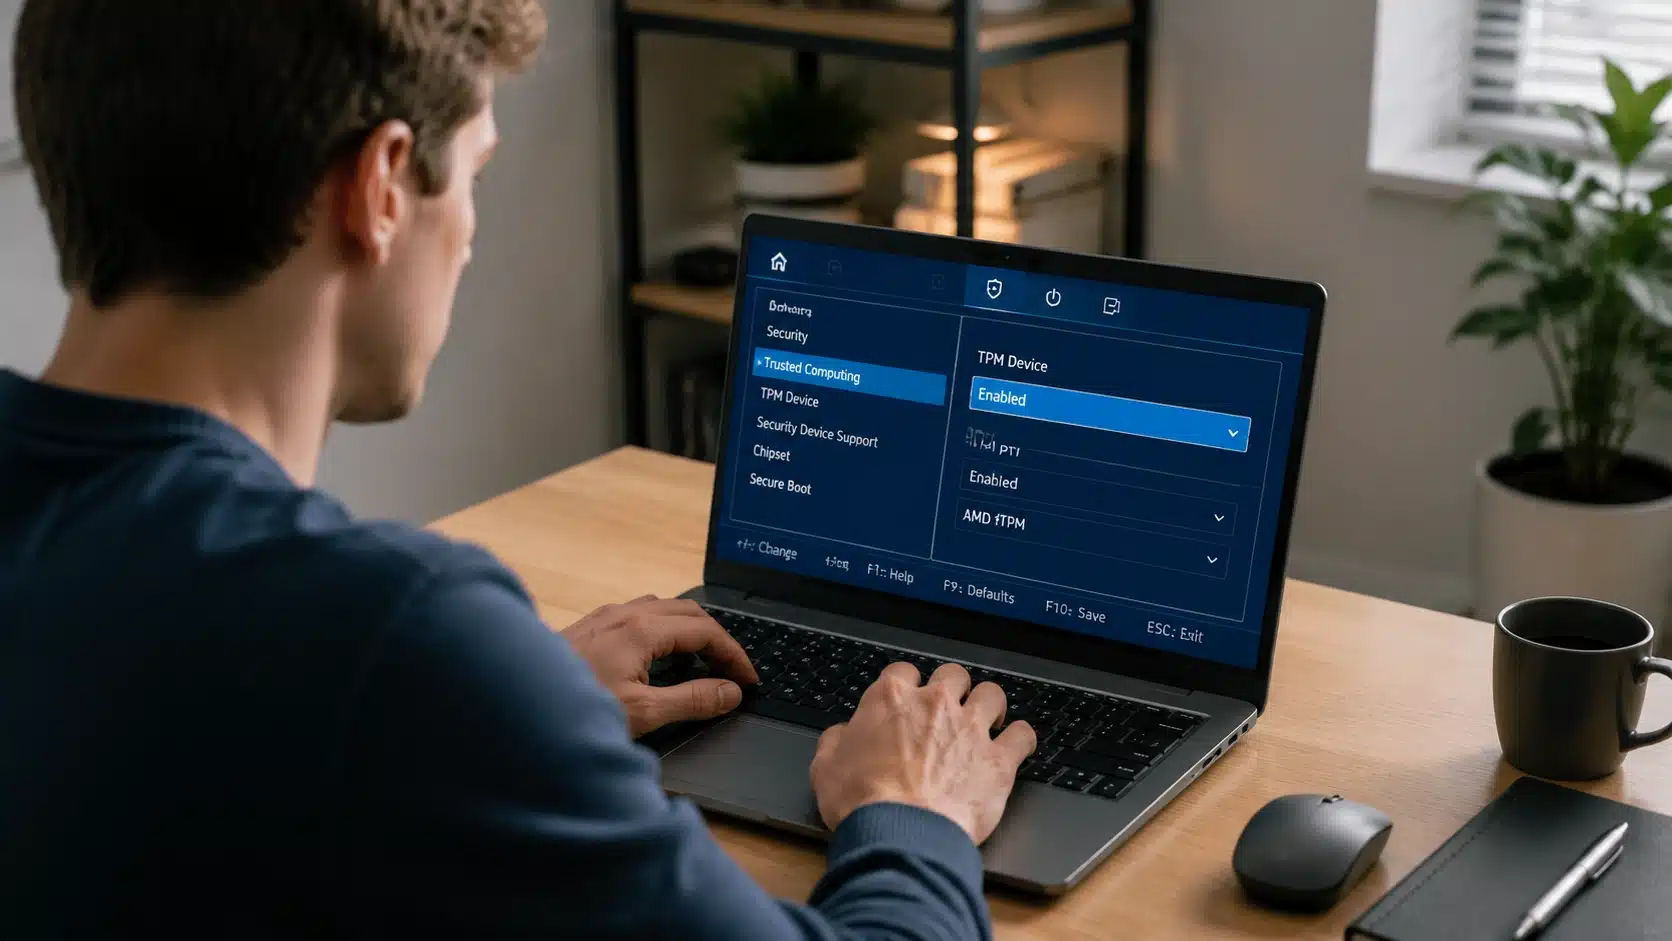
The TPM option may appear under different names, including Security Device Support, TPM Device, Trusted Platform Module, or Firmware TPM. Select the available TPM-related setting to enable it.
| Note: TPM settings may not always appear as “TPM 2.0.” Depending on your processor and motherboard, look for Intel PTT, AMD fTPM, Security Device Support, or Trusted Computing options. |
Step 3: Enable the TPM feature based on your processor
On computers with Intel processors, look for Intel Platform Trust Technology (PTT) and change it to Enabled.
On systems with AMD processors, find AMD fTPM or AMD CPU fTPM and enable the option. These settings provide TPM 2.0 functionality through processor firmware, the same hardware-level layer that supports broader efforts to keep harmful code off a device.
Step 4: Save changes and restart your computer
After enabling TPM, save the BIOS changes by selecting Save and Exit or pressing F10. Allow Windows to restart normally.
Once the computer boots, press Windows + R, type tpm.msc, and press Enter to open TPM Management. Confirm that the status shows TPM is ready for use and the Specification Version is 2.0.
Following these steps ensures TPM 2.0 is activated correctly and ready for Windows 11 requirements, security features, or applications that depend on TPM-based protection.
What to Do If You Cannot Find TPM 2.0 in BIOS
If you cannot find TPM 2.0 in BIOS or UEFI settings, the feature may be listed under a different name. Look for options such as Security Device Support, Trusted Computing, Intel PTT, AMD fTPM, or Firmware TPM.
If the setting is still unavailable, update your BIOS firmware because older versions may not display newer security options.
Check whether your processor and motherboard support TPM 2.0, as some older systems may not include compatible hardware or firmware support.
Intel systems may use PTT, while AMD systems may use fTPM to provide TPM functionality. On work or school devices, organization policies may also disable TPM settings, requiring administrator access to change them, since these controls are often part of a wider strategy for preventing data breaches across an organization.
How to Enable TPM 2.0 on Different Computer Brands
BIOS and UEFI menus are not identical across manufacturers, so the location and name of TPM settings can vary. Use the instructions below to find the correct option based on your computer brand and enable TPM 2.0.
1. ASUS PCs and Motherboards
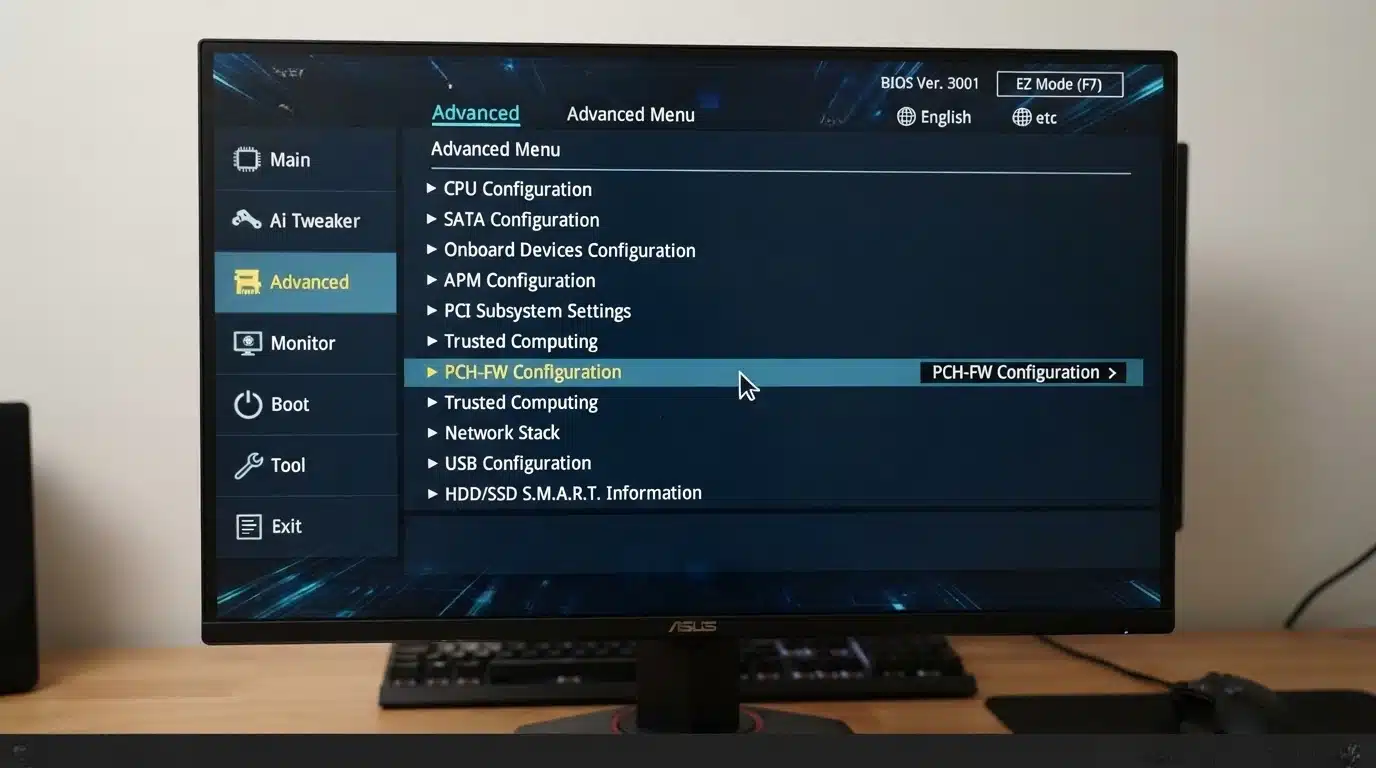
ASUS devices usually place TPM settings inside advanced BIOS options. Follow these steps:
- Enter BIOS and switch to Advanced Mode if needed.
- Open Advanced settings.
- Select PCH-FW Configuration.
- Enable Intel PTT for Intel systems or AMD fTPM for AMD systems.
- Save changes and restart the computer.
2. MSI Motherboards
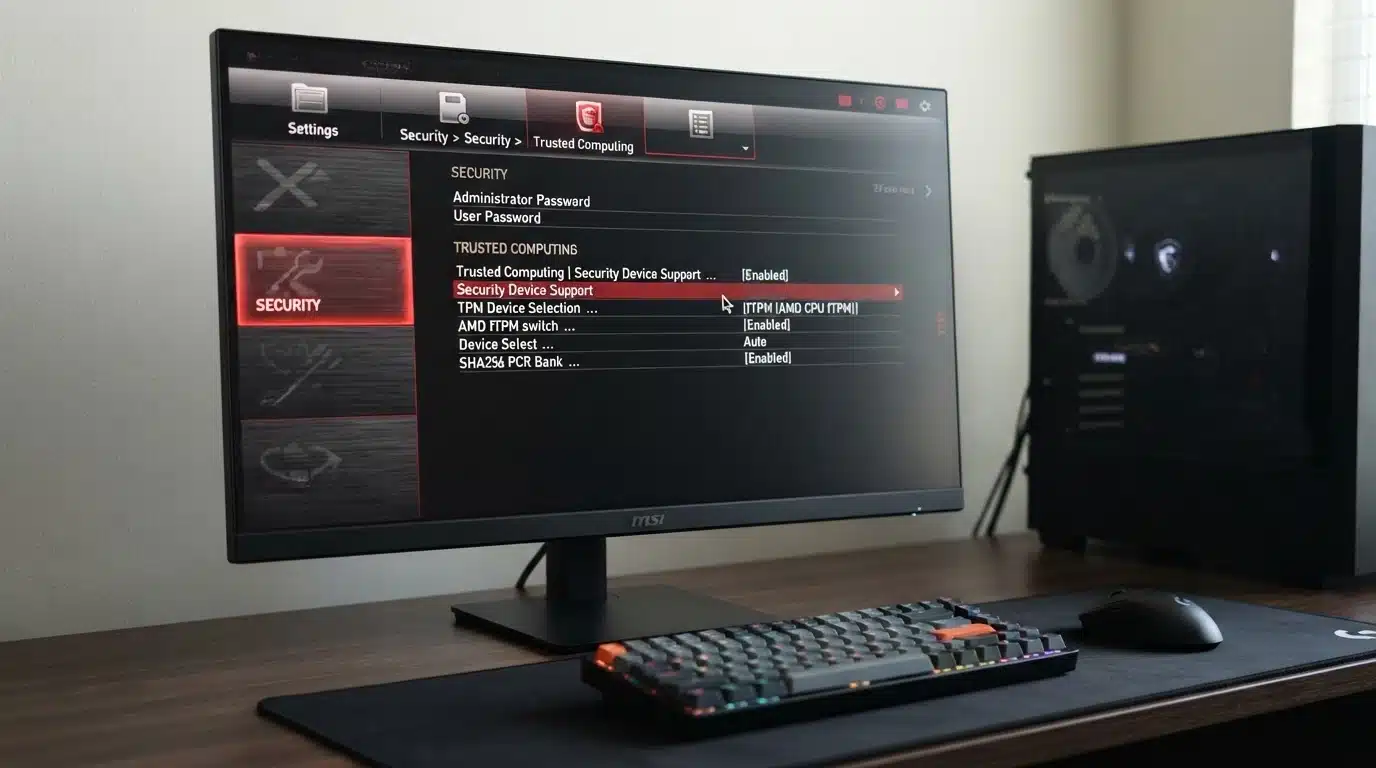
MSI motherboards use the Trusted Computing section for TPM controls. To enable TPM 2.0:
- Enter BIOS and open the Security menu.
- Select Trusted Computing.
- Find Security Device Support.
- Change the setting to Enabled.
- Save BIOS changes and restart your PC.
3. Dell Computers
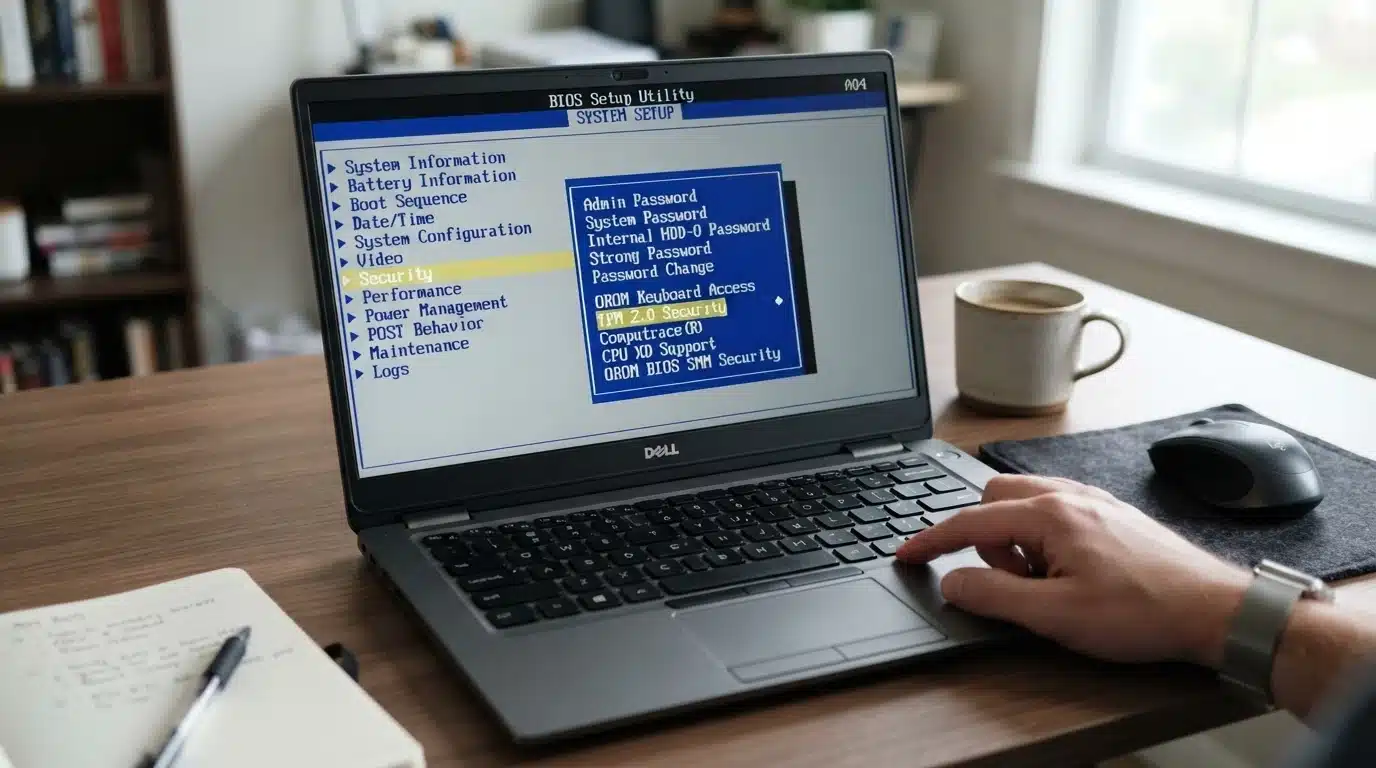
Dell computers usually include TPM options under security-related BIOS settings. To enable TPM:
- Restart the computer and enter BIOS using F2.
- Open the Security menu.
- Select TPM Security or a similar TPM option.
- Enable the TPM feature.
- Save settings and restart Windows.
4. HP and Lenovo Devices
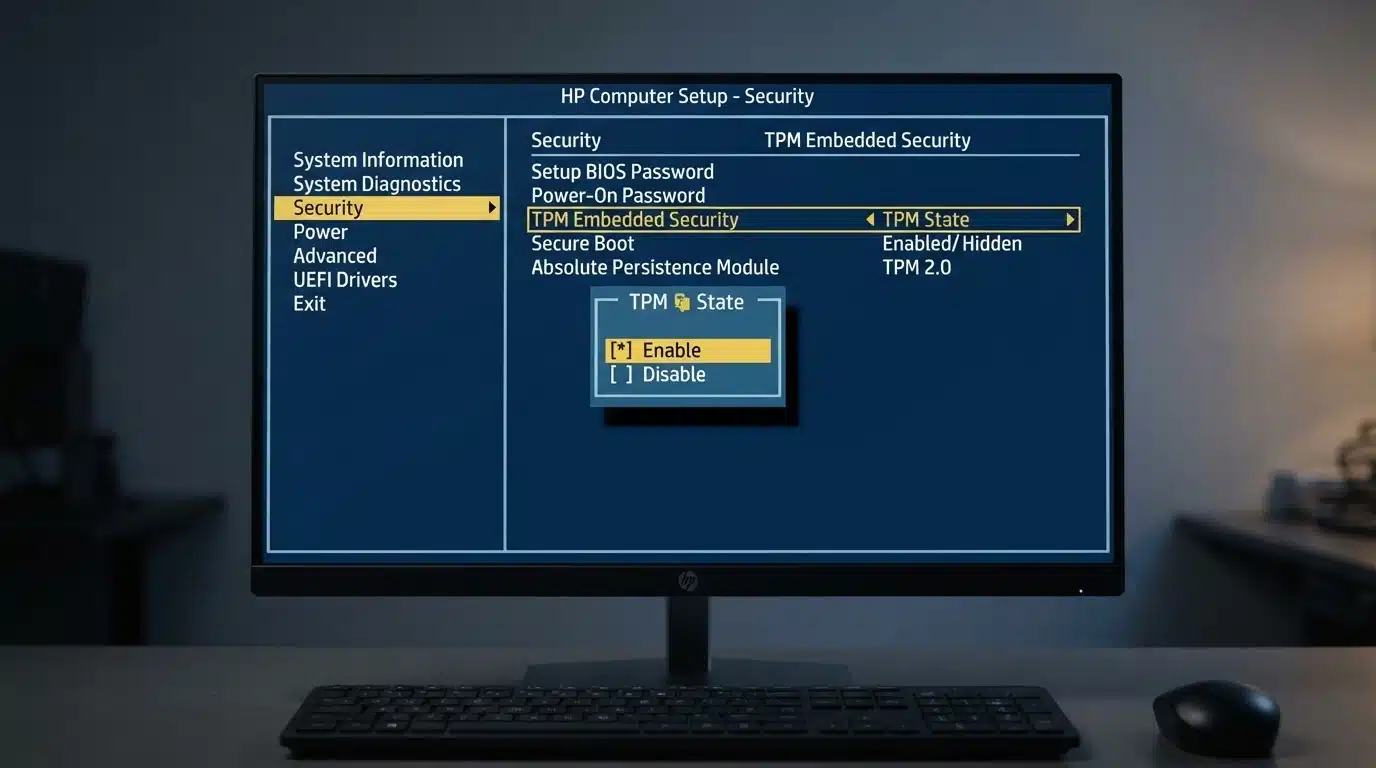
HP and Lenovo systems manage TPM settings through their security menus. Use these steps:
- Enter BIOS or UEFI settings during startup.
- Open the Security section.
- On HP devices, look for TPM Embedded Security.
- On Lenovo devices, look for Security Chip or TPM settings.
- Enable the option and save changes.
After enabling TPM 2.0 on your specific computer brand, verify that Windows detects it correctly using the TPM Management tool. If the setting is unavailable, check your device specifications or update your BIOS.
How to Fix TPM 2.0 Errors After Enabling It
After enabling TPM 2.0, some systems may still show detection or compatibility errors. The following fixes can help resolve common issues quickly.
| Issue | Fix |
|---|---|
| TPM enabled but not detected | Restart your PC and check TPM status using tpm.msc. |
| Windows 11 compatibility error remains | Confirm TPM 2.0, Secure Boot, UEFI mode, and hardware requirements. |
| Games show TPM errors | Enable both TPM 2.0 and Secure Boot for anti-cheat requirements. |
| Secure Boot or UEFI disabled | Open BIOS settings and switch from Legacy mode to UEFI with Secure Boot enabled. |
| TPM status not updated | Restart Windows after BIOS changes and check TPM details again. |
If TPM errors continue, update BIOS firmware or verify that your processor and motherboard fully support TPM 2.0.
Should You Clear TPM After Enabling It?
Clearing TPM is a separate action from enabling TPM 2.0. It resets stored security information and should be done only when necessary.
- What clearing TPM does: Clearing TPM resets the security processor and removes stored keys, certificates, and authentication data. It returns TPM settings to their default state but does not disable TPM functionality on your computer.
- When clearing TPM may be needed: Clearing TPM can help resolve specific TPM errors, fix corrupted security data, or prepare a device before transferring ownership to another user.
- Why avoid clearing TPM without preparation: Clearing TPM can affect features that depend on stored security keys. Always understand the impact before resetting TPM to prevent unexpected access issues.
- BitLocker recovery key warning: If BitLocker encryption is enabled, save your recovery key before clearing TPM. Without this key, encrypted files or drives may become inaccessible.
Note: Do not clear TPM just to enable TPM 2.0. Clearing removes stored security keys and may affect BitLocker or other security features.
Clearing TPM is rarely needed for normal users. Only reset it after proper preparation, especially when encryption features such as BitLocker depend on stored security keys.
Final Take
Enabling TPM 2.0 can help resolve Windows 11 compatibility issues, security requirements, and gaming-related errors when the feature is disabled on your PC.
In most cases, enabling TPM 2.0 only requires turning on the setting in the BIOS or UEFI and confirming that Windows detects it correctly.
If TPM is missing, unavailable, or causing errors, checking hardware support, updating firmware, and reviewing Secure Boot settings can help identify the problem.
Have you faced any TPM 2.0 issues while upgrading Windows or running a game? Comment below with your thoughts and share your experience with enabling TPM 2.0.
Frequently Asked Questions
Can TPM 2.0 Slow Down My Computer?
No, enabling TPM 2.0 does not noticeably reduce system performance. It works in the background to handle security tasks like encryption and authentication.
What Happens if My PC Does not Support TPM 2.0?
If your PC lacks TPM 2.0 support, you may not meet Windows 11 requirements. Check hardware compatibility or consider upgrading supported components.
Can I Disable TPM 2.0 After Enabling it?
Yes, TPM 2.0 can be disabled through BIOS or UEFI settings, but doing so may affect Windows security features and supported applications.