


Switching to an EV feels like a win. Until charging becomes the problem. Plugging into a regular wall outlet works, but it’s slow.
A Level 2 home charger fixes that, cutting charge times down from overnight to just a couple of hours.
This blog breaks down everything: equipment, labor, what drives the price up or down, and where savings are available.
By the end, the numbers will make sense, and picking the right installer will feel a lot less overwhelming.
What is a Level 2 EV Charger?
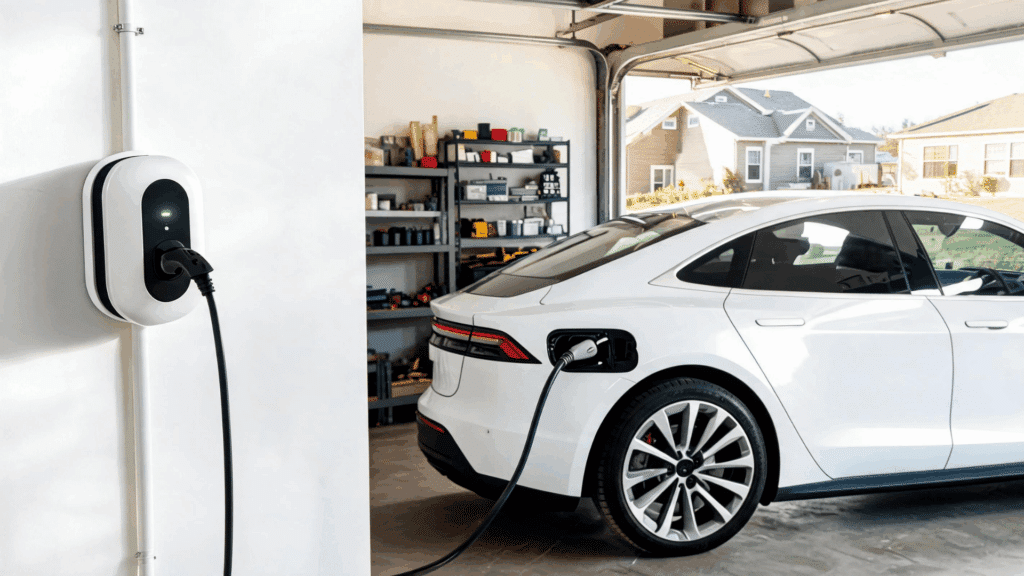
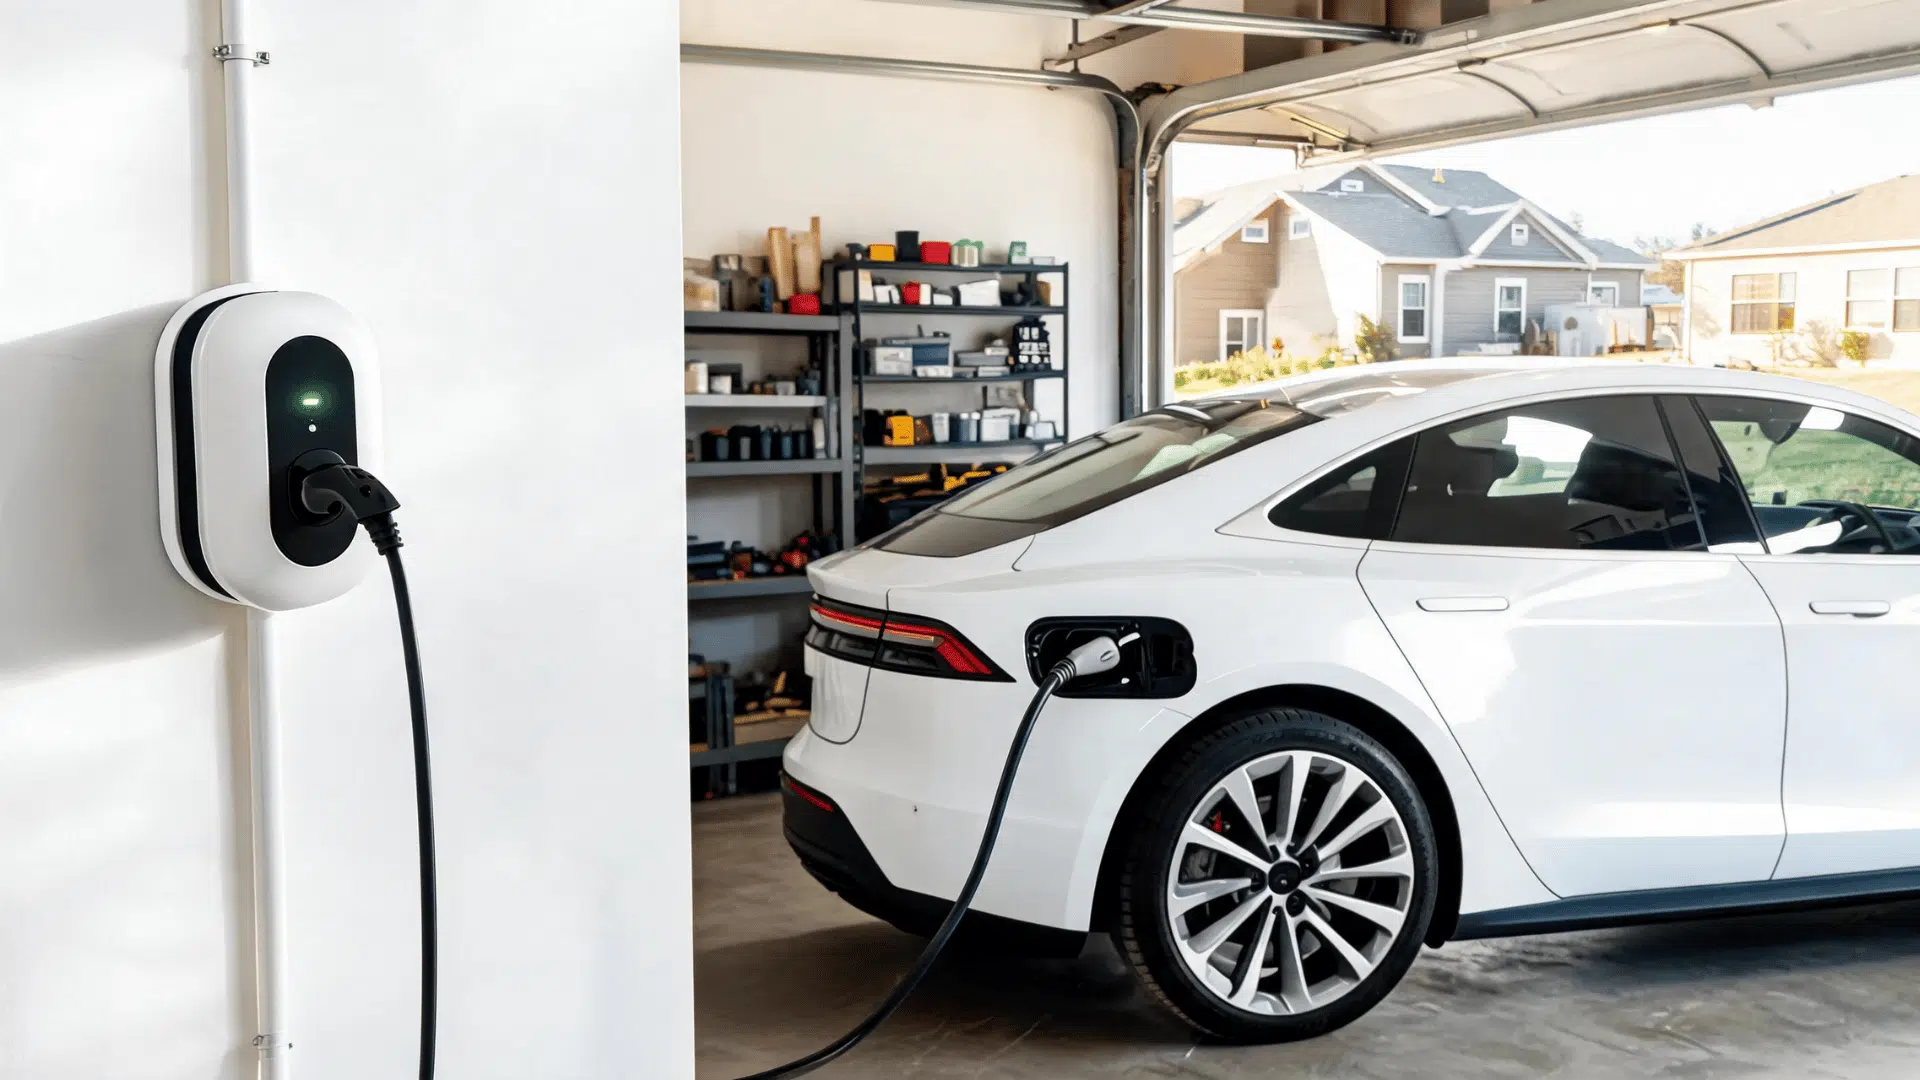
A Level 2 EV charger is a faster, more powerful home charging option compared to the standard Level 1 charger that comes with most vehicles.
It typically operates on a 240-volt circuit, allowing your EV to charge in 4–8 hours instead of 12–24 hours. Some key benefits include:
- Faster Daily Charging: Charge overnight and be ready by morning.
- Reduced Reliance on Public Chargers: Save time and avoid long wait lines.
- Broad Compatibility: Most EV models support Level 2 charging.
Upgrading to a Level 2 charger is a practical investment for EV owners who want convenience, speed, and long-term savings on charging.
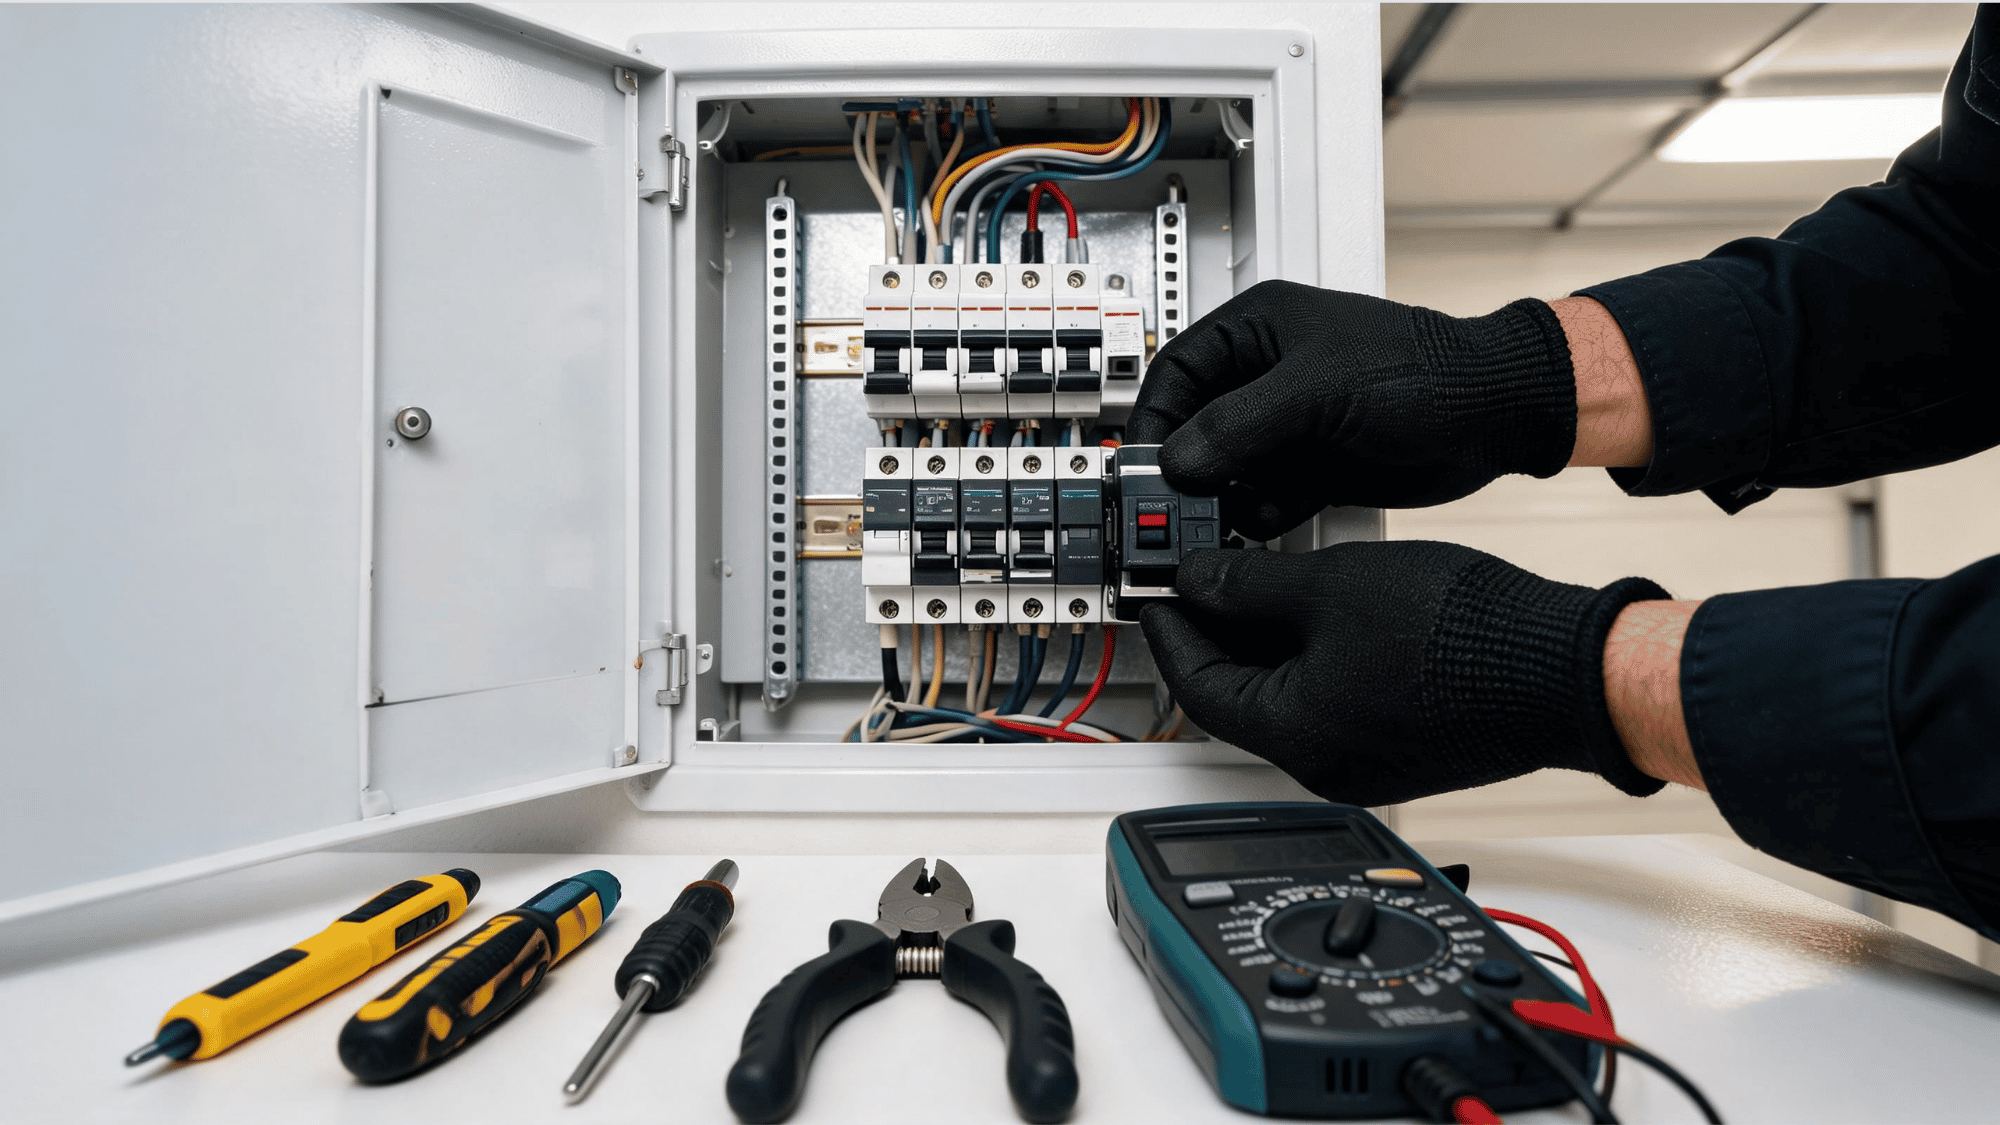
Level 2 EV Charger Installation Requirements
Installing a Level 2 charger is more involved than plugging in a Level 1 charger. Here’s what you need to know:
1. Electrical System Basics: A Level 2 charger requires a dedicated 240-volt circuit and usually draws 30–60 amps, depending on your EV and charger model.
Before installation, check your electrical panel to confirm it can handle the extra load.
2. Permits and Local Codes: Most local authorities require a permit for electrical upgrades and inspections.
Skipping this step can lead to safety risks and potential fines. Always check your local regulations before beginning any installation.
3. Safety Standards: Safety is paramount. Use UL-listed chargers, install proper grounding, and include disconnects as required.
This ensures your home and vehicle are protected from electrical hazards.
Step-by-Step Process to Install a Level 2 Charger at Home
Installing an electric charger can be done DIY if you have electrical experience, but hiring a licensed electrician is often safer and more efficient. Here’s the typical process:
1. Site Assessment
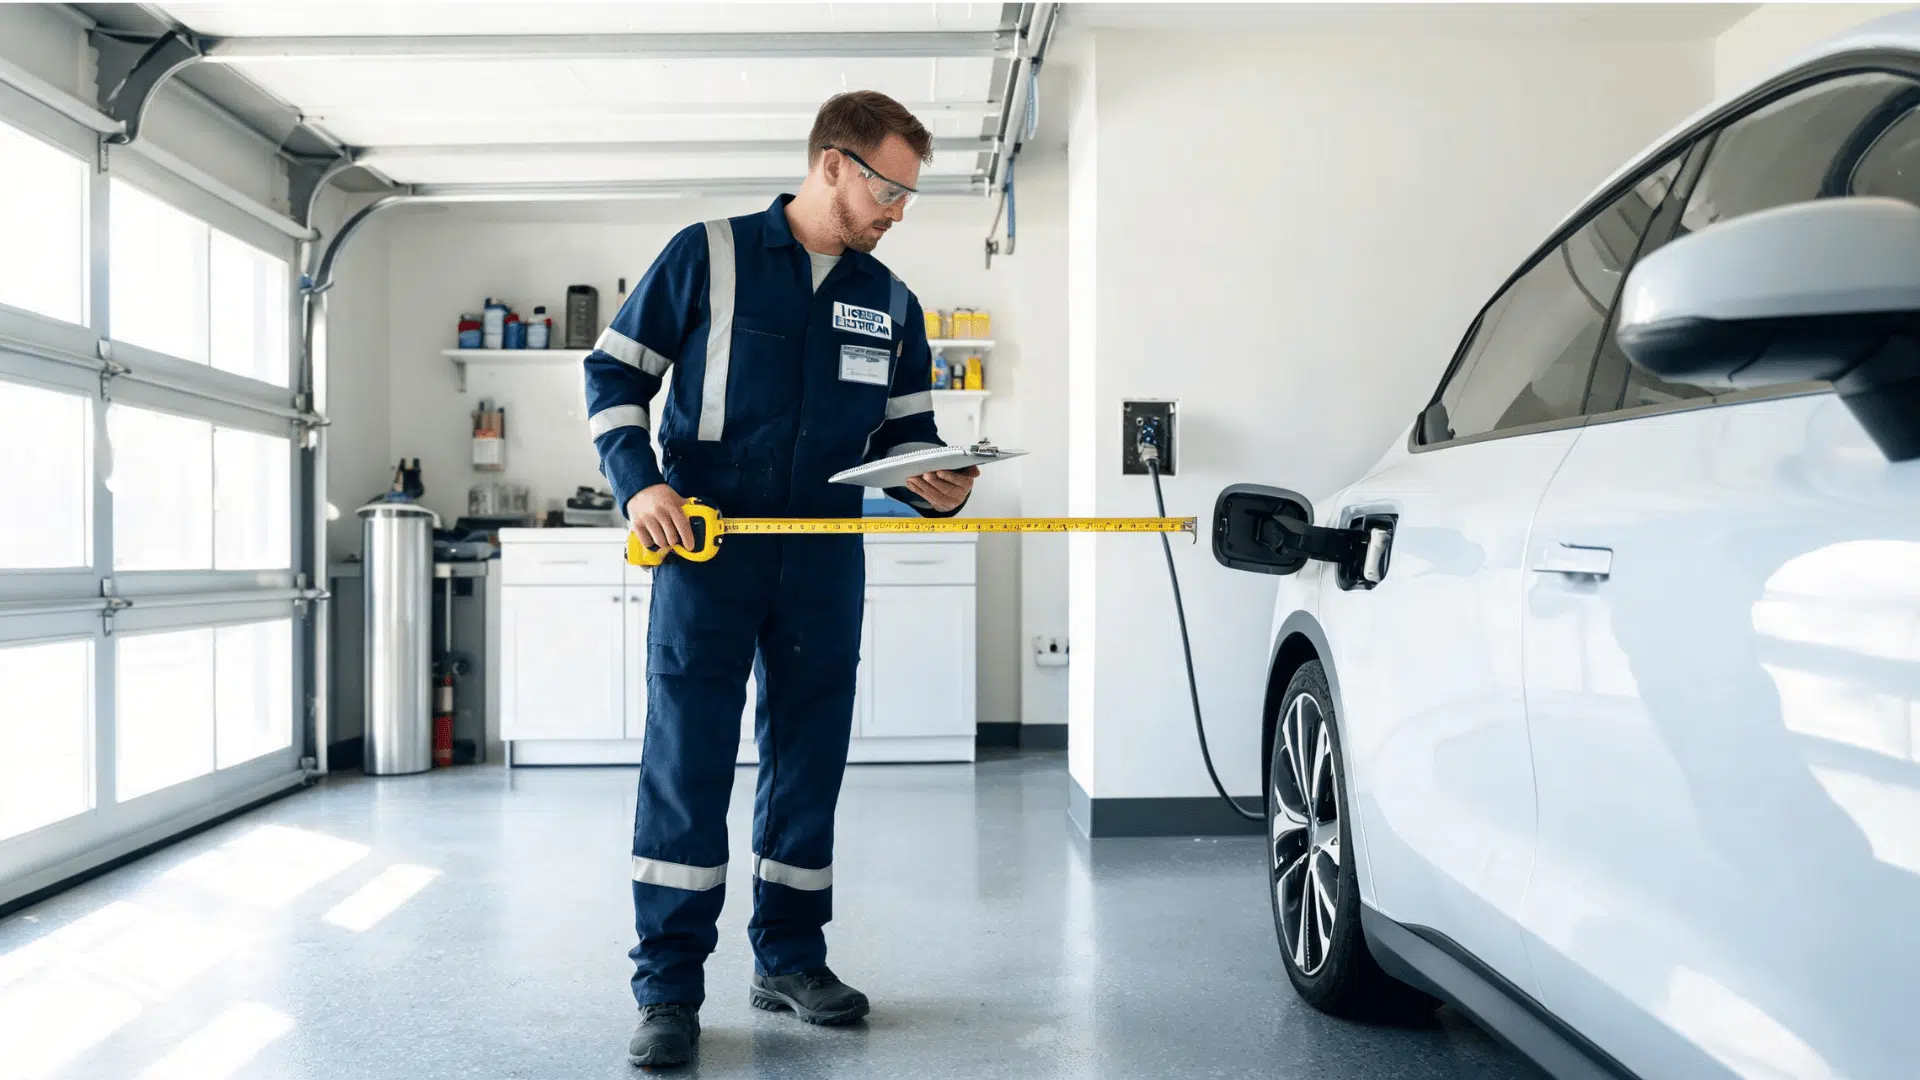
Location matters more than most people expect. The charger should be located close to the parking area, with sufficient wall clearance and cable reach to connect without strain.
A poorly placed charger creates daily frustration. Taking time upfront to pick the right spot, factoring in accessibility, wiring distance, and weather exposure, saves a lot of trouble down the road.
2. Electrical Upgrades
Not every home is ready for a Level 2 charger straight away. Some need a panel upgrade, a new breaker, or additional conduit and wiring before installation can begin.
The circuit must match the charger’s amperage requirements exactly. Underpowered circuits are a safety risk.
A licensed electrician can identify what upgrades are needed and handle them correctly the first time.
3. Charger Mounting
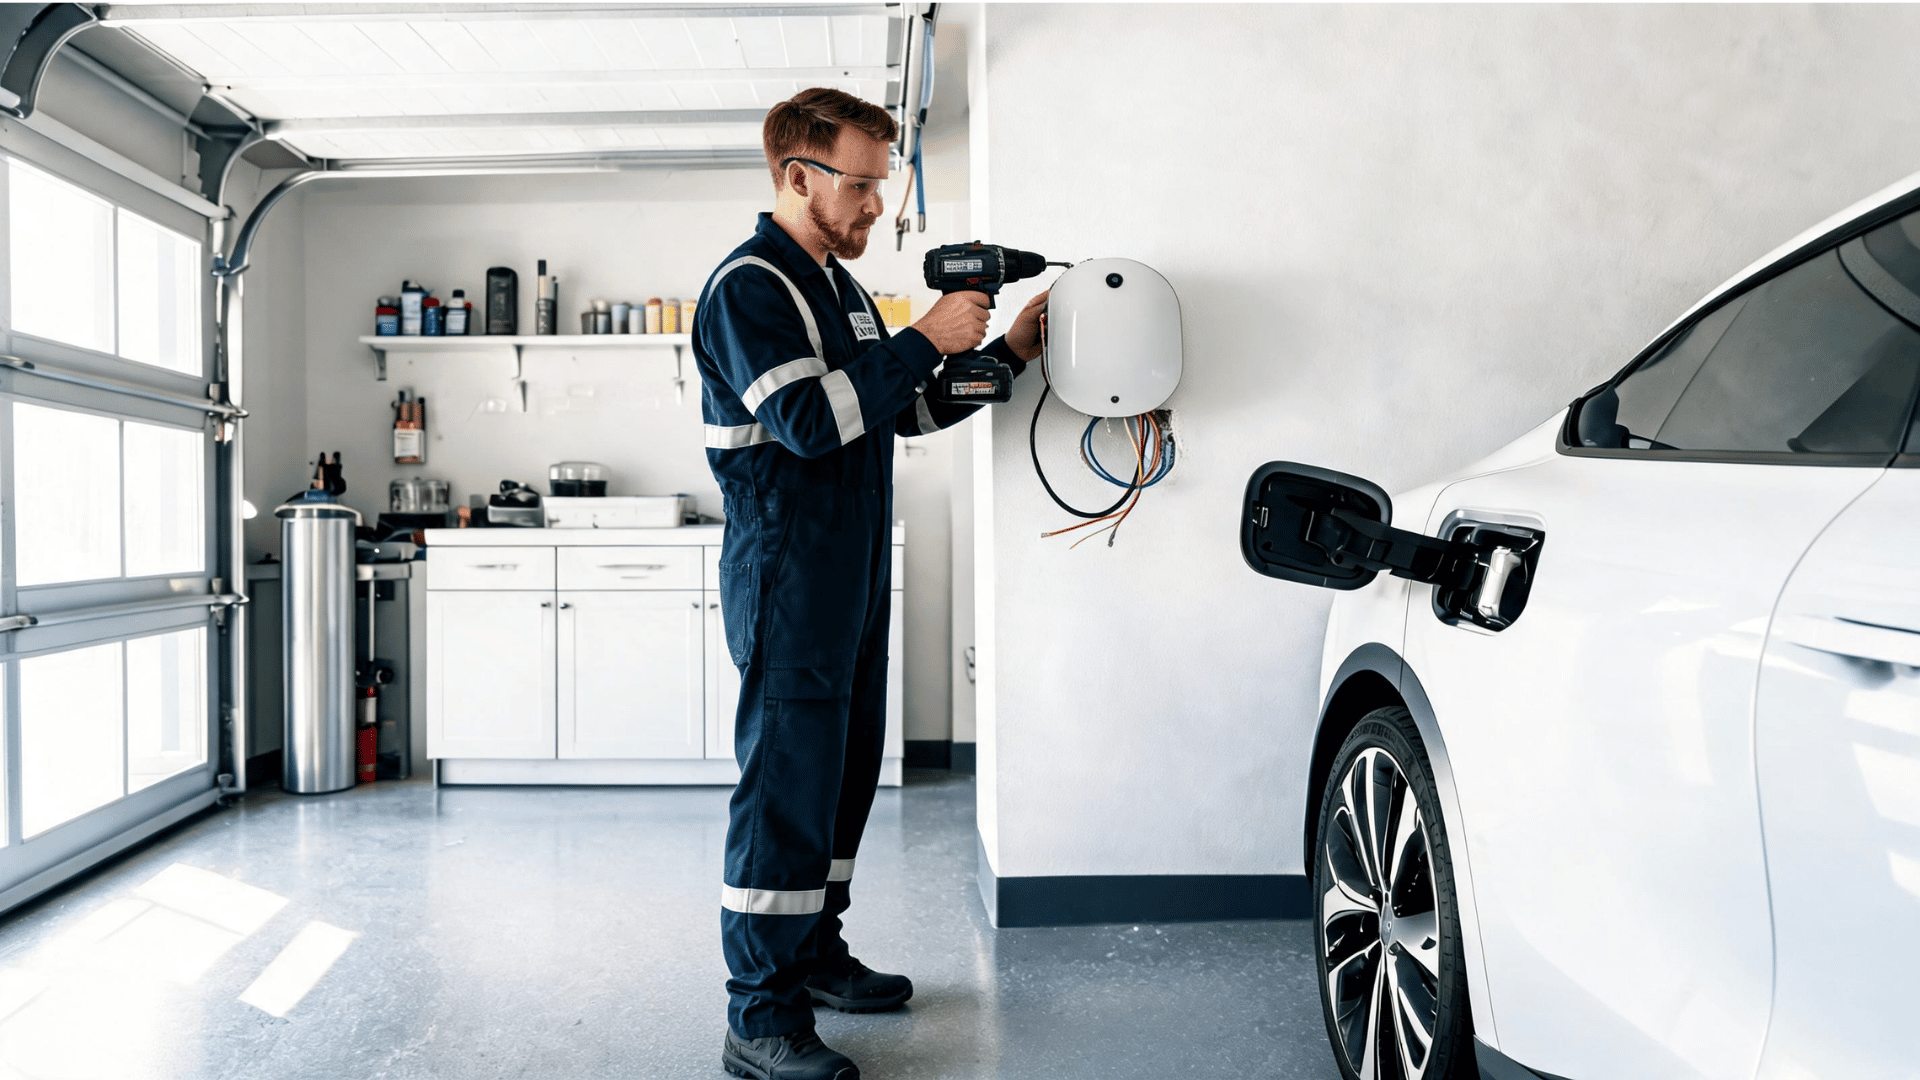
Level 2 chargers mount either on a wall or on a pedestal, depending on the setup.
Either way, the mounting needs to be solid and secure. Loose installations can cause wiring stress over time.
Once the charger is fixed in place, the wiring connects directly to the breaker panel, a step that requires precision and should never be rushed.
4. Final Testing and Inspection
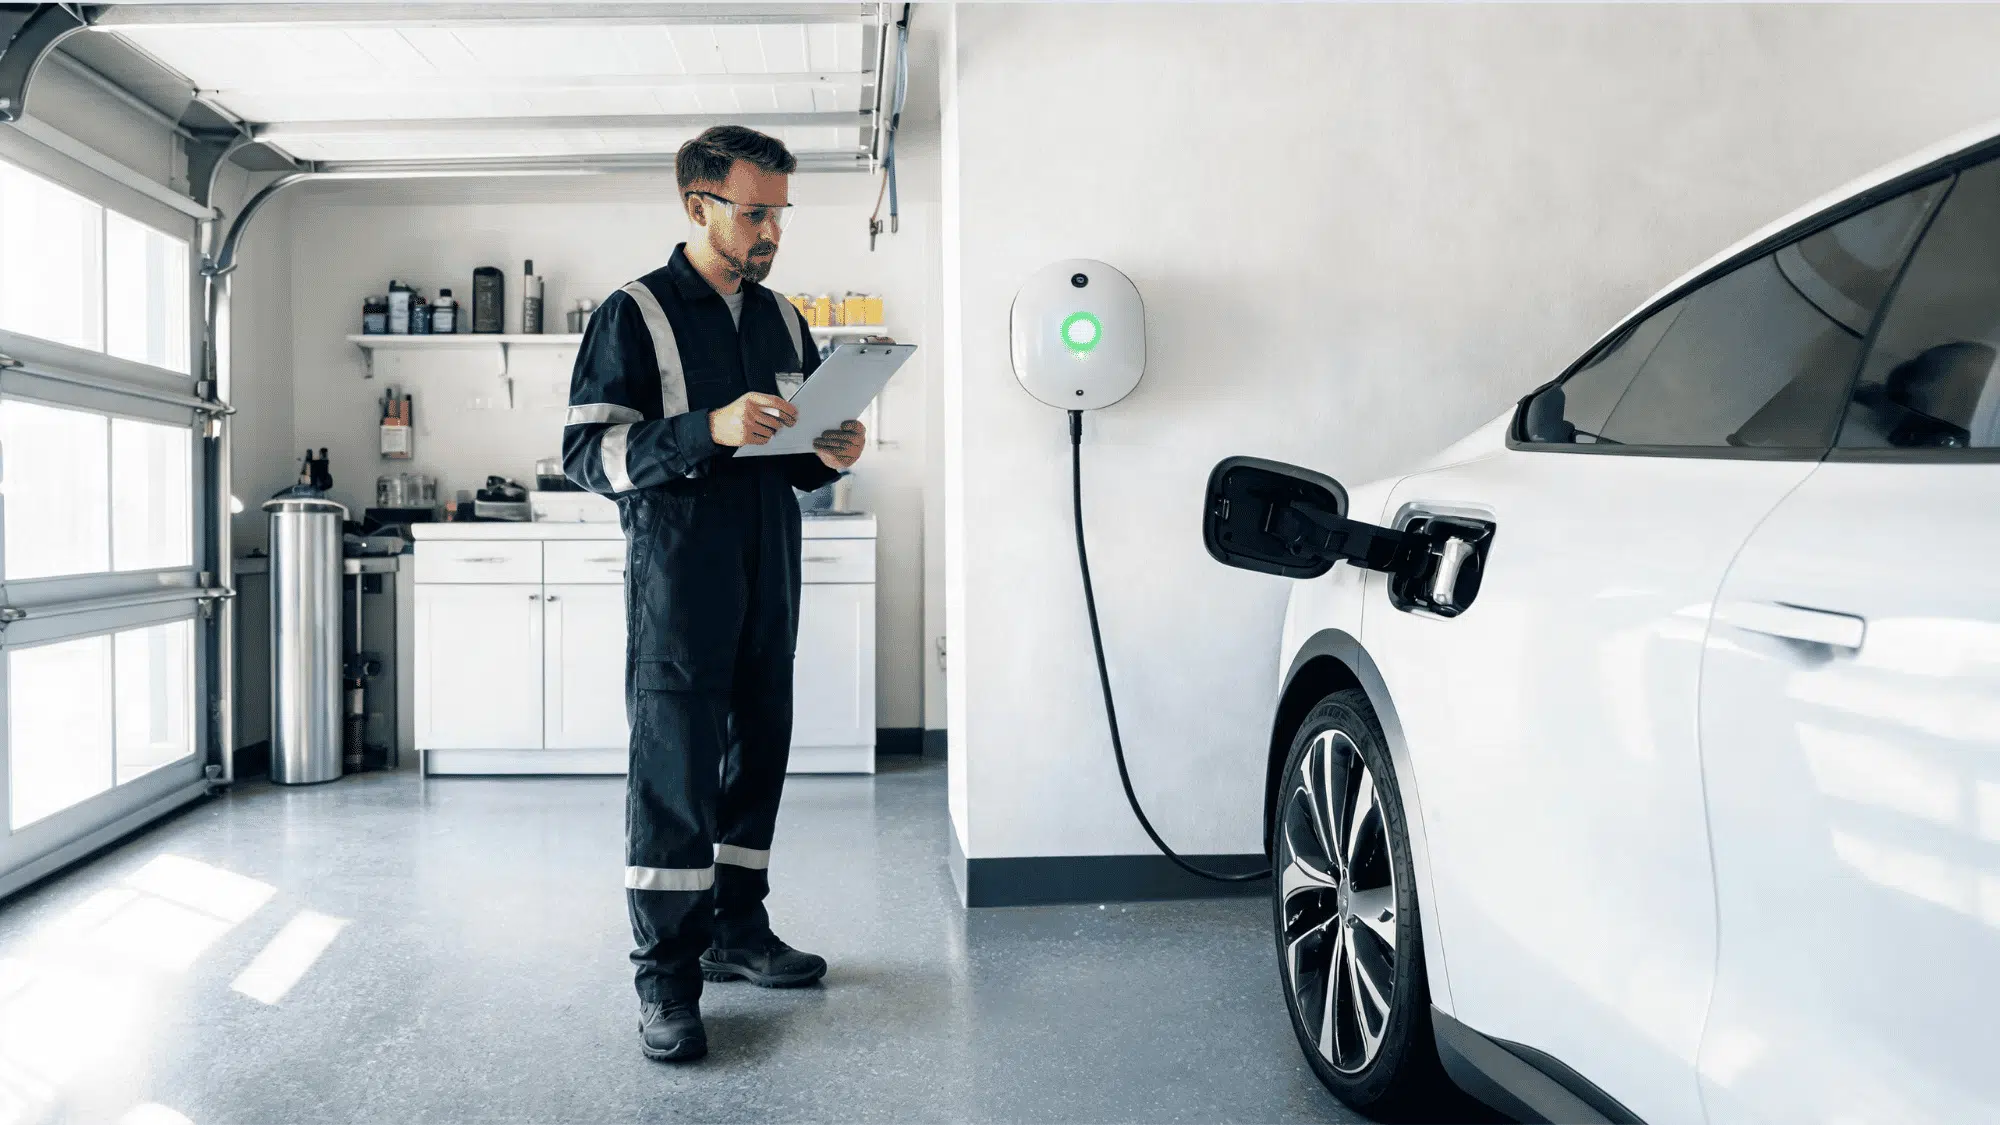
After installation, the charger gets tested to confirm everything is working as expected.
If a permit was pulled, a local inspection will likely be required before the charger is officially cleared for regular use.
Passing inspection means the setup meets local safety codes and that the home, the vehicle, and the electrical system are all properly protected.
Costs Involved in Installation
Installation costs depend on several factors. Here’s a straightforward breakdown of what to expect before budgeting. Cost Breakdown:
| Cost Component | Details | Estimated Cost |
|---|---|---|
| Charger Unit | Price varies by brand, features, and smart charging options (app control, scheduling) | $400 – $900 |
| Installation Labor | Licensed electrician; depends on the complexity of the installation | $300 – $800 |
| Permits and Inspection Fees | Required in most areas; varies by local regulations | $50 – $200 |
| Potential Extra Costs | Electrical panel upgrades, long wiring runs, ground fault protection | Variable |
| Total Estimated Cost | All factors combined | $700 – $2,000 |
Savings, Incentives, and Choosing the Right Installation Approach
Many EV owners can offset installation costs through federal tax credits, state rebates, and utility programs, sometimes reducing out-of-pocket expenses by $300 or more.
Checking local utility and government programs before installation is always worth the effort.
As for installation, DIY is possible for those with solid electrical experience and a clear understanding of local codes.
But for most homeowners, hiring a licensed electrician is the smarter call.
Professional installation means full compliance with electrical codes, a safer setup with fewer opportunities for error, and a faster overall turnaround.
Even seasoned DIYers often go the professional route because when it comes to a 240-volt circuit, long-term safety isn’t worth gambling on.
Common Mistakes to Avoid
A few avoidable mistakes can turn a straightforward installation into a costly problem. Here’s what to watch out for.
- Choosing the Wrong Amperage: Installing a charger with an amperage that doesn’t match the vehicle’s onboard charger is a common oversight.
- Skipping a Professional Panel Assessment: Assuming the existing electrical panel can handle the added load without first having it checked often leads to tripped breakers.
- Buying an Incompatible Charger: Not all Level 2 chargers work seamlessly with every EV model. Confirming compatibility before purchasing saves time, money, and the hassle of returns or replacements.
- Ignoring weatherproofing for Outdoor installations: Skipping this step exposes the unit to moisture and temperature fluctuations, significantly shortening its lifespan.
- Poor Cable Management: Leaving charging cables unmanaged creates tripping hazards and causes premature wear on the cord. A simple cable organizer or retractable mount solves this easily.
- Hiring an Unlicensed Contractor to Cut Costs: An unlicensed installer may charge less upfront, but faulty work can void warranties, fail inspections, and create serious safety risks that cost far more to fix.
Conclusion
Installing a Level 2 EV charger at home is one of the smartest upgrades an EV owner can make.
Faster charging, lower long-term costs, and the convenience of waking up to a full battery every morning add up quickly.
The key is planning it right. Understanding the electrical requirements, pulling the correct permits, and hiring a licensed electrician keep the installation safe and up to code.
The upfront cost is manageable, especially with available tax credits and utility rebates working in the homeowner’s favor. Don’t put it off; reach out to a certified electrician today and get a quote.
Frequently Asked Questions
What EV Charger Does Volvo Recommend?
Volvo recommends a Level 2 home charger for its EVs, which provides faster, more efficient charging than a standard outlet.
What Charger Does The Equinox EV Use?
The Chevrolet Equinox EV supports Level 2 charging at home, making a 240-volt charger the most practical and efficient daily option.
Is It Cheaper to Run 120 V or 240 V?
Running a 240-volt Level 2 charger is generally more cost-efficient in the long term, despite the higher upfront installation cost compared to 120-volt charging.